Advertisement
Quick Links
Advertisement

Related Manuals for Goldair GCDF165W


Summary of Contents for Goldair GCDF165W
- Page 1 Operating Instructions 30cm Metal Desk Fan Item: GCDF165W, GCDF165G, GCDF165O...
-
Page 2: Technical Specification
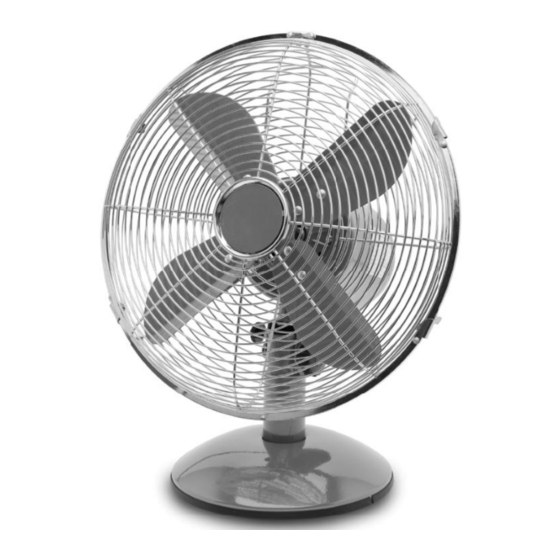
General Care and Safety Guide Thank you for choosing this Goldair product. This Goldair appliance has been designed and manufactured to high standards of engineering and with proper use and care, as described in this leaflet, will give you years of useful service. - Page 3 Components 1.Front Grill 2.Blade 3.Rear Guard Fixation Screws 4.Rear Grill 5.Motor Shaft 6.Motor 7.Oscillation Control 8.Control Switch 9.Knob 10.Pipe 11.Base 12.Ring 13.Base Locking Screw Assembly The Fan head and the pipe are assembled. Fasten the Rear Grill onto the Motor with the four Rear Grill Screws provided.
-
Page 4: Operating Your Fan
Operating your Fan Fan control switch The control switch positions are: • 0 = OFF • 2 = Medium Speed • 1 = Low Speed • 3 = High Speed Place the Fan on a dry, level and sturdy surface. Plug the power cord into the socket, making sure the speed control is at OFF position. -
Page 5: Proof Of Purchase
Fan. PROOF OF PURCHASE To receive warranty retain receipt as proof of purchase. (Refer to back of booklet). SUPPORT AND TECHNICAL ADVICE Goldair – New Zealand Goldair – Australia Monday – Friday 8am-5pm Monday – Friday 8am-5pm Phone +64 (0)9 917 4000... -
Page 6: One Year Warranty
In non-domestic use Goldair limits the voluntary warranty to three months. Goldair undertake to repair or replace this product at no charge if found to be defective due to a manufacturing fault during the warranty period.