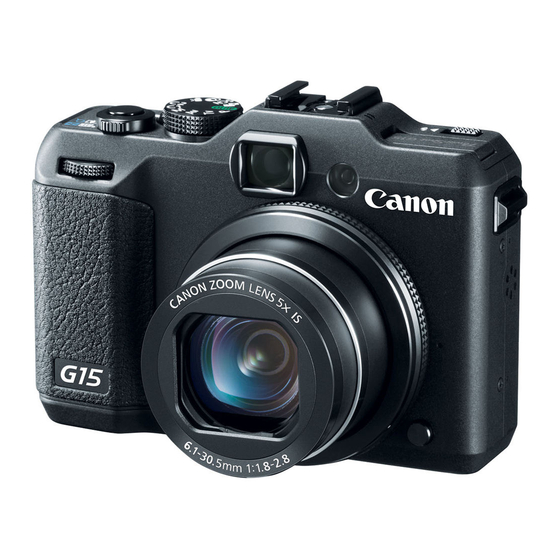
Canon Powershot G15 Manual
Hide thumbs
Also See for Powershot G15:
- User manual (316 pages) ,
- Getting started manual (2 pages) ,
- Getting started (34 pages)

Related Manuals for Canon Powershot G15


Summary of Contents for Canon Powershot G15
- Page 1 E X A M I N E R Manual V.1...
-
Page 2: Safety Precautions
Contents: Canon Powershot G15 Camera Kit Includes: Battery (in camera), battery charger, neck strap, lens adapter cover, CD and manual USB data cable, 6 ft. 8GB SDHC memory card (in camera) Ringflash with 32 blue and 16 white LEDs 4 NiMH rechargeable batteries and charger... -
Page 3: Table Of Contents
E X A M I N E R tABLe oF Contents GETTING STARTED CoNTRoLLING THE RINGFLASH MoDE BUTToN oPTIoNS LIGHT BUTToN oPTIoNS SELECTING LED CoLoR DIFFUSERS GENERAL TIPS... -
Page 4: Getting Started
To select the “auto” mode, which is colored green on the mode dial (on the top side of the Canon), simply turn the mode dial so that “auto” aligns with the white mark. In the auto mode, the user does not need to make any decisions about settings because the camera determines the optimal settings for each particular picture. - Page 5 Start off with a setting of 1/60 (meaning 1/60 of a second). Aperture (F-stop) – To the right of the Canon LCD is a dial that says ISo on top. Turn it clockwise to increase the F-stop, and counterclockwise to decrease the F-stop.
-
Page 6: Controlling The Ringflash
or rotate the ring counterclockwise to decrease the ISo, when finished, click the upper half of the dial to exit the ISo setting mode. The range is 80 to 12,800. Start off with 3200. In general, as you increase the speed, you also increase the graininess/ noise in the image. -
Page 7: Mode Button Options
a picture. By choosing “L”, the LEDs on the left half of the ringflash will be selected, and if you choose “R”, the LEDs on the right half of the ringflash will be selected. If you choose neither “L” nor “R”, then all the LEDs will be selected by default. -
Page 8: Light Button Options
LIGht If you press the LIGHT button on the controller, for about 1 second, the LEDs will remain continuously on (i.e. whichever ones you have select- ed – blue or white), rather than flashing. This is useful when you are trying to surveil for evidence or finding the best angle for your picture. -
Page 9: Selecting Led Color
seLeCtInG LeD CoLoR on the top of the ringflash (Figure 4), there is a switch where you can choose “BLUE” or WHITE” LEDs. If you move the orange switch to BLUE (Figure 5), only the blue LEDs will be illuminated when you flash or use the continuous light feature (LIGHT). -
Page 10: Diffusers
two days. Do not leave batteries in charger when it is unplugged. If the Red light is flashing, one of more of the batteries may be inserted improperly, is shorted or has reached end of life and can no longer be recharged. -
Page 11: General Tips
GeneRAL tIPs The blue LEDs are 470nm, so the BLUE setting should be selected whenever you are trying to find or photograph bodily fluids such as urine, semen, saliva, blood , etc. Always use the orange filter when you are using the blue LEDs! Also, keep in mind that when photograph- ing a fluorescing object, the angle of incidence is very important. - Page 12 P A R T T H E E L I T E S E R I E S ARROWHEAD FORENSICS 11030 Strang Line Road | Lenexa, Kansas 66215 913.894.8388 913.894.8399 PHONE www.arrowheadforensics.com...
Need help?
Do you have a question about the Powershot G15 and is the answer not in the manual?
Questions and answers