Table of Contents
Advertisement
Quick Links
Advertisement
Table of Contents

Summary of Contents for 10ZiG Zignature Pad-1410
- Page 1 Quick Start Guide ...
- Page 2 Quick Start Guide ...
-
Page 3: Table Of Contents
Installing the Software Suite ..................9 Printing a document ....................11 How to use the Digital Pen ..................12 Uninstalling the Software Suite .................. 12 Troubleshooting: ......................13 User Safety Summary ....................16 © Copyright 2008-2011 10ZiG Technology. ... -
Page 4: Key Features
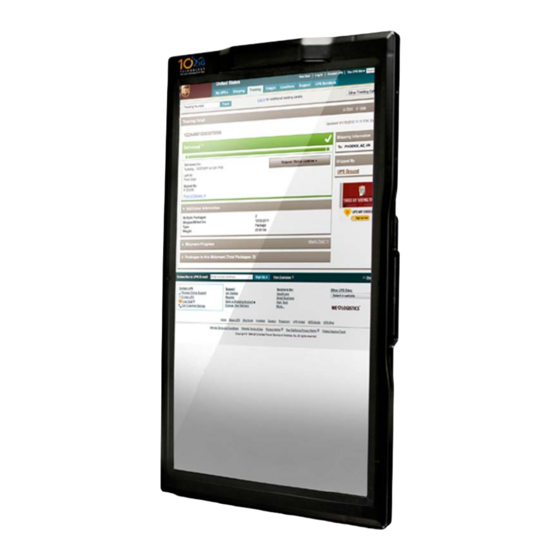
Congratulations on your purchase of the Zignature Pad-1410 Paperless Printer. 10ZiG has combined leading-edge technology in electronic signature and printing solutions for the business sector. Product Overview The Zignature Pad is a front-end customer facing product deployed at the... -
Page 5: Hardware Requirements
• Windows 2003 server or Windows 2008 server (32- or 64-bit) with Citrix presentation server v.4.0 or above or XenApp v.5.0 or above For Citrix client setup: • A PC or 10ZiG thin client with Windows XP 3 or Windows 7 32-bit that runs Citrix online plug-in ... -
Page 6: What's In The Box
Quick Start Guide What's in the box? Please carefully remove the following items from the box to help you set up your Zignature Pad tablet. Power Adapter USB Cable Product CD Electronic Pen Quick Start Guide Zignature Pad Use only the included AC adapter or one approved for this tablet. -
Page 7: The Zignature Pad
Quick Start Guide The Zignature Pad Back view Item Remark DC In port 12VDC USB B port Right view Item Remark USB A port Optional Smart-Card reader Optional Front view Item Remark Pen sensors ... -
Page 8: Setup The Zignature Pad
4. Plug the other end of the power adaptor into an AC outlet. 5. The hardware is ready and the Zignature Pad should turn on and display the default logo (10ZiG logo). NOTE: Do not connect the USB adapter to the computer until software installation is 240V ... -
Page 9: Installing The Software Suite
Installation CD includes installations: • 10ZiG VPilot™ server; • 10ZiG VPort™ single installation; • 10ZiG VPort™ installation for Citrix server 32-bit; • 10ZiG VPort™ installation for Citrix server 64-bit; • 10ZiG VPort™ installation for Citrix client 32-bit; • firmware update utility VPort single Setup Insert the installation CD into CD ROM drive of your computer. - Page 10 • Read carefully the 10ZiG license agreement and warranty and click I Agree if you accept it. • Review the default destination folder and confirm or change it if necessary, click Install; • The Installing screen shows the installation progress.
-
Page 11: Printing A Document
Clicks save to complete the installation. • If you keep the Start 10ZiG VPort check-box checked on the last setup screen, the software will start automatically and create connection to Zignature Pad. -
Page 12: How To Use The Digital Pen
Properties button and review document properties. Pay attention that the paper size is 10ZiG VPort and resolution is 100x100 DPI. Click Print (or OK). After few seconds the document will appear in the Zignature Pad screen. -
Page 13: Troubleshooting
3. Select the 10ZiG solution suite software. 4. Click Remove. 5. When "Are you sure you want to completely remove 10ZiG solution suite x.xx and all of its components?" appears, click Yes. 6. When the Uninstall Complete window appears, click OK. -
Page 14: User Safety Summary
Quick Start Guide User Safety Summary Your Zignature Pad tablet and the provided attachments have been designed and tested to meet strict safety requirements. Attention to the following information will ensure the continued safe operation of your Zignature Pad. Electrical Safety •... - Page 15 Quick Start Guide Maintenance Safety There are no user serviceable parts inside the Zignature Pad. Do not disassemble the device. Operational Safety • Do not place the Zignature Pad near a heat source. • Do not place the Zignature Pad in direct sunlight. •...
Need help?
Do you have a question about the Zignature Pad-1410 and is the answer not in the manual?
Questions and answers