Advertisement
Advertisement

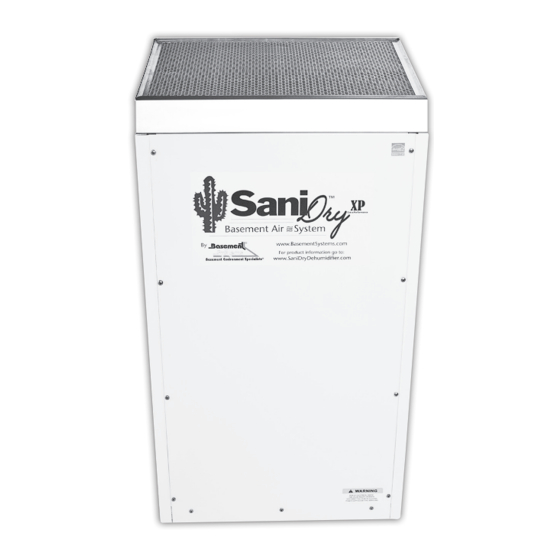
Related Manuals for Basement Systems SD109 SaniDry XP

Summary of Contents for Basement Systems SD109 SaniDry XP
-
Page 2: Table Of Contents
TABLE OF CONTENTS Table of Contents 11. Maintenance ................... 5 11.1 Air Filter .................. 5 1. Specifications ................... 2 12. Service ................... 6 2. Installation ..................3 12.1 Warranty ................. 6 2.1 Location ..................3 12.2 Technical Description .............. 6 2.1A In Humid Area, No Ducting ........... -
Page 3: Installation
SaniDry XP INSTALLER'S AND OWNER'S MANUAL CAUTION! that open combustion devices do not backdraft. This can be — This symbol means accomplished by installing a duct from the humid room to the important instructions. failure to heed them can result SaniDry XP inlet and by allowing the SaniDry XP to discharge in injury or material property damage. -
Page 4: On/Off
SaniDry XP INSTALLER'S AND OWNER'S MANUAL 6. MeMoRY/PoWeR failURe controller to excessively low levels in cool rooms. Doing so will result in long periods of ineffective dehumidifier run time. An ideal If a power failure occurs, the unit will store the last selected setting is 55%, which prevents mold growth. -
Page 5: Protection Functions And Troubleshooting
Replacement filters can be CAUTION! ordered from your local Basement Systems dealer. Do noT operate the unit without the filters or with a less effective filter. The heat exchange coils inside the unit could become clogged and eleCTRiC SHoCK HazaRD: Maintenance and repairs should be require disassembly to clean. -
Page 6: Service
SaniDry XP INSTALLER'S AND OWNER'S MANUAL 12. SeRViCe to the condenser coil (see Figure 1). The refrigerant is cooled and condensed by giving up its heat to the air that is about to be CAUTION! discharged from the unit. The refrigerant liquid then passes through a filter/drier and capillary tubing, which cause the refrigerant pressure and temperature to drop. -
Page 7: Service Parts List
SaniDry XP SERVICE PARTS LIST • To order, contact your local Basement Systems Dealer DESCRIPTION SPECIFICATIONS Wheel Plate, Bottom Galvanized steel (1.5mm) Bracket Galvanized steel (1.0mm) Grommet, rubber – compressor Buna N Washer, plate 6mm dia. Steel M6 steel Capacitor, compressor 35µF/250V... - Page 8 SaniDry XP SERVICE PARTS LIST • To order, contact your local Basement Systems Dealer SaniDry XP Installer’s & Owner’s Manual...
-
Page 9: Condensate Pump Installation Instructions
SaniDry XP CONDENSATE PUMP INSTALLATION INSTRUCTIONS STEP 1: The condensate pump kit STEP 2: Predrilled mounting holes are located STEP 3: Secure the condensate pump to the includes: 25' drain hose, drain hose clamp, near the bottom and on the same side of the unit with the two provided screws. -
Page 10: Filter Installation Instructions
SaniDry XP DUCTABLE INLET MOUNTING Ductable inlet instructions exhaust Collar Mounting instructions 1. Remove the Filters from the unit. 5. Remove the exhaust collar from the box and bend the tabs in. 2. Remove the ductable inlet from the box and remove the 6. -
Page 11: Warranty
SaniDry XP limited Warranty Limited Warranty. Basement Systems, Inc. ("BSI") warrants as Limitation of Liability. IN NO EVENT SHALL BSI, IN CONNECTION follows: (i) the SaniDry XP dehumidifier (“Product”) will be free of WITH THE DESIGN, SALE, INSTALLATION, USE, REPAIR,...
Need help?
Do you have a question about the SD109 SaniDry XP and is the answer not in the manual?
Questions and answers
Where can you purchase replacement capacitors for the fan and compressor?
My dehumidifier stopped working. The Run light can be on, and the auto setting lit, but the temperature blinks or jitters and nothing happens.