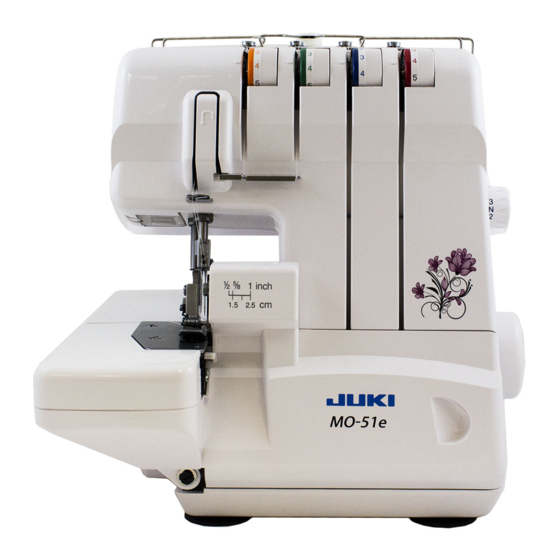
JUKI MO-50e Instruction Manual
2-needle,3/4-thread overlock sewing machine
Hide thumbs
Also See for MO-50e:
- Instruction manual (63 pages) ,
- Service manual (17 pages) ,
- Instruction manual (23 pages)

Related Manuals for JUKI MO-50e


Summary of Contents for JUKI MO-50e
-
Page 1: Instruction Manual
2-Needle,3/4-Thread Overlock Sewing Machine MO-50e/51e Instruction Manual IMPORTANT: Read all safety regulations carefully and understand them before using your sewing machine. Retain this instruction manual for future reference. - Page 2 110V~240V/15W. 20. Close cover before operating machine.
-
Page 3: Table Of Contents
Contents 1. Safety regulations Replace bulb with same type rated 15Watts. 5. Contents 7. Details of the machine 7. - Details of the machine Use foot controller 9. Preparing the machine 9. - Accessories 4C-315A221 Foot controller (100v) Japan 9. - Accessory Box 4C-316B22 Foot controller (115v) U.S.A. -
Page 4: Details Of The Machine
Details of the machine Details of the machine Looper cover Looper cover opening indent Knife guard Cloth plate Stitch plate Presser foot Upper looper tension dial Lower looper tension dial Right needle tension dial Left needle tension dial Thread take up cover Thread guide plate Accessory box Bulb cover... -
Page 5: Preparing The Machine
Preparing the machine Accessories Screwdriver Tweezers Cleaning brush Set of needles ELX705 Spool caps Waste collector Hexagon wrench Upper knife Oiler Accessory Box All standard accessories are stored in the box. Pull out to open. Push in to close. Looper cover To open, push to the right with your thumb in the indent and tilt towards you. -
Page 6: Attaching The Foot Control
Preparing the machine Attaching the foot control Plug foot control into machine socket (A) and then into main socket (B). Sewing speed The sewing speed can be adjusted by increasing or decreasing the pressure on the foot control (C). Assembling the thread stand Raise the support rod fully, turning slightly until the positioning catches engage. -
Page 7: Using The Machine
Using the machine Handwheel The handwheel turns counterclockwise. Presser foot lifter To raise the presser foot, raise the lever on the rear of the machine until it engages. Changing the presser foot -Switch the machine off " O ". -Raise the presser foot. Press the catch (A) to release the presser foot from the clamp. -
Page 8: Inserting Needles
Using the machine Inserting needles - Switch the machine off " O ". Disconnect machine from electricity supply. - Turn the handwheel until needles are fully raised. - Lower the presser foot. - Use the hexagon wrench to loosen the needle setscrew. -
Page 9: Threading
Threading Threading / Preparation - Disconnect machine from electricity supply. - Support rod with thread guide must be fully raised. - Open the looper cover and the cloth plate cover. - Turn the handwheel towards you until needles are fully raised. - Thread the machine in the correct sequence. -
Page 10: Lower Looper (Red)
Threading Lower looper (red) - Place the spool on the spool holder pin. - Bring thread up from back to front through guide (1). - Pull the thread under the protector (2) and pass under the guider up to go around the pre-tension (3). -
Page 11: Right Needle (Green)
Threading Right needle (Green) - Place the spool on the spool holder pin. - Bring thread up through guide (1). Pull the thread under the protector (2) and pass under the guider up to go around the pre-tension (3) - Thread guide (4,5). - Thread right needle eye (6) - Place thread under presser foot. -
Page 12: Left Needle (Yellow)
Threading Left needle (Yellow) - Place the spool on the spool holder pin. - Bring thread up through guide (1). Pull the thread under the protector (2) and pass under the guider up to go around the pre-tension (3). - Thread guide (4,5). - Thread left needle eye (6) - Place thread under presser foot. -
Page 13: Trial Sewing, Thread Tension
Trial sewing, thread tension Sewing test After threading make a trial run. Always use a double layer of fabric in order to be able to check the stitch formation and thread tension properly. - Switch the machine on "I". - Set all tension dials to 3. - Raise the front of the presser foot slightly with your thumb and position the fabric under the foot... -
Page 14: Adjusting The Thread Tension
Adjusting the thread tension Adjusting the thread tension The left needle thread forms loops on the underside: Tighten the left needle thread tension (yellow). The right needle thread forms loops on the underside: Tighten the right needle thread tension (green). The looper loops are formed on the underside: Tighten the upper looper tension... -
Page 15: Adjustments And Settings
Adjustments and settings Stitch length - The stitch length can be adjusted from 1 to 4 mm. - Higher number = longer stitch, lower number = shorter stitch. - Basic stitch length = N. Cutting width - The cutting width should be adjusted according to the type of fabric being sewn. -
Page 16: Differential Feed
Differential feed* Differential feed* There are two feed dogs: one front and one rear. The two feed dogs move independently and the distance each feed dog travels during one complete movement can be adjusted. Stretching effect To stretch the fabric select a number from N to 5 in the section "... -
Page 17: Practical Sewing
Practical sewing 3 thread overlock For a 3-5 mm wide 3 thread overlock, remove the left needle. Thread both loopers and then the right needle. For a 5-7 mm wide 3 thread overlock, remove the right needle. Thread both loopers and then the left needle. -
Page 18: Changing Light Bulb
Changing light bulb - Switch the machine off "O" and disconnect it from electricity supply by removing the mains plug. - Loosen the bulb cover setscrew (A) and remove the bulb cover. - Unscrew the bulb and replace it with a new one. -
Page 19: Trouble Shooting Guide
Trouble shooting guide Thread breaks Thread tension is too tight Reduce thread tension. for thread used. The machine is not threaded Check the threading. correctly. Needles are incorrectly Insert needles fully into needle 9/10 inserted. clamp with flat side to the back. Needles break Needles are bent, blunt or the Replace the needles. -
Page 20: Technical Data
Technical data Stitch types: Handwheel: rotates counter-clockwise - 2 needles, 4 thread overlock with integrated Sewing speed: safety seam up to 1300 s.p.m. - 1 needle. 3-thread overlock, 3 thread rollhem. Weight: Needle system: 7.4kg ELX705 Seam width: Dimensions: 3-7mm 292Wx295Dx290H mm Stitch length: 1-4mm... - Page 21 The product in this manual fulfil the demands in below norms: 72/23 EEC 89/336 EEC 89/392 EEC Please pay attention on the needle area: The needle area can not be completely protected, as a totally protection will spoil the fundamental function of the overlock machine. Great caution should be shown when working in the needle area.
- Page 22 RECYCLING Do not dispose of electrical appliances as unsorted municipal waste. Use separate collection facilities. Contact your local government for information regarding the collection systems available. If electrical appliances are disposed of in landfills or dumps, hazardous substances can leak into the groundwater and get into the food chain, damaging your health and well-being.
- Page 23 JUKI CORPORATION 2-11-1, Tsurumaki, Tama-shi, Tokyo 206-8551, JAPAN PHON: (81)42-357-2341 FAX: (81)42-357-2379 Copyright © 2012 JUKI CORPORATION. All rights reserved throughout the world. 40131848 E1P16 000912...
Need help?
Do you have a question about the MO-50e and is the answer not in the manual?
Questions and answers