
Related Manuals for Sylvania SKCR2613


Summary of Contents for Sylvania SKCR2613
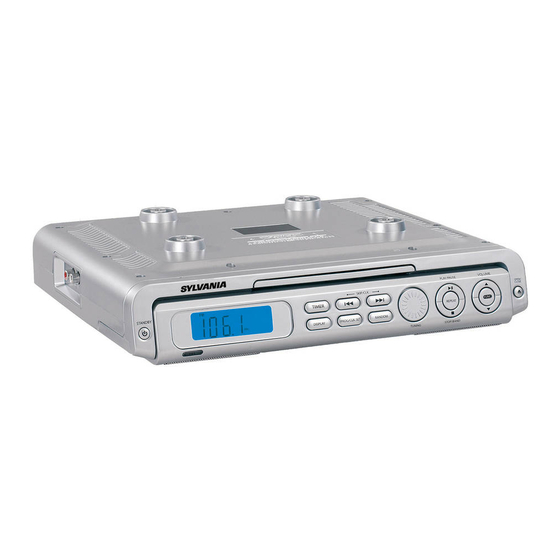
- Page 1 MODEL NO. SKCR2613 UNDERCOUNTER CD RADIO OWNER'S MANUAL PLEASE READ BEFORE OPERATING THIS EQUIPMENT...
-
Page 6: Clock Backup Batteries
CLOCK BACKUP BATTERIES Install Batteries AAA x 2pcs (for clock backup) Before installing batteries (not included), ensure that this product is disconnected from the mains supply. Remove the battery compartment cover on the back of the unit by carefully pushing the one lug down. The battery cover can then be lifted away. Fit 2 sets batteries AAA size (not included), referring to the polarity markings. -
Page 7: Location Of Controls
LOCATION OF CONTROLS Front Panel Controls Controls CD TRAY 11. RANDOM Button TIMER Button 12. PROG./CLK SET Button SKIP/SEARCH/MINUTE/HOUR Buttons 13. DISPLAY Button PLAY/PAUSE Button 14. LCD Display VOLUME UP/DOWN Buttons 15. Remote Sensor Window OPEN/CLOSE Button 16. POWER Button FUNC(function) Button 17. -
Page 8: Remote Controls
LOCATION OF CONTROLS Remote Controls NOTES: You may need to remote protective covering from the remotes battery compartment before using the remote control. Point the remote control toward the remote sensor window on the pane of the main unit. Controls 21. -
Page 9: Unpacking And Setup
OPERATION INSTRUCTIONS Checking FM /AM Radio Reception This product has a built-in antenna for AM radio. To improve reception, you need to rotate or move other place to your unit. Unwind the external FM wire antenna and extend it to its full length to improve the FM reception. -
Page 10: Setting The Actual Time
OPERATION INSTRUCTIONS Setting the Actual Time With the power off, press and hold the PROG/CLK SET Button. Press the SKIP/SEARCH Buttons to adjust the hour and minute of the clock. Once set, release the CLOCK SET Button to confirm. When in RADIO mode, press the DISPLAY Button to view the time, press DISPLAY again to resume to Radio frequency display. - Page 11 OPERATION INSTRUCTIONS Listening to a CD Your unit can play audio CDs, CD-Rs and CD-RWs. Press the POWER Button to turn on your unit. Press the FUNCTION Button to CD mode and CD track "--" appears on the display. Press the OPEN / CLOSE area to open the CD door. Place a CD with the label side up into the CD center spindle and close the CD door.
- Page 12 OPERATION INSTRUCTIONS To Repeat one Track of CD : Press the POWER Button to turn on your unit, and then rotate the FUNCTION Knob to CD position. The CD track "--" appears on the display. Insert a CD into the CD tray. Press the PLAY Button to start playing. Press the REPEAT Button once and "REP"...
-
Page 13: Caring For Compact Discs
CARE and MAINTENANCES Caring for Compact Discs Treat the disc carefully. Handle the disc only by its edges. Never allow your fingers to come in contact with the shiny, unprinted side of the disc. Do not attach adhesive tape, stickers, etc. to the disc label. -
Page 14: Troubleshooting
TROUBLESHOOTING If a fault occurs, first check the points listed below before taking the set for repair. PROBLEM POSSIBLE CAUSE SOLUTION GENERAL No sound is heard. Power is not on. Press the POWER button. VOLUME Control is set to Adjust the VOLUME minimum. -
Page 15: Limited Product Warranty
LIMITED PRODUCT WARRANTY This quality product is warranted to be free from manufacturer’s defects in material and workman-ship, provided that the unit is used under the normal operating conditions intended by the manufacturer. Should you have any problem with this product, please and it is highly recommended to visit our website at www.curtisint.com before you take any other steps as we have additional copies of instruction manuals, operating manuals and trouble shooting tips on our website which gives you the answer on most of the questions you could have in operating the unit.
Need help?
Do you have a question about the SKCR2613 and is the answer not in the manual?
Questions and answers
Everything works but I can't get the volume to come on
To fix the volume issue on the Sylvania SKCR2613, follow these steps:
1. Make sure the correct function (Radio or CD) is selected by pressing the FUNCTION button.
2. For FM radio, extend the FM cord for better reception.
3. Ensure the CD is inserted correctly with the label side up and the tray is closed.
4. Check if the remote control is working and aimed properly at the unit. Ensure batteries are correctly installed.
If the unit still has no sound, make sure the station is properly tuned or try a different CD.
This answer is automatically generated