Table of Contents
Advertisement
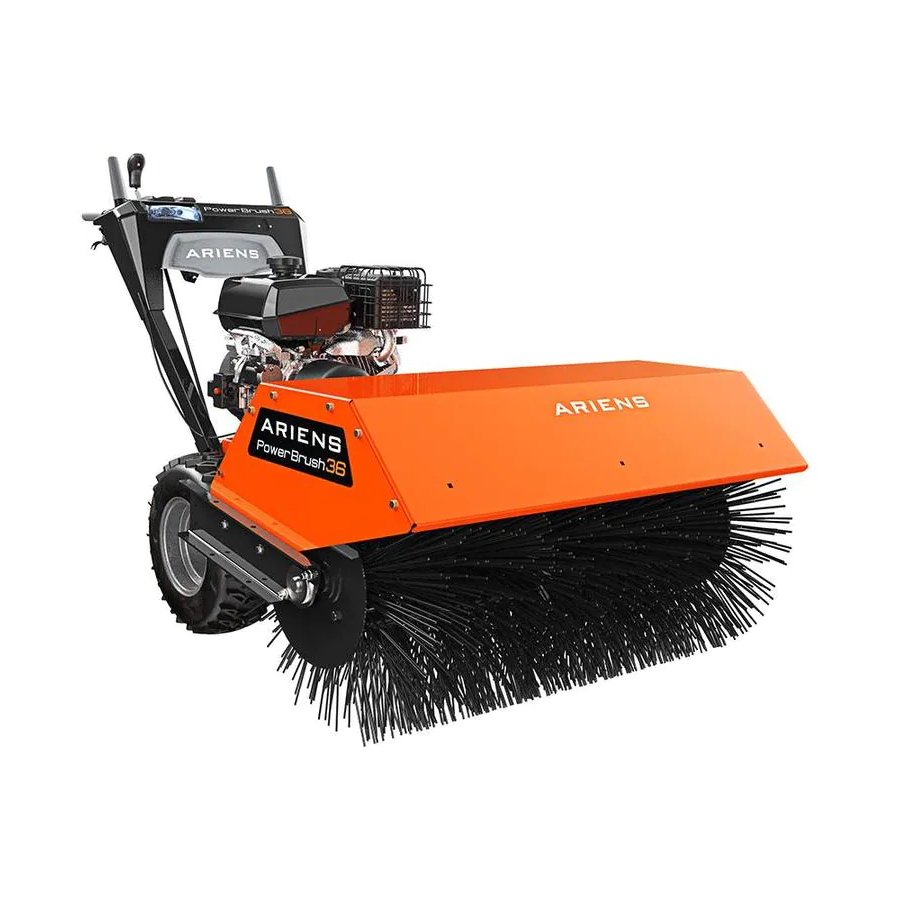
All Seasons Power Brush
Owner/Operator Manual
Models
926502 - PB936
Coller l'autocollant du
Transfer
modèle et du numéro de
model &
série dans cet encadré.
serial number
label from
Transferir aquí la etiqueta
product
del modelo y número de
registration
serie del registro del
here.
producto.
ENGLISH
FRANÇAIS
ESPAÑOL
00437500 7/05
Printed in USA
Advertisement
Table of Contents

Related Manuals for Ariens 926502 - PB936


Summary of Contents for Ariens 926502 - PB936
- Page 1 All Seasons Power Brush Owner/Operator Manual Models 926502 - PB936 Coller l’autocollant du Transfer modèle et du numéro de model & série dans cet encadré. serial number label from Transferir aquí la etiqueta product del modelo y número de registration serie del registro del here.
-
Page 2: Table Of Contents
Ariens or go to www.ariens.com. UNAUTHORIZED REPLACEMENT PARTS Use only Ariens replacement parts. The replacement of any part on this unit with anything other than an Ariens authorized replacement part may adversely affect the performance, durability, or safety of this unit and may void the warranty. -
Page 3: Safety
4. Review recommended lubrication, maintenance and adjustments. 5. Review Limited Warranty Policy. 6. Fill out Original Purchaser Registration Card and return the card to Ariens Company or go to www.ariens.com on the internet. SAFETY PRACTICES AND LAWS Practice usual and customary safe working precautions, for the benefit of yourself and others. -
Page 4: Safety Rules
Keep people away from unit while operating. OL4370 Never direct discharge towards persons or property that may be injured or damaged by thrown objects. OL0910 Stop engine, remove key, read manual before making any repairs, adjustments. OL4010 ONLY use clean-out tool to clear blockages. - Page 5 Fumes from engine exhaust can cause injury or death. DO NOT run engine in an enclosed area. Always provide good ventilation. ALWAYS disengage attachment, stop unit and engine, remove key and allow moving parts to stop before leaving operator’s position. Read, understand, and follow all instructions in the manual and on the machine before starting.
-
Page 6: Assembly
Before separating brush attachment from unit frame, remove fuel so no spills will occur. Ensure unit is secure and will not tip over during maintenance. ALWAYS keep protective structures, guards, and panels in good repair, in place and securely fastened. NEVER modify or remove safety devices. -
Page 7: Controls & Features
Check Engine Crankcase Oil IMPORTANT: Engine is shipped with 5W-30 oil in crankcase. Refer to Engine Manual for detailed instructions. Fill Engine Fuel Tank Refer to Engine Manual for proper type and capacity. Check Function of all Controls Ensure unit runs and performs properly. Refer to Operation. -
Page 8: Standard Controls
WARNING: AVOID INJURY. Read and understand the entire Safety section before proceeding. WARNING: To avoid injury to hands and feet, always disengage clutches, shut off engine, and wait for all movement to stop before unclogging or working on snow brush. Keep hands and feet away from brush. -
Page 9: Brush Angle Adjustment
Remote Differential Squeeze and hold the remote differential lever to lock differential so both wheels drive and provide better traction. Release the remote differential lever to allow easier steering. Heated Handles Turn the heated handles switch to the ON (1) position to activate. Turn the switch to the OFF (2) position to deactivate. -
Page 10: Filling Fuel Tank
FILLING FUEL TANK To add fuel to the tank: 1. ALWAYS place unit in an open, well- ventilated area. 2. Stop engine and allow to cool. WARNING: FLAMMABLE FUEL and its EXPLOSIVE VAPORS can result in death or serious injury. Handle fuel with extreme care. -
Page 11: Storage
6. Repeat until engine starts. (If engine does not start, refer to Troubleshooting.) 7. Adjust choke as needed. 8. Set throttle to Part Throttle or Slow position for adaptation to outside temperature or travel. Set throttle to Fast position for normal operation. Shut Off 1. -
Page 12: Service Position
Ariens Dealers will provide any service or adjustments which may be required to keep your unit operating at peak efficiency. Should engine service be required, contact an Ariens dealer or an authorized engine manufacturer's service center. WARNING: AVOID INJURY. Read and understand the entire Safety section before proceeding. -
Page 13: General Lubrication
CHECK DUAL HANDLE INTERLOCK Without the engine running, press down (engage) both clutch levers. Release attachment clutch lever. Attachment clutch should remain engaged until traction clutch lever is released, then both clutches must disengage. CHECK FASTENERS Make sure all hardware is tightened properly. CHECK CLUTCH OPERATION Brush must stop quickly when attachment clutch lever is released. -
Page 14: Service & Adjustments
WARNING: AVOID INJURY. Read and understand the entire Safety section before proceeding. SPEED SELECTOR ADJUSTMENT To adjust (Figure 10): 1. Place unit into service position. 2. Disconnect adjustment pivot pin from speed selector lever. 3. Place the speed selector in the fastest forward speed position. - Page 15 1. Engine Sheave 5. Attachment Pulley 2. Attachment Drive Belt 6. Attachment Idler Adjustment Nut 3. Belt Finger 4. Attachment Belt Idler Figure 12 3. Check brake. When the clutch lever is disengaged, the brake must contact attachment belt. When the clutch lever is engaged, the brake must be more than 1/16 in.
-
Page 16: Attachment Drive Belt Replacement
d.Finger tighten the jam nut, and then hold the adjuster body with pliers and tighten the jam nut with wrench. 6. Measure the extension of the traction drive clutch spring. 7. Repeat step 5 until traction drive clutch spring lengthens 1/2 -11/16 in.(12.7-17.5 mm) when the traction drive clutch lever is engaged. -
Page 17: Troubleshooting
7. Slide hex shaft to the right enough to remove friction disc. 8. Slide new friction disc onto hex shaft. 9. Install pinion sprocket and chain on hex shaft, then replace bearing flanges. 10. Hold wheel so friction disc will not rotate and secure new friction disc to carrier with three hex screws removed in step 3. -
Page 18: Specifications
Drive Speeds Pneumatic Tires-in (cm) Brush Rotation Angle Size Length-in (cm) Height-in (cm) Width-in (cm) Weight-lbs. (Kg) 926502 See your authorized Ariens dealer to add these optional accessories to your unit. OH318EA-222719E Part No. 9 (6.7) 72403600 3600±150 Optional See Engine Manual Order the following parts through your Dealer: 4 (3.8) -
Page 19: Warranty
1000 hours of use, whichever comes first, if any product is rented or leased. Ariens Company • 655 W. Ryan St, P.O. Box 157 • Brillion, WI 54110-0157• (920) 756-2141 • www.ariens.com Warranties 3-Year Limited Sno-Thro Warranty... - Page 20 (12) months after the date of purchase. Ariens may from time to time change the design of its products. Nothing contained in this warranty shall be construed as obligating Ariens to incorporate such design changes into previously manufactured products, nor shall such changes be construed as an admission that previous designs were defective.
- Page 21 Ariens Company 655 West Ryan Street P.O. Box 157 Brillion, WI 54110-0157 920-756-2141 Fax 920-756-2407 www.ariens.com...
Need help?
Do you have a question about the 926502 - PB936 and is the answer not in the manual?
Questions and answers