Table of Contents
Advertisement
Advertisement
Table of Contents

Related Manuals for Ferris FW25 Series


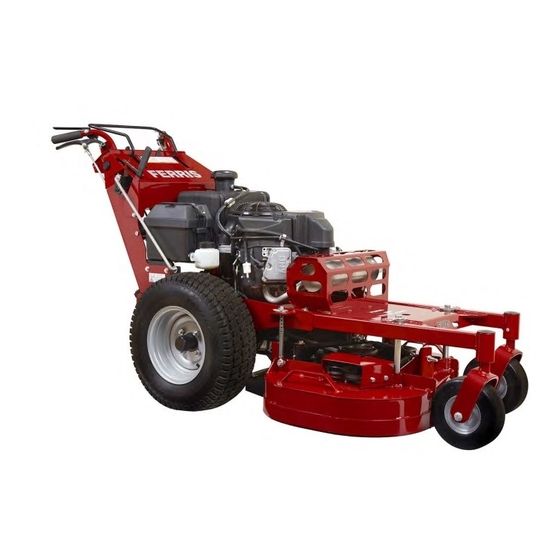
Summary of Contents for Ferris FW25 Series
-
Page 2: Table Of Contents
Table of Contents: Products Covered by This Manual........3 Identification Tag Location...........3 Product Identification Tag (Stamped).........3 CE Identification Tag Markings..........3 Operator Safety..............4 Operator Safety..............4 Safety Decals..............9 CE Safety Icons..............10 Safety Alert Symbol and Signal Words......10 Safety Interlock System..........10 Features and Controls............11 Control Locations &... -
Page 3: Products Covered By This Manual
LEFT and RIGHT are as seen from the operator's position. Copyright © Briggs & Stratton Corporation, Milwaukee, WI, USA. All rights reserved. Ferris is a trademark of Briggs & Stratton Power Products Group, PRODUCT REFERENCE DATA Unit Model Number: Unit Serial Number: Briggs &... -
Page 4: Operator Safety
CE Identification Tag Markings The safety alert triangle in text signifies important cautions or warnings which must be followed. Operating Safety Congratulations on purchasing a superior-quality piece of lawn and garden equipment. Our products are designed and manufactured to meet or exceed all industry standards for safety. Manufacturer's Identification Number Do not operate this machine unless you have been trained. - Page 5 Children sure to clean up the area to be mowed and remove objects that could be thrown by the blade BEFORE you start mowing. Do not operate this unit without the entire grass catcher or discharge guard (deflector) in place. Also, do not allow anyone in the area while the unit is running! If someone does enter the area, shut the unit off immediately until they leave.
- Page 6 Proper maintenance is critical to the safety and performance of • Inspect the area where the equipment is to be used and your unit. Keep the unit free of grass, leaves and excess oil. Be remove all objects such as rocks, toys and wire, which can sure to perform the maintenance procedures listed in this be thrown by the machine.
- Page 7 • Stop equipment and inspect blades after striking objects or abnormal vibration occurs. Make necessary repairs before WARNING resuming operations. Operating on a steep slope can cause sliding and loss of • Keep hands and feet away from the cutting units. steering, control, and rollover.
- Page 8 • Use extra care when approaching blind corners, shrubs, • Remove gas-powered equipment from the truck or trailer trees, or other objects that may obscure vision. and refuel it on the ground. If this is not possible, then refuel such equipment on a trailer with a portable container, rather Emissions than from a gasoline dispenser nozzle.
-
Page 9: Safety Decals
• Use care when checking blades. Wrap the blade(s) or wear gloves, and use caution when servicing them. Only replace blades. Never straighten or weld them. • Keep hands and feet away from moving parts. If possible, do not make adjustments with the engine running. •... -
Page 10: Ce Safety Icons
Safety Alert Symbol and Signal Words The safety alert symbol indicates a potential personal injury hazard. A signal word (DANGER, WARNING, or CAUTION) is used with the alert symbol to designate a degree or level of hazard seriousness. A safety symbol may be used to represent the type of hazard. -
Page 11: Features And Controls
NOTE: Once the engine has been stopped, the forward speed Operator Presence Handles: These handles are a major factor control lever must be returned to the NEUTRAL position, the in the safety interlock system of the mower. Both handles are parking brake should be engaged, the operator presence tied together so depressing one handle depresses both. - Page 12 Forward Speed Indicator: The purpose of the Forward Speed The neutral return pedals provide a hands-free return to neutral. Indicator is to help the operator quickly reset the forward speed The pedals are used in conjunction with the drive levers to control of the mower to a preferred driving speed.
-
Page 13: Operation
expands. See Check / Fill Transmission Oil for oil level check and fill procedures. Checks Before Starting Transmission Release Levers: Icon Control Name Transmission Release Levers This unit is equipped with two transmission release levers. The transmission release levers deactivate the transaxle so that the unit can be pushed by hand. -
Page 14: Stopping The Mower
a minute before engaging the PTO switch or driving the or unloading from a truck or trailer, partial throttle should be mower. used to slow the reaction time of the controls and reduce noise. 5. After warming the engine, ALWAYS operate the unit at Practice maneuvering the machine at a slow engine speed on FULL THROTTLE when mowing. -
Page 15: Cutting Height Adjustment
Turning Left: in all four deck lift shafts for the mower deck to have a level cut. Gently squeeze the left drive lever (C, inset 3). A sharp or gentle turn is determined by the amount of force applied to the drive Mowing lever. - Page 16 • Mow at time of day when the grass is cool and dry. Late afternoon or early evening often provide these ideal mowing conditions. • Avoid mowing after rain or even heavy dew, and never mulch when the grass is wet (moist grass does not mulch well, and clumps beneath the mower deck).
-
Page 17: Pushing The Unit By Hand
growth, and often wetter conditions are more suitable for broadcasting (side-discharging) or grass bagging operation. Engine Speed & Ground Speed for Mulching: Use full engine throttle matched with a slow ground speed so that clippings will be finely cut. Ground speed while mulching should be HALF of the speed that would be used when broadcasting (side discharging) under similar conditions. -
Page 18: Checking Tire Pressures
Checking / Adding Fuel WARNING Fuel and its vapors are extremely flammable and explosive. Fire or explosion can cause severve burns or death. Gasoline is highly flammable and must be handled with care. Never fill the tank when the engine is still hot from recent operation. -
Page 19: Lubricating The Front Casters
Not all greases are compatible. Red grease (p/n 5022285) is recommended, automotive-type, high-temperature, lithium grease may be used when this is not available. Oil Application Locations Operator Presence Flap Pivots (D, Figure 13) Neutral Return Pedal Pivots (E) Control Rod Pivots (F) Parking Brake Handle Pivot (C, Figure 14) Parking Brake Rod Pivots Points (D) Lower Parking Brake Shaft Pivots (E) -
Page 20: Check / Fill Transmission Oil
vapor could travel to any ignition source. Fuel vapor is also toxic if inhaled, so never store the unit in any structure used for human or animal habitation. WARNING Never store the unit, with gasoline in engine or fuel tank, in a heated shelter or in enclosed, poorly ventilated enclosures. -
Page 21: Maintenance Schedule
once a month. If battery is left in unit, disconnect the ENGINE MAINTENANCE negative cable. Before each use 10. Drain fuel system completely or add a gasoline stabilizer Check engine oil level. to the fuel system. If you have chosen to use a fuel stabilizer Clean visible debris from engine compartment. -
Page 22: Warranty
Warranty service is available only through including those of merchantability and fitness for a Ferris Authorized Service Dealers. Most warranty repairs are particular purpose, are limited to one year from purchase, handled routinely, but sometimes requests for warranty service or to the extent permitted by law . - Page 23 covered by warranty due to wear characteristics alone, unless the cause is due to defects in material or workmanship. Stale Fuel - In order to function correctly, this product requires fresh fuel that conforms to the criteria specified in the Operator's Manual.
Need help?
Do you have a question about the FW25 Series and is the answer not in the manual?
Questions and answers