Huawei B683 Quick Start Manual
Hide thumbs
Also See for B683:
- Quick start manual ,
- Product description (22 pages) ,
- Setup manual (7 pages)
Advertisement
Table of Contents
- 1 Getting to Know Your Device
- 2 PC Configuration Requirements
- 3 Installation
- 4 Installing the Sim Card
- 5 (Optional) Installing the External Antenna
- 6 Usb Printer
- 7 Connecting the Power Supply
- 8 Powering On/Off the Device
- 9 Setting up Wireless Connection
- 10 Step 1. Activating Wi-Fi
- 11 Accessing the Internet
- 12 Using the Management Page
- 13 Restoring Factory Defaults
- Download this manual
See also:
Setup Manual
B683 Quick Start
Note:
The following illustrations are provided for your reference only. For details
about the model you selected, please examine the actual device to
determine where features are located.
Check the information about the product and its accessories when you
purchase it. Some accessories are not provided in the packaging box. If
required, please contact your local dealer purchase them.
This guide briefly describes the functions of the device. For details about
how to set the management parameters, see the Help on the Web
management page.
Getting to Know Your Device
Application Scenarios
Your computer or a Wi-Fi device can connect to the Internet through this
device. The specific connection steps depend on Wi-Fi device or your
computer's operating system; please follow specific steps to commence
operation.
1
Advertisement
Table of Contents

Related Manuals for Huawei B683


Summary of Contents for Huawei B683
-
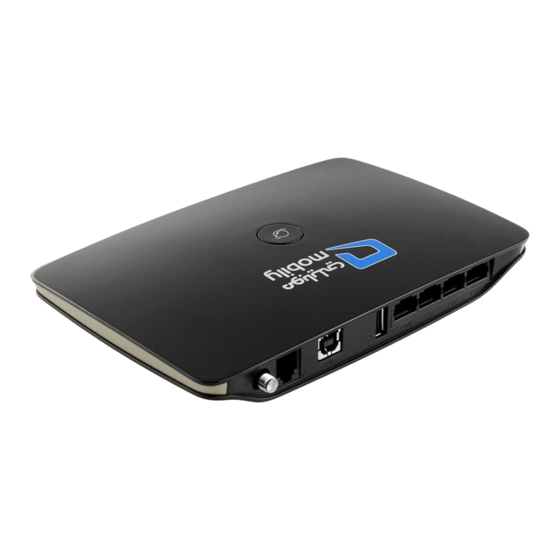
Page 1: Getting To Know Your Device
B683 Quick Start Note: The following illustrations are provided for your reference only. For details about the model you selected, please examine the actual device to determine where features are located. Check the information about the product and its accessories when you purchase it. - Page 2 Appearance 1. Power button 7. Power indicator 2. Wi-Fi/WPS button 8. LAN indicators 3. Dial-up key 9. External antenna port 4. USB indicator 10. Power port 5. Wi-Fi/WPS indicator 11. USB port 6. Network status indicator 12. LAN ports Note: LAN indicators correspond to LAN ports.
- Page 3 Indicators Indicator Status Steady on: USB storage device connected Off: USB storage device not connected USB indicator Steady on: Wi-Fi activated or data transfer in progress Blinking: Establishing a WPS connection Wi-Fi/WPS indicator Off: Wi-Fi not activated Red, fast-blinking: Faulty SIM card (SIM card not inserted or malfunctioned, or PIN verification failed)
-
Page 4: Pc Configuration Requirements
PC Configuration Requirements Recommended PC configurations are as follows: CPU: Pentium 500 MHz or higher Memory: 128 MB RAM or higher Hard disk: 50 MB disk space available Operating system: Windows 2000, Windows XP, Windows Vista, or Windows 7 LCD resolution: At least 800 x 600 pixels. A resolution of 1024 x 768 pixels is recommended Web browser: Microsoft Internet Explorer 6, Internet Explorer 7, or Internet Explorer 8, Firefox 3.5 or 3.6, Safari 3.0, Opera 10.5, or Chrome... - Page 5 Placing the Device Your device can be placed horizontally, be placed upright with the use of a table stand, or hung on the wall. Place your device on a surface well above the floor or near a window, so it can receive a strong signal. Insert the latches on the table stand into the slots on the back of the device.
-
Page 6: (Optional) Installing The External Antenna
(Optional) Installing the External Antenna Connect the external antenna to the device's external antenna port. Install the antenna securely by screwing it completely into the antenna jack. You need to first set the antenna mode to external on the management page (http://192.168.1.1). -
Page 7: Usb Printer
Connecting the Device to a PC Using an Ethernet Cable If the indicator for the LAN port to which the Ethernet cable is connected is on, the connection is active. The network cable connecting to the PC must not be longer than 100 meters (328 feet). Connecting the Device to a USB Disk, Mobile Disk, or USB Printer Your device can be connected to a USB disk, mobile disk, or USB printer... -
Page 8: Connecting The Power Supply
Connecting the Power Supply Attention: Use a power adapter that is compatible with the device or else the device may be damaged. Powering On/Off the Device After connecting the power supply, the device will power on automatically. Press and hold until all indicators turn off to power off the device. - Page 9 Step 2. Establishing a Wi-Fi Connection Establishing a Wi-Fi Connection (Using a PC as an Example) Note: Before establishing a Wi-Fi connection, you must ensure that your computer is equipped with a wireless network adapter. If it is clear that the computer has a wireless network connection, then the wireless network adapter can be used.
-
Page 10: Accessing The Internet
Accessing the Internet After a connection between your device and the client is active, you use the following modes to access the Internet. Attention: Please select a proper Internet connection mode according to your network charges. For example, if you are using time-based service, Manual mode is recommended. -
Page 11: Restoring Factory Defaults
Note: The default password is admin. To protect your device, only allow one user to log in to the management page at the same time. Restoring Factory Defaults If you become uncertain of which parameters you have set or changed, you can restore the factory defaults which the device came with and set the parameters again. - Page 12 See Help on the management page. Restart the device. Restore the device to factory defaults. Contact your service provider. Copyright © Huawei Technologies Co., Ltd. 2011. All rights reserved. THIS DOCUMENT IS FOR INFORMATION PURPOSE ONLY, AND DOES NOT CONSTITUTE ANY KIND OF WARRANTIES.
Need help?
Do you have a question about the B683 and is the answer not in the manual?
Questions and answers