
Related Manuals for Jasco Z-Wave Auxiliary Switch


Summary of Contents for Jasco Z-Wave Auxiliary Switch
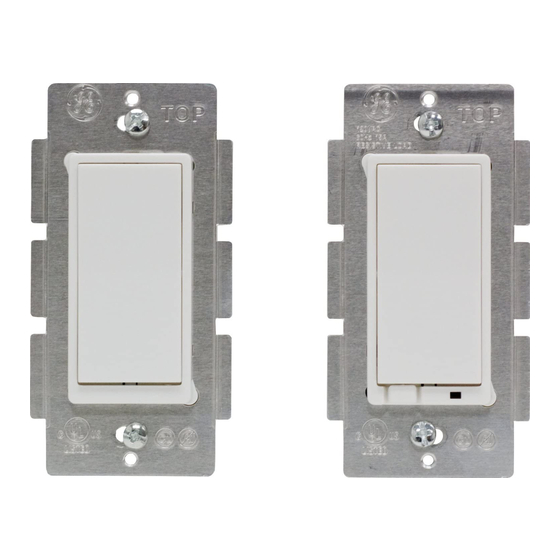
- Page 1 Z-Wave Certified ® Wireless Lighting Control Auxiliary Switch 45710 ZW2004 Made in China...
- Page 2 This auxiliary switch is a component of the JASCO Z-Wave lighting control system and is designed to ® work with all Jasco branded Z-Wave Dimmer and on/ off switches. Use one auxiliary switch for 3-way control such as the top and bottom of a staircase (1 load/light & 2 switches) with one of the above Z-Wave devices.
- Page 3 This device is intended for installation in accordance with the National Electric Code and local regulations in the United States, or the Canadian Electrical Code and local regulations in Canada. If you are unsure or uncomfortable about performing this installation consult a qualified electrician.
- Page 4 For these reasons, we recommend the following: 1. Assign Z-Wave controlled appliances to device numbers 10 – 18 on the JASCO remote. The likelihood of unintentionally turning on the appliance will be reduced significantly because the “Shift” button will need to be pressed before pressing device numbers 10-18.
- Page 5 Z-Wave control. With this type of circuit, Switch 1 is replaced by the Z-Wave auxiliary switch and Switch 2 is replaced with the primary Z-Wave switch. The auxiliary switch does not actually control the power;...
- Page 6 Typical 3-way circuit: Black Black Colored (NOT GREEN) White Switch 1 Switch 2 Black Black Black (Line / Hot) (Load) (Line / Hot) Z-Wave Z-Wave 45710 On/Off or Dimmer switch White White White (Neutral)
- Page 7 Correct Z-Wave switch position for typical 3-way circuit: White (Neutral) Traveler Colored (Not Green) Black (Load) Jasco Z-Wave Z-Wave ON/OFF or auxiliary dimmer switch Green (Ground) Black (Line / Hot) Please consult an electrician if you have trouble identifying the type of wiring circuit you wish to convert or if you do not feel confident in your ability to convert the circuit to Z-Wave control.
- Page 8 To change color of the switch 1. Push side tabs in on one side and then the other to release cover. Lift the cover up and off. 2. Simply put the new cover onto the switch by inserting the air gap and side tabs and snapping securly into place.
-
Page 9: Installation
INSTALLATION This switch may be used in new installations or to replace an existing wall switch when converting a 3 or 4 way circuit to Z-Wave. It can not be used by itself for 2-way control (one switch & one load). Please note: The Auxiliary switch(s) must be wired to the same Neutral as the Z-Wave enabled switch and the lighting device. -
Page 10: Shock Hazard
4-Way Wiring Schematic using two 45710’s and one 45709, 45712 or 45715 Traveler - Colored (Not Green) Z-Wave auxiliary Green (Ground) White (Neutral) Traveler - Colored (Not Green ) Black (Load) Z-Wave Z-Wave primary auxiliary *The 45715 does not have a connection Green (Ground) to neutral... - Page 11 Z-Wave 45709, 45712 or 45715 1.Shut off power to the circuit at fuse box or circuit breaker. 2. Remove wall plate. ! Warning: Verify power is OFF to switch box before continuing. 3. Remove the switch mounting screws. 4. Carefully remove the switch from the switch box. DO NOT disconnect the wires.
- Page 12 service panel (Hot) to the lead or terminal marked LINE. 11. Connect the Traveler wire (usually Red) to the wire or screw terminal marked TRAVELER. The other end of this Traveler wire connects to the TRAVELER wire on the 45710 Auxiliary Switch. The TRAVELER terminal or lead must be insulated if you are not using it.
- Page 13 2. DO NOT connect the 45710 auxiliary switch to the home’s black Hot (Line) wire. Observe Important Wiring Information Important: This switch is rated for and intended to only be used with copper wire. The home’s electrical wires may be attached to the screw terminals or inserted into the holes in the back of the switch enclosure and clamped in place by tightening the screw terminals.
-
Page 14: Operation
OPERATION When installed with the 45712 or 45715 dimmer: • Press and release the top of the 45710’s rocker to turn the connected lighting ON and return the brightness level to its previous setting. • Press and hold the top of the 45710’s rocker to turn the connected lighting ON and set the brightness level. -
Page 15: Warranty
WARRANTY JASCO Products warrants this product to be free from manufacturing defects for a period of two years from the original date of consumer purchase. This warranty is limited to the repair or replacement of this product only and does not extend to consequential or incidental damage to other products that may be used with this product. -
Page 16: Specifications
Power: 120 VAC, 60 Hz. Operating Temperature Range: 32-104° F (0-40° C) For indoor use only. Specifications subject to change without notice due to continuing product improvement Z-Wave is a registered US trademark of Sigma Designs © 2013 JASCO Products Company... - Page 17 Distributed by Jasco Products Company LLC, 10 E. Memorial Road, Oklahoma City, Oklahoma 73114. Specifications subject to change without notice due to continuing product improvement Z-Wave is a registered US trademark of Sigma Designs © 2013 Jasco Products 45710 ZW2004...
Need help?
Do you have a question about the Z-Wave Auxiliary Switch and is the answer not in the manual?
Questions and answers