Sign In
Upload
Download
Table of Contents
Contents
Add to my manuals
Delete from my manuals
Share
URL of this page:
HTML Link:
Bookmark this page
Add
Manual will be automatically added to "My Manuals"
Print this page
×
Bookmark added
×
Added to my manuals
Manuals
Brands
Westinghouse Manuals
Cooktop
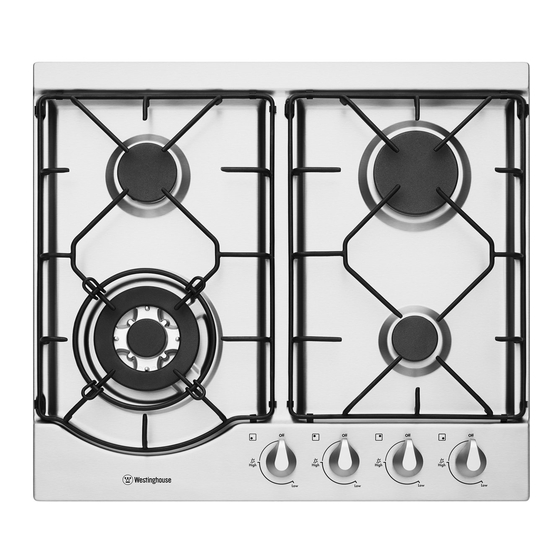
WHG642SA
User manual
Westinghouse WHG642SA User Manual
Hide thumbs
Also See for WHG642SA
:
Product details
(6 pages)
1
Table Of Contents
2
3
4
5
6
7
8
9
10
11
12
13
14
15
16
17
18
19
20
page
of
20
Go
/
20
Contents
Table of Contents
Troubleshooting
Bookmarks
Table of Contents
Gas Cooktops
Table of Contents
Important Safety Instructions
Using Your Cooktop
Installation and Use Summary
Care and Cleaning
Troubleshooting
Technical Data
Installation Instructions
Installation Procedure
Gas Connection
Operation on NG/SNG
LPG Conversion
Electrical Connection
Testing Appliance Operation
Warranty
Advertisement
Quick Links
1
Installation and Use Summary
2
Troubleshooting
3
Technical Data
4
Installation Instructions
5
Gas Connection
6
Lpg Conversion
Download this manual
USER MANUAL
GAS COOKTOPS
WHG642SA, WHG644SA, WHG646SA,
WHG646WA, WHG756SA, WHG952SA,
WHG956SA, WHG956WA
Table of
Contents
Previous
Page
Next
Page
1
2
3
4
5
Advertisement
Table of Contents
Need help?
Do you have a question about the WHG642SA and is the answer not in the manual?
Ask a question
Questions and answers
Related Manuals for Westinghouse WHG642SA
Cooktop Westinghouse WHG642SA Product Details
(6 pages)
Cooktop Westinghouse WHG646SB User Manual
(20 pages)
Cooktop Westinghouse WHG952SB User Manual
(11 pages)
Cooktop Westinghouse WHG646SA User Manual
(20 pages)
Cooktop Westinghouse WHG756SA User Manual
(20 pages)
Cooktop Westinghouse WHG952SA User Manual
(20 pages)
Cooktop Westinghouse WHG644SC User Manual
(20 pages)
Cooktop Westinghouse WHG648SC User Manual
(20 pages)
Cooktop Westinghouse WHG758SC User Manual
(20 pages)
Cooktop Westinghouse WHG954SC User Manual
(20 pages)
Cooktop Westinghouse WHG958SC User Manual
(20 pages)
Cooktop Westinghouse WHG958BC User Manual
(20 pages)
Cooktop Westinghouse WHG956SB User Manual
(20 pages)
Cooktop Westinghouse WHG639BD User Manual
(15 pages)
Cooktop Westinghouse WHG959BD User Manual
(15 pages)
Cooktop Westinghouse WHG955BCA User Manual
(15 pages)
This manual is also suitable for:
Whg644sa
Whg646sa
Whg646wa
Whg756sa
Whg952sa
Whg956sa
...
Show all
Whg956wa
Table of Contents
Print
Rename the bookmark
Delete bookmark?
Delete from my manuals?
Login
Sign In
OR
Sign in with Facebook
Sign in with Google
Upload manual
Upload from disk
Upload from URL


Need help?
Do you have a question about the WHG642SA and is the answer not in the manual?
Questions and answers