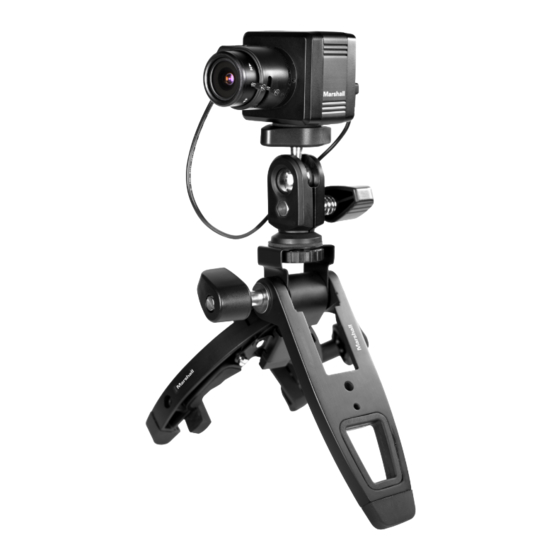
Summary of Contents for Marshall Electronics CV360-CGB
- Page 1 Marshall Electronics CV360-CGB 2MP HDSDI / HDMI Broadcast Camera (GenLock in 1920x1080p) User’s Manual 2014.08.20 VER. - 1 -...
- Page 2 CAUTION Please read precautions before the using this product. ▶ This manual is created to prevent camera loss and to protect user safety. ▶ The following symbols explain the damage or loss if not used properly. Indicates that there may be cause WARNING of injury or loss if user violates the notice...
- Page 3 (Recommended use temperature : -5 ~ 50 11. How to request troubleshooting help or request a RMA repair Please contact Marshall Electronics for repair in the following cases aft er the camera is removed from the power source. 5. Sun Light A.
- Page 4 4. Precautions of Installment----------------------------------------- 12 Thank you for purchasing the CV360-CGB. If you want to get a better understanding of this products functio ns and capabilities, please read the user manual carefully before using this product. Keep this User's Guide for future reference.
- Page 5 1. Features ♦ This product is a 1/3” CMOS 2.1 MegaPixel Full-HD Progressive Scan, high sensitivity color Broadcast camera for all types of video production projects and applications ♦ Utilizing a 1/3" 2.1MegaPixel Panasonic C-MOS High Performance Sensor ♦ HD-SDI/3G-SDI/HDMI: 1920x1080p – 25, 29.97, 30, 50, 59.94, 60fps, 1920x1080i – 50, 59.94, 60fps, 1280x720p – 50, 59.94, 60fps ♦...
- Page 6 2. OSD Menu manipulation explanation 2.2 Activate “OSD MENU” a. Press “set button” to Move to the Menu setting display on monitor. b. Press “Up button” to move upper menu or “Down button” to move bottom menu. Selected menu item is <...
- Page 7 2.3 How to start “OSD SUB MENU” 1. IRIS : Which controls the amount of light entering for the camera 1) Electronic Level Control : Using the electronic Shutter 2) Auto Level Control: Using the Lens Shutter IRIS SETUP ELC/ALC <...
- Page 8 10) PRIVACY : Set the range of privacy protection zone 10] Y LEVEL : The value of the box is between black and white ◀ ① BOX : The use of the privacy function to the Box mode (“0” is black and “20” is white) <...
- Page 9 11. SYSTEM : OFF/ON◀ 13) CAM TITLE : Make a Camera’s name ◀ 1) VERSION : display the version of camera software ※ < V4.07.24-G > ○○○○○○○○ : 0~9,A~Z 2) COM.◀ U , D - CHAR SELECT ① CAM ID : Set to Camera’s ID L , R - POSITION <...
- Page 10 5) AGC MARGIN: Set the level range of the Day&Night judgement detection(margin) SETUP < 0 ~ 20 steps, > MOTION ◀ OFF/ON ◀ MENU 6) DELEY : delay the time from day to night < LOW, MIDDLE, HIGH > 6. WHITE BAL AUTO : < AUTO/AUTOext /PRESET/MANUAL > OFF/ON ◀...
- Page 11 3. Genlock Description Menu / System / Genlock Genlock Resolution Supported Disable Genlock Signal : No Input / No Output 50hz 1920 x 1080 x 25p 1920 x 1080 x 50p Master Genlock Output Mode : Menu setup to “Back Panel : Sync Out”...
-
Page 12: Troubleshooting During Installation
4. Troubleshooting during Installation 1. Video output through HD-SDI or HDMI on monitor is blue or black. If the SDI OUT & HDMI connection is bad or wrong. If the resolution setting is not suit for device. Or it is not suitable CABLE or transmission distance is too long. ♦...


Need help?
Do you have a question about the CV360-CGB and is the answer not in the manual?
Questions and answers