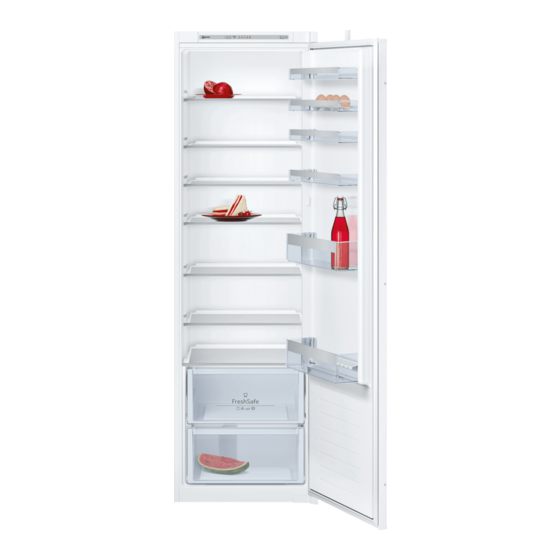
NEFF KI181 Series User Manual
Neff ki181 series refrigerator
Hide thumbs
Also See for KI181 Series:
- User manual (124 pages) ,
- User manual (86 pages) ,
- User manual (86 pages)
Table of Contents
Advertisement
Quick Links
Advertisement
Table of Contents

Subscribe to Our Youtube Channel
Summary of Contents for NEFF KI181 Series
- Page 1 Refrigerator User manual KI181..
-
Page 2: Table Of Contents
en Table of Contents Safety and warning information .... 3 Super cooling ........11 Information concerning disposal ..5 Interior fittings ........11 Scope of delivery ........5 Sticker “OK” .......... 12 Room temperature, ventilation Switching off and disconnecting and cavity depth ........6 the appliance ........ -
Page 3: Safety And Warning Information
The more refrigerant an appliance enTable of Contentsen I n s t r u c t i o n fo r U s e Safety and warning contains, the larger the room must be in which the appliance is situated. Leaking information refrigerant can form a flammable gas-air mixture in rooms which are too small. -
Page 4: Children In The Household
Important information when Children in the household using the appliance Keep children away from packaging ■ and its parts. Never use electrical appliances inside ■ Danger of suffocation from folding the appliance (e.g. heater, electric ice cartons and plastic film! maker, etc.). -
Page 5: Information Concerning Disposal
ã= Warning Information concerning Redundant appliances disposal 1. Pull out the mains plug. 2. Cut off the power cord and discard * Disposal of packaging with the mains plug. The packaging protects your appliance 3. Do not take out the trays from damage during transit. -
Page 6: Room Temperature, Ventilation And Cavity Depth
Cavity depth Room temperature, A cavity depth of 560 mm ventilation and cavity is recommended for the appliance. If the cavity depth is smaller – at least depth 550 mm – the energy consumption increases slightly. Ambient temperature The appliance is designed for a specific Installation location climate class. -
Page 7: Connecting The Appliance
Connecting Getting to know your the appliance appliance After installing the appliance, wait at least 1 hour until the appliance is switched on. During transportation the oil in the compressor may have flowed into the refrigeration system. Before switching on the appliance for the first time, clean the interior of the appliance (see chapter “Cleaning the appliance”). -
Page 8: Switching On The Appliance
Controls Switching on Fig. 2 the appliance On/Off button Fig. 2 Serves to switch the appliance on and off. Switch on the appliance with the “super” button On/Off button 1. Is used to switch on the super The appliance begins to cool. Light is cooling (see chapter entitled switched on when the door is open. -
Page 9: Setting The Temperature
Setting Refrigerator the temperature compartment Fig. 2 The refrigerator compartment is the ideal storage location for meat, sausage, fish, dairy products, eggs, ready meals Refrigerator compartment and pastries. The temperature can be set from +2 °C to +8 °C. Storing food Keep pressing temperature setting Store fresh, undamaged food. -
Page 10: In The Refrigerator
Note the chill zones Vegetable container with in the refrigerator humidity controller compartment Fig. 5 The air circulation in the refrigerator The vegetable container is the optimum compartment creates different chill storage location for fresh fruit and zones: vegetables. A humidity controller and a special seal can be used to adjust the Coldest zone is between the arrow ■... -
Page 11: Super Cooling
Super cooling Interior fittings Super cooling sets the refrigerator (not all models) temperature to the coldest temperature setting for approx. 15 hours. Then Glass shelves the appliance automatically switches Fig. 6 to the temperature set prior to super If required, you can vary the shelves cooling mode. -
Page 12: Sticker "Ok
Sticker “OK” Cleaning the appliance ã= (not all models) Caution The “OK” temperature monitor Do not use abrasive, chloride or acidic ■ can be used to determine temperatures cleaning agents or solvents. below +4 °C. Gradually reduce Do not use scouring or abrasive the temperature if the sticker ■... -
Page 13: Odours
Interior fittings Odours All variable parts of the appliance can be taken out for cleaning. If you experience unpleasant odours: Take out glass shelves Fig. 6 1. Switch off the appliance with the On/Off button. Fig. 2/1 To do this, pull out shelf, lift at the front 2. -
Page 14: Tips For Saving Energy
Tips for saving energy Operating noises Install the appliance in a dry, well ■ Quite normal noises ventilated room! The appliance should not be installed in direct sunlight Droning Motors are running (e.g. refrigerating or near a heat source (e.g. radiator, units, fan). -
Page 15: Eliminating Minor Faults Yourself
Eliminating minor faults yourself Before you call customer service: Please check whether you can eliminate the fault yourself based on the following information. Customer service will charge you for advice – even if the appliance is still under guarantee! Fault Possible cause Remedial action Temperature differs... - Page 16 Fault Possible cause Remedial action Bottom of The condensation Clean the condensation channel the refrigerator channel or drainage and the drainage hole. See chapter Cleaning the appliance. Fig. 3 compartment is wet. hole are blocked. The refrigerating unit Appliance opened Do not open the appliance is switching on more frequently.
-
Page 17: Appliance Self-Test
Appliance self-test Customer service Your appliance features an automatic Your local customer service self-test program which shows you can be found in the telephone directory sources of faults which may be repaired or in the customer-service index. Please by customer service only. provide customer service with the appliance product number (E-Nr.) and production number (FD). - Page 18 °C Super Alarm Alarm Super...
- Page 22 9000852088 (9409)


Need help?
Do you have a question about the KI181 Series and is the answer not in the manual?
Questions and answers