Table of Contents
Advertisement
Warranty statement.
Sound Projections Six Year Limited Warranty.
The Sound Machine SM-5 is warranted to be free of defects in materials and work-
manship for a period of 6 years from the date of original purchase, subject to the
following conditions:
•
This warranty excludes defects caused by normal wear, abuse, shipping
damage or failure to use product in accordance with instructions. All
warranty service must be performed or authorized by Sound Projections.
Any service or modifications performed without authorization from Sound
Projections may void this warranty.
•
The Lithium Iron Phosphate (LFP) rechargeable battery in SM-5 models is
warranted for a period of 3 years.
•
Wireless microphone and CD/MP3 player options are warranted for a
period of 2 years.
•
Prior to returning your system for repair and/or warranty service, please
contact our customer service department at the address below for a
Return Authorization (RA) number.
Sound Projections
1815 W. 205th Street, Suite 103
Torrance, California 90501
(310) 618-9619
www.soundprojections.com
560-0032 Rev A, SM-5 12/13
User Guide
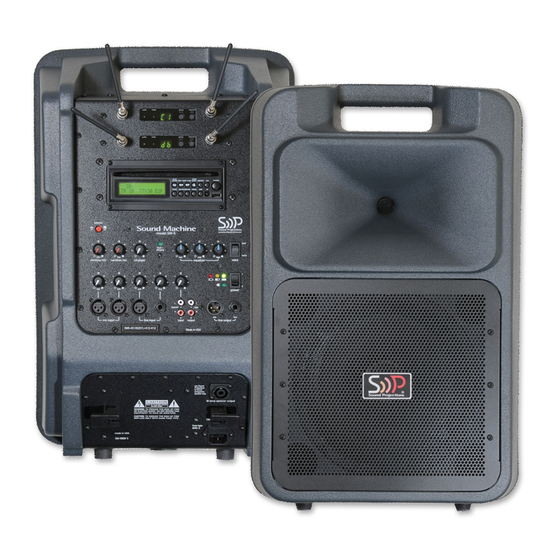
Sound Machine SM-5
Advertisement
Table of Contents

Summary of Contents for Sound Projections Sound Machine SM-5
-
Page 1: Warranty Statement
User Guide Sound Projections Six Year Limited Warranty. The Sound Machine SM-5 is warranted to be free of defects in materials and work- Sound Machine SM-5 manship for a period of 6 years from the date of original purchase, subject to the following conditions: •... -
Page 2: Replacing The Fuse
Welcome Replacing the fuse. Congratulations on purchasing a portable sound system from Sound Projections. Warning! Replace fuse with same type and Our products combine superior design with quality components and rugged rating as indicated on panel. construction. We’re proud of the products we manufacture, and appreciate the confidence you’ve shown by choosing us. -
Page 3: Important Safeguards
Using the outputs. Important safeguards CAUTION AVIS RISK OF ELECTRIC SHOCK tape DO NOT OPEN RISQUE DE CHOC ELECTRIQUE NE PAS OUVRIR CAUTION: To reduce the risk of electric shock, do not remove the cover. No user- line output output serviceable parts inside. -
Page 4: Getting Started
(including optional sional, the Sound Machine SM-5 was designed with you in mind. Easy CD) when speaking on the microphone. to use and loaded with features, you’ll need only a few minutes to set up and begin operation. -
Page 5: Charging The Battery
Dual wireless system set-up. 3. Turn the power switch ON (plug in power cord for AC operation). Follow these steps to set-up a Sound Machine with two wireless systems: Observe LED indicators to confirm 1. Turn the sound system “on”, and turn all transmitters “off”. battery level and power. - Page 6 Choosing an input. Wireless system set-up. Each transmitter and receiver pair must be the same channel. The Shure wireless system uses transmitter setup to synchronize the transmitter and receiver channels. Note: transmitting devices such as cellular phones may interfere with wireless audio transmissions. Keep transmitters and receiv- ers away from these and other potential sources of interference.
- Page 7 Operating the body-pack mic/transmitter. Indicator LED for Power and battery status Power switch: Toggles power on or off. 4-Pin Microphone Input Jack. Group Button: Changes group Setting LED Display: Displays group and channel setting. Channel Button: Changes channel setting. Audio Gain Adjustment: Rotate to increase or decrease microphone gain. Plug any line-level source Plug the outputs from a tape Changing batteries.
- Page 8 Operating the handheld wireless mic/transmitter. Wireless system operation. The Sound Machine SM-5 is available with single or dual built-in Shure wireless receivers. The instructions on the following pages describe how to set-up and operate the receiver units and wire- less transmitters.


Need help?
Do you have a question about the Sound Machine SM-5 and is the answer not in the manual?
Questions and answers