Table of Contents
Advertisement
Quick Links
Advertisement
Table of Contents

Related Manuals for Vent-Axia VAAR500

Summary of Contents for Vent-Axia VAAR500
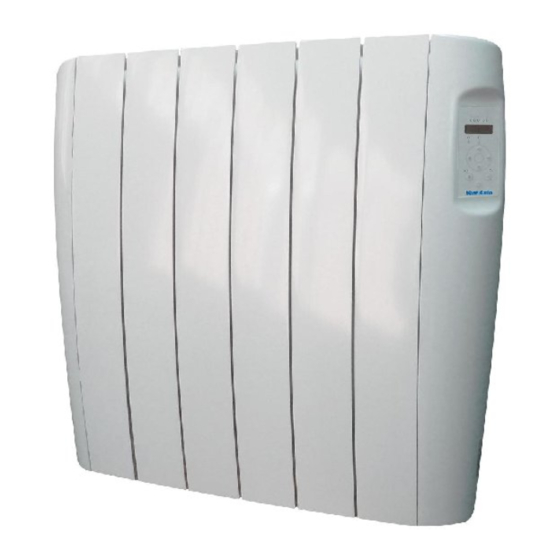
- Page 1 Opal Aluminium Radiator Heater Range Installation and Wiring Instructions Stock Ref. N° 448469 VAAR500 448470 VAAR750 448471 VAAR1000 448472 VAAR1250 448473 VAAR1500 PLEASE READ INSTRUCTIONS IN CONJUNCTION WITH ILLUSTRATIONS. PLEASE SAVE THESE INSTRUCTIONS...
-
Page 2: General Warnings
1. GENERAL WARNINGS * This appliance has been designed to be fixed to a wall. Please read these instructions carefully before starting the installation. * This heater is filled with a precise quantity of special oil. Repairs requiring the opening of the heater should be carried out by a qualified service engineer. -
Page 3: Installation Instructions
2. INSTALLATION INSTRUCTIONS 2.1 It is important that the heater IS FIXED FIRMLY TO A SOLID AND LEVELLED WALL. 2.2 Make sure that there is a socket near the area where you are going to place it. 2.3 Take out from the box the pattern to see the exact position of the mounting screws. To avoid problems it is necessary to keep a minimum distance of 15 cm between the heater and any combustible materials. -
Page 4: Technical Information
2 SCREWS 1. TO PLACE 2. TO LET 3. TO PLACE FIXED HEATER IMPORTANT: To have the heater perfectly fixed to the wall, screw COMPLETELY the 6 x 50 mm screws in the upper part of the separators (Point 6 - Fig. 4). To avoid problems it is necessary to keep a minimum distance of 15 cm between the heater and any combustible material such as curtains, furnitures, etc. -
Page 5: Programming The Heater
5 PROGRAMMING THE HEATER 1. STANDBY 2. MANUAL MODE 3. PROGRAM MENU 4. NAVIGATION KEYS (+, -, OK) 5. ON / OFF FOR THE DISPLAY 6. ECONOMIC LED 7. COMFORT LED 8. PROGRAM SETTING LEDS 5.1 START UP Pr : Hd = “Stand-by”... -
Page 6: Programming Mode
22.0 Press Press Mark the desired comfort temperature, for example 22 ºC. 17.5 The actual room temperature will appear again. The heater will start heating up till it reaches the marked temperature, in this case 22 ºC. 5.3 PROGRAMMING MODE The heater is programmed with 7 plans during its manufacture which can be adapted to most of the heating situations that you may need. - Page 7 Press 2 seg.: Hour Press: You can change the language (english, french, spanish) pressing: 00 : 00 23 : 00 Programming the hour. Programming the minutes. Press Press Press Press dd Mo Programme the day of the week. Press Press Press tº...
- Page 8 PLAn PL 01 Choose the programme or plan you desire. Press Press Press Press to put into action this plan. 5.4 PLAN ACCORDING TO YOUR REQUIREMENTS If none of the 7 programmes correspond to your heating needs, we are going to explain how you can configure your own heating system plan.
- Page 9 PL CF Choose the programme PLCF. Press Press Now we are going to introduce the start of the first comfort period from monday to friday. The comfort first period P1 and days monday to friday leds will light up. In our case, the first comfort period starts at 6:00 h.
- Page 10 Choose 09:00 h. 09:00 Now we are going to programme period P2 and Press period P3. Press Choose 14:00 h. Choose 18:00 h. 18:00 14:00 Press Press Press Press Choose 20:00 h. Choose 24:00 h. 20:00 24:00 Press Press Press Press Now if you wish, you can programme the period regarding saturday and sunday.
-
Page 11: Switching Off The Display
When you finish programming, press the button “PROG” . The room temperature will appear on the display. You have just designed a heating system plan. IMPORTANT If you do not require a set time period, you must put the hour of this period at “00:00” . 00:00 00:00 Press... -
Page 12: Locking The Controls
7 LOCKING THE CONTROLS - To activate the function of locking the controls, touch simultaneously the keys (Fig. 1): - To deactivate the function of locking the controls, touch simultaneously the keys (Fig. 2): unlo FIG. 1 FIG. 2 8 STANDBY MODE Press: This mode will maintain all the program parameters. - Page 16 Vent-Axia guarantees its products for two years from date of purchase against faulty material or workmanship. In the event of any part being found to be defective, the product will be repaired, or at the Company’s option replaced, without charge, provided that the product:- ...
Need help?
Do you have a question about the VAAR500 and is the answer not in the manual?
Questions and answers