Table of Contents
Advertisement
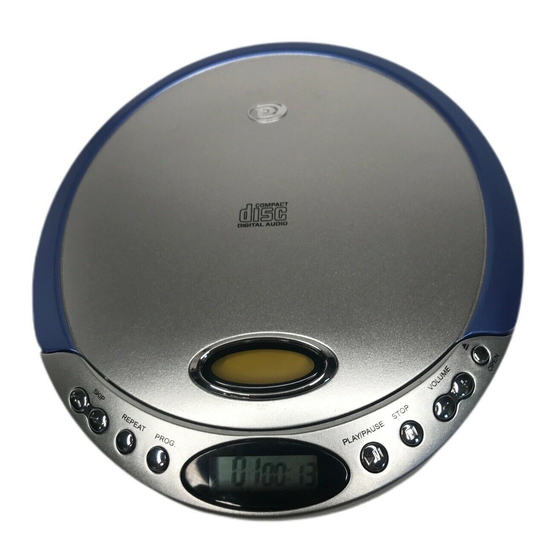
PROGRAMMABLE COMPACT DISC PLAYER
OPERATING INSTRUCTIONS
•
PLAYS ALL MUSIC COMPACT DISCS, CD-R & CD-RW
•
PUSH BUTTON ELECTRONIC VOLUME CONTROL
•
6 DIGIT LCD VISUAL DISPLAY
•
TRACK REPEAT & DISC REPEAT
•
DELUXE STEREO HEADPHONES INCLUDED
•
USES 2 SIZE "AA" BATTERIES
IB-CD566(CDX35A-0A3)-WM-E-011905(MS).pmd
MODEL CD-566
PLEASE READ CAREFULLY BEFORE USE
1
(NOT INCLUDED)
IB-CD566(CDX35A-0A3)-WM-E-011905
1/19/2005, 8:45 PM
Advertisement
Table of Contents

Related Manuals for Durabrand CD-566


Summary of Contents for Durabrand CD-566
-
Page 1: Operating Instructions
PUSH BUTTON ELECTRONIC VOLUME CONTROL • 6 DIGIT LCD VISUAL DISPLAY • TRACK REPEAT & DISC REPEAT • DELUXE STEREO HEADPHONES INCLUDED • USES 2 SIZE “AA” BATTERIES PLEASE READ CAREFULLY BEFORE USE IB-CD566(CDX35A-0A3)-WM-E-011905(MS).pmd MODEL CD-566 (NOT INCLUDED) IB-CD566(CDX35A-0A3)-WM-E-011905 1/19/2005, 8:45 PM... -
Page 2: Location Of Controls
(AT THE BOTTOM OF THE SET) READ THIS IMPORTANT INFORMATION BEFORE USING YOUR HEADPHONES The portable CD player is one of the most exc iting and innovative consumer electronics products ever developed. With it you can now enjoy listening to your favorite music wherever you go, through the supplied headphones. -
Page 3: Power Sources
POWER SOURCES Power your CD player by connecting an optional AC ADAPTOR or by inserting 2 size “AA” fresh alkaline batteries. 1.USING WITH BATTERIES Insert two size “AA” alkaline batteries according to the + and markings on the bottom of the set. - Page 4 CUR RENT TRACK Adjust the volume. NOTE: The default volume level is 20, every time you turn off the CD player and play it again, the volume level will go back to 20, you can press the volume control (+ or -) buttons to adjust the volume up or down.
-
Page 5: Other Operations
OTHER OPERATIONS Operation To pause play To release pause and resume play To stop play To turn off the power To s k i p to th e ne x t trac k(s) To skip to the previous trac k(s) To go ahead at high s pe ed ( s ear c h f or- ward) -
Page 6: Intro Play
1. During play, press the REPEAT button four times, the symbol RANDOM will flash. 2. Press the PLAY/PAUSE button, this will play all of the songs in random order selected by the CD player. The RANDOM will stop flashing. 3. Press the SKIP button song. -
Page 7: Programmed Play
PROGRAMMED PLAY The tracks (songs) on the disc can be programmed (arranged in advance) to play in any order you prefer (up to 20 tracks can be programmed). Programming Example Program Number Track Number (song number) During programming, the symbol PROG (program) flashes in the display. To program songs to play in your preferred order, follow steps below: 1.Press the PROGRAM button. -
Page 8: Maintenance
MAINTENANCE Cleaning the lens A dirty lens will cause sound skipping. If the lens is very dirty, the player may not wo rk . We s ugge s t u s ing a s pec i al cleaning disk (not included) available in most music and Hi-Fi stores. -
Page 9: Safety Precautions
Replace both batteries at the same time (see USING WITH BATTERIES). This CD-566 is identified by a serial number located in the BATTERY COMPARTMENT. Record this number in the space provided below. Model CD-566 Serial No. -
Page 10: Safety Certification
IMPORTANT INFORMATION REQUIRED BY THE FCC Since the CD circuitry may cause interference to other radios nearby, switch this set off when not in use or move it away from the affected radios. This device complies with Part 15 of the FCC Rules. Operation is subject to the following two conditions: (1) This device may not cause harmful interference, and (2) This device must accept any interference received, including interference that may cause undesirable operation. -
Page 11: Troubleshooting
OK on tester but change or set does th ey a re w eak for CD not play normally. operation). Dead or weak batteries. CD Player will not turn on. ADAPTOR not connected properly. Disc inserted incorrectly. Disc scratched or dirty. -
Page 12: Technical Specifications
During the initial 90 day period after original purchase, we will service or exchange, at no charge, the set that is returned to LENOXX ELECTRONICS CORP. After the initial 90 day period expires, and for a period of 12 months from original purchase, we will repair the unit covering any part(s) that need to be replaced at no charge, but will charge for the cost of labor, return postage paid by Lenoxx.
Need help?
Do you have a question about the CD-566 and is the answer not in the manual?
Questions and answers