Sign In
Upload
Download
Table of Contents
Contents
Add to my manuals
Delete from my manuals
Share
URL of this page:
HTML Link:
Bookmark this page
Add
Manual will be automatically added to "My Manuals"
Print this page
×
Bookmark added
×
Added to my manuals
Manuals
Brands
Allied Vision Manuals
Color Camera
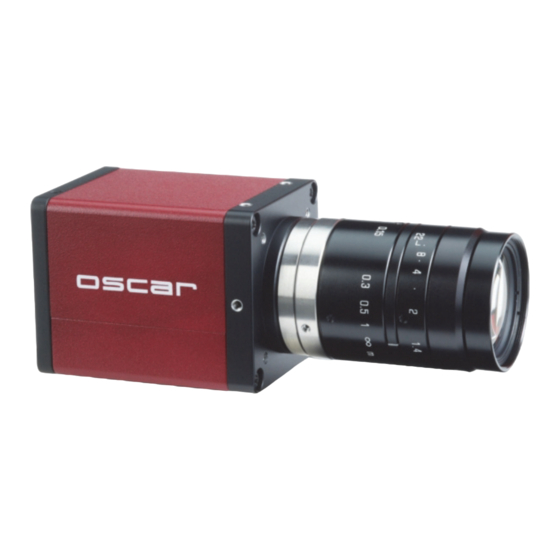
Oscar
Installation manual
Allied Vision Oscar Installation Manual
Avt cameras
Hide thumbs
1
2
Table Of Contents
3
4
5
6
7
8
9
10
11
12
13
14
15
16
17
18
19
20
21
22
23
24
25
26
27
28
29
30
31
32
33
34
35
36
37
38
39
40
41
42
43
44
45
46
47
48
49
50
51
52
53
54
55
56
57
58
59
60
61
62
63
64
65
66
67
68
69
70
71
72
73
74
75
76
77
78
79
80
81
82
83
84
85
86
87
88
page
of
88
Go
/
88
Contents
Table of Contents
Bookmarks
Table of Contents
Table of Contents
Connect with Us
Introduction
Document History
Manual Overview
Conventions Used in this Manual
Styles
Symbols
More Information
Accessories
Software
Technical Manuals
Safety Instructions
General Safety Instructions
Sensor Safety Instructions
Firewire Safety Instructions
Firewire Hot-Plug and Screw-Lock Precautions
Changing Filters Safety Instructions
Guppy: Changing Filters Safety Instructions
Pike/Oscar: Changing Filters Safety Instructions
Marlin/Stingray/Guppy PRO: Changing Filters Safety Instructions
Cautions: Connecting a Camera
Pike/Stingray GOF Connectors
Safety Instructions for Board Level Cameras
Camera Cleaning Instructions
Warranty
Avoiding the Necessity of Camera Cleaning
Is It an Impurity? - Identifying Impurities
Where Is the Impurity? - Locating Impurities
Cleaning Instructions
Allied Vision 1394 Cameras: Installing Hardware
Hardware Conditions
Firewire Hot-Plug and Screw-Lock Precautions
Overview Hardware Installation
Installing IEEE 1394 Adapter
Connecting Camera to PC or Laptop
Camera Interfaces
IEEE 1394A Port Pin Assignment
(Oscar, Marlin, Guppy)
Board Level Camera (Guppy): IEEE 1394A Port Pin Assignment
IEEE 1394B Port Pin Assignment (Guppy PRO, Pike, Stingray)
Board Level Camera (Stingray): IEEE 1394B Port Pin Assignment
Pike/Stingray Fiber Infos and Cautions
Camera I/O Connectors (12 Pin) Order Numbers and Cables: Guppy PRO, Stingray, Pike, Marlin, Oscar
Camera I/O Connectors (8 Pin) Order Numbers and Cables: Guppy
Stingray Camera Interfaces
Stingray Camera I/O Connector Pin Assignment
Stingray Input Description
Stingray Input Block Diagram
Stingray Delay and Minimum Pulse Width
Test Conditions
Stingray Output Description
Stingray Block Diagram
Stingray Delay
Test Conditions
Stingray Data
Stingray Power
Stingray Board Level Camera: I/O Pin Assignment
Pike Camera Interfaces
Pike Camera I/O Connector Pin Assignment
Pike Input Description (Not Pike F-505)
Pike Input Block Diagram
Pike Delay and Minimum Pulse Width
Input Description of Pike F-505
Pike F-505 Input Block Diagram
Pike F-505 Delay and Minimum Pulse Width
Pike Output Description
Pike Output Block Diagram
Pike Delay
Test Conditions
Pike Data
Pike Power
Guppy PRO Camera Interfaces
Guppy PRO Camera I/O Connector Pin Assignment
Guppy PRO Input Description
Guppy PRO Input Block Diagram
Guppy PRO Delay and Minimum Pulse Width
Guppy PRO Output Description
Guppy PRO Block Diagram
Guppy PRO Delay
Guppy PRO Data
Guppy PRO Power
Guppy Camera Interfaces
Guppy Camera I/O Connector Pin Assignment
Guppy (Housing)
Guppy (Board Level)
Guppy Input Description
Guppy (Housing) Input Block Diagram
Guppy Delay and Minimum Pulse Width
Guppy Output Description
Guppy Output Block Diagram
Guppy Delay
Test Conditions
Guppy (Board Level) IO Block Diagram
Guppy Data
Guppy Power
Marlin Camera Interfaces
Marlin Camera I/O Connector Pin Assignment
Marlin Input Description
Marlin Input Block Diagram
Marlin Delay and Minimum Pulse Width
Marlin Output Description
Marlin Output Block Diagram
Marlin Delay
Marlin Data
Marlin Power
Oscar Camera Interfaces
Oscar Camera I/O Connector Pin Assignment
Oscar Input Description
Oscar Input Block Diagram
Oscar Delay and Minimum Pulse Width
Oscar Output Description
Oscar Output Block Diagram
Oscar Delay
Oscar Data
Oscar Power
Firmware Update
Index
Advertisement
Quick Links
Download this manual
AVT Cameras
1394 Installation Manual
V8.1.0
17 March 2015
Allied Vision Technologies GmbH
Taschenweg 2a
D-07646 Stadtroda / Germany
Table of
Contents
Previous
Page
Next
Page
1
2
3
4
5
Advertisement
Table of Contents
Need help?
Do you have a question about the Oscar and is the answer not in the manual?
Ask a question
Questions and answers
Related Manuals for Allied Vision Oscar
Security Camera Allied Vision STINGRAY Technical Manual
(340 pages)
Security Camera Allied Vision GUPPY Technical Manual
(270 pages)
Security Camera Allied Vision GUPPY PRO Technical Manual
(254 pages)
Security Camera Allied Vision MARLIN Technical Manual
(237 pages)
This manual is also suitable for:
Marlin
Guppy pro
Guppy
Pike
Stingray
Table of Contents
Print
Rename the bookmark
Delete bookmark?
Delete from my manuals?
Login
Sign In
OR
Sign in with Facebook
Sign in with Google
Upload manual
Upload from disk
Upload from URL


Need help?
Do you have a question about the Oscar and is the answer not in the manual?
Questions and answers