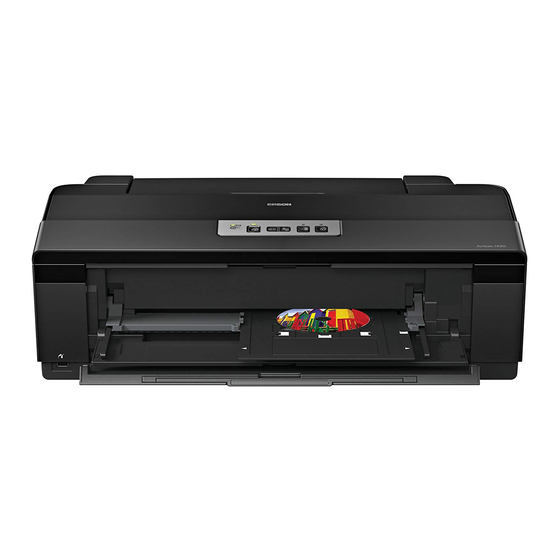
Epson Artisan 1430 Installation Instructions Manual
All-in-one printer epson artisan 1430
Hide thumbs
Also See for Artisan 1430:
- User manual (151 pages) ,
- Important safety instructions manual (12 pages) ,
- Start here (4 pages)
Advertisement
Quick Links
Installation Instructions for
Epson Artisan 1430 Continuous Ink System
List of Contents
1. Continuous Ink System
2. Installation Manual
3. Tube Support Bracket
4. Spare Grommets
5. Spare Sticky Pads
6. Spare Rubber Seals
7. 60ml Syringe
8. Sharp Needle
9. Screwdriver
10. Spare Plastic Elbows
Page | 1
Advertisement

Summary of Contents for Epson Artisan 1430
- Page 1 Installation Instructions for Epson Artisan 1430 Continuous Ink System List of Contents 1. Continuous Ink System 2. Installation Manual 3. Tube Support Bracket 4. Spare Grommets 5. Spare Sticky Pads 6. Spare Rubber Seals 7. 60ml Syringe 8. Sharp Needle 9.
- Page 2 Power on the printer and press the ink button. When the carriage has moved to the cartridge removal position unplug the mains cable from the printer. This allows the carriage to be moved manually. Move the carriage to the left, insert the screwdriver into the hole and raise the screwdriver to lever off the hinge.
- Page 3 Move the carriage to the left hand side of the printer. Feed the cartridges under the printer housing. TAKE CARE NOT TO DAMAGE THE CHIP RESETTER Place the cartridges on the housing whilst you move the carriage back to the cartridge removal position.
- Page 4 Remove the backing tape from the sticky pads on the tube support bracket. Position the bracket around the printer button housing, ensuring the plastic tab fits into the slot. ENSURE THE SURFACE OF THE PRINTER HOUSING IS CLEAN AND DRY Place the tubes into the tube support bracket and move the carriage all the way to the left of the printer, remove any slack...
- Page 5 Plug in the mains power cable and power on the printer. The printer will go through the initial ink charge before your system is ready for use. If the orange ink light is illuminated when the printer is powered on, press the ink button to move the carriage to the removal position.
- Page 6 Your system is now ready for use. Visit www.sawgrasseurope.com/technical-support for further instructions on how to configure your Epson Stylus Photo 1500W for use with sublimation ink: Setup should be completed in the following order: 1. Sublimation Installation Guide 2. Epson Driver Configuration 3.
- Page 7 REFILLING THE BOTTLES Lay the bottles down and remove the rubber bung from the colour you wish to refill. Use the syringe and nozzle attachment to fill the colour. You cannot fill the reservoir further than the hole allows. Do not stand the system up so you can fill the smaller chamber, this system works on the principle that the smaller chamber is partially empty.


Need help?
Do you have a question about the Artisan 1430 and is the answer not in the manual?
Questions and answers