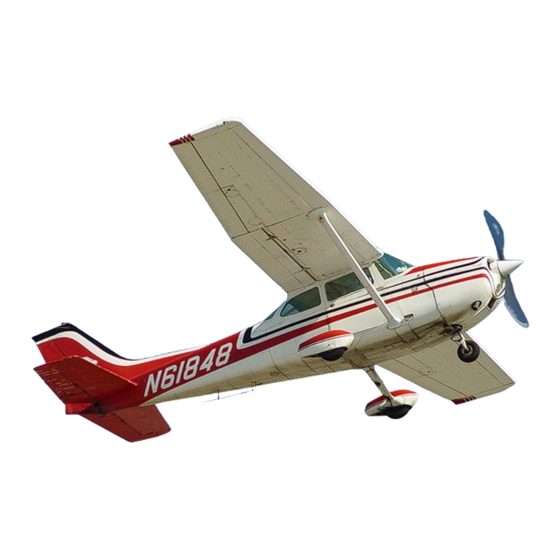
Cessna 172 Training Manual
Hide thumbs
Also See for 172:
- Service manual (299 pages) ,
- Owner's manual (178 pages) ,
- Maintenance manual (167 pages)

Related Manuals for Cessna 172


Summary of Contents for Cessna 172
- Page 1 CESSNA 172 TRAINING MANUAL Illustration 3c Control Y by D. Bruckert & O. Roud © 2006...
- Page 2 CESSNA 172 TRAINING MANUAL Trim System The Cessna 172 aircraft has a manually operated rudder and elevator trim system. Illustration 3d Trim tab Travel One trim tab is provided on the right side of the elevator, spanning most of the the rear section of the right elevator.
- Page 3 CESSNA 172 TRAINING MANUAL trim wheel will trim nose-down, conversely, aft (down) rotation will trim nose- up. The trim tab control wheel depending on the model may be mounted on the centre console or in the cockpit floor. A portion of the wheel extends through the control wheel cover and when rotated, operates the tab through roller chains, cables, an actuator, and a push-pull rod.
- Page 4 CESSNA 172 TRAINING MANUAL Typical IFR Radio Installation (Conventional Aircraft) The picture below illustrates a full IFR avionics stack on older models of aircraft. From top: Audio Selector, GPS, Com 1/Nav 1, Com 2/Nav 2, Transponder, ADF Illustration 10e IFR Radio Stack...
- Page 5 CESSNA 172 TRAINING MANUAL FLIGHT OPERATIONS PRE-FLIGHT CHECK The preflight inspection should be done in anticlockwise direction as indicated in the flight manual, beginning with the interior inspection. by D. Bruckert & O. Roud © 2006...
- Page 6 CESSNA 172 TRAINING MANUAL Cabin Ensure the required documents (certificate of airworthiness, maintenance release, radio license, weight and balance, flight folio, flight manual, and any other flight specific documents) are on board and valid. Ensure the aircraft flight manual, and supporting documents are available and accessible in flight.
- Page 7 CESSNA 172 TRAINING MANUAL Exterior Inspection Visually check the airplane for general condition during the walk-around inspection, ensuring all surfaces are sound and no signs of structural damage, worked rivets, missing screws, lock wires or loose connections. Tail Section Check top, bottom, and side surfaces...
Need help?
Do you have a question about the 172 and is the answer not in the manual?
Questions and answers