Table of Contents
Advertisement
Advertisement
Table of Contents

Related Manuals for cec AMP3800

Summary of Contents for cec AMP3800
- Page 1 Control / Power Amplifier AMP 3800 Owner's Manual...
-
Page 2: Table Of Contents
Specifications …………………………………………………………… 16 Introduction Thank you for purchasing AMP3800. Please read through and refer to this Owner’s manual to use your AMP3800 safely and adequately. It is recommended that you keep the unit’s packaging available for future transportation needs. ... -
Page 3: Important Safety Instructions
AMP3800 User's Manual Important Safety Instructios Caution: To reduce the risk of electric shock, do not remove the cover or rear panel. It does not contain any user-serviceable parts. Refer servicing to qualified service personnel. The lighting flash with arrowhead symbol,... -
Page 4: Handling Precautions
Handling Precautions 1. Connecting Other Devices Unplug AMP3800’s AC power cord from the outlet before connecting or disconnecting other devices. Exercise caution when handling the AC power cord. When disconnecting the AC cord from a socket, make sure you pull the plug, and not the cord itself. - Page 5 If this happens, leave AMP3800 unused in the room for 1 to 2 hours (depending on the amount of condensation), so as to bring the unit’s temperature closer to the room temperature.
-
Page 6: Accessories
3. Remote Control Unit 4. Two AAA Batteries for the remote control unit 5. Owner’s manual NOTE: Keep the packaging available for future transportation needs. The AC power cord is for use with AMP3800 exclusively, and should not be used for other devices. -
Page 7: Front Panel Functions
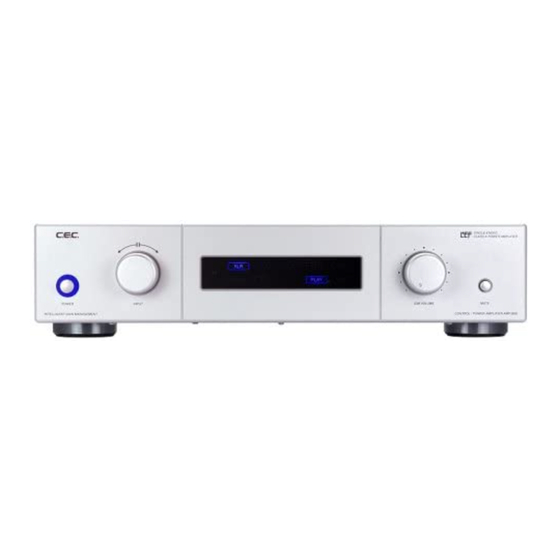
❶ POWER button Push the POWER button to turn AMP3800 ON respectively OFF. When AMP3800 is turned ON the switch will light up with a blue color, and the display will indicate the “MUTE” and blink “PLAY” during the unit is in starting-up. - Page 8 Control / Power Amplifier AMP3800 ❸ REMOTE CONTROL RECEIVER When operating the remote control, point it towards the REMOTE CONTROL RECEIVER. Make sure nothing is blocking the AMP3800’s front panel, where the REMOTE CONTROL RECEIVER is located. ❹ REMOTE CONTROL INDICATOR During receiving a valid remote control command, the REMOTE CONTROL INDICATOR lights up with a blue color.
-
Page 9: Rear Panel Functions
Power amplifier output terminals for the right/left speakers. The red terminal is for (+) the black one is for (-). Speakers with 4 ohm to 8 ohm impedance can be connected by using banana plugs, spades or wires. Note: Before connecting or disconnecting speakers turn the AMP3800’s power OFF. Wires... - Page 10 Control / Power Amplifier AMP3800 ❷ XLR input Line in audio signal input jacks equipped with balanced XLR connectors. Use interconnect XLR cables to connect the XLR input to an external source with XLR line output, such as CD player, DVD player or DA converter. (Pinning: 1=Ground, 2=Hot, 3=Cold) Note: Phono and digital sources cannot be connected to the XLR input.
- Page 11 AMP3800 User's Manual ❹ REC output Line out audio signal output jacks equipped with unbalanced RCA connectors. Use interconnect RCA cables to connect the REC. output terminals to an external recording device with an RCA line input, such as CD recorder, MD recorder or tape recorder.
-
Page 12: Remote Control Unit
(AAA) if this happens. ● The remote control unit should be handled with care. Dropping it on can result in damage. ● This manual only explains how to use the remote control unit with AMP3800, but this unit can be used CD3800. - Page 13 Battery Replacement If the distance at which the remote control unit can be used to operate AMP3800 seems to be decreasing, the batteries may need to be replaced. Cautions on handling batteries ● Never use different types of batteries together. Both rechargeable and non-rechargeable batteries can be used, but the two should not be used together.
-
Page 14: Cautions Regarding Handling
● If the surface of the AMP3800 enclosure is soiled, wipe with a soft cloth or use diluted neutral cleaning liquid. Be sure to remove any fluid completely. Do not use thinner, benzene, alcohol, chemical cloths or bleaching agents as these may damage the surface of the AMP3800 enclosure. -
Page 15: Troubleshooting
ERROR indicator is on ● Turn AMP3800 off and unplug the AC power cord from the outlet. Wait for a minute, plug the AC power cord back in and turn AMP3800 on again. Check all plugs on the rear panel are properly connected. -
Page 16: Service Contact Preparations
Control / Power Amplifier AMP3800 Service Contact Preparations In case you need to contact the service center please prepare the following information. ● Model name and serial number ● Purchase date ● Dealer name and contact information ● Description of the unit’s problem... - Page 17 0906-A...
Need help?
Do you have a question about the AMP3800 and is the answer not in the manual?
Questions and answers