Advertisement
Quick Links
Advertisement

Summary of Contents for Egardia Extender
- Page 1 Extender...
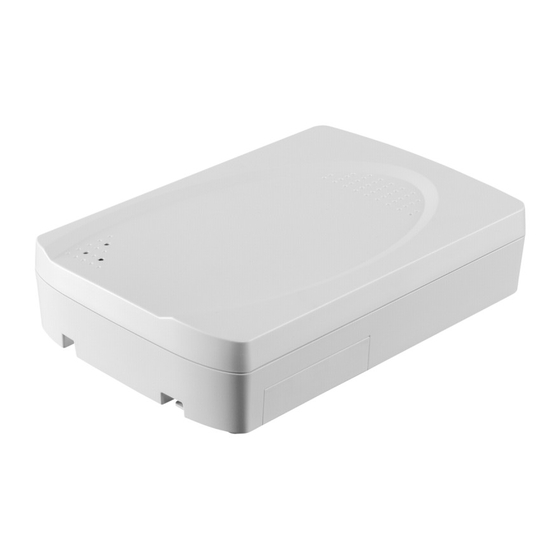
- Page 2 10. Speaker – Emits the confirmation sounds. Erasing memory To erase the extender’s memory, set DIP switch 3 to "ON". Hold the erase button for at least 10 seconds. The extender emits a beep. All registered accessories and the gateway are now erased...
- Page 3 Insert the small plug of the supplied power adapter into the power port of the extender. registered with the extender. Connect the plug of the power adapter to the socket. The extender emits a long beep and the green indicator light will glow. The yellow indicator light may glow for a few seconds to indicate that the emergency battery is low.
-
Page 4: Maintenance
Switch the battery switch of the extender to "ON" and set DIP switch number 1 to "ON". The red indicator light will glow to indicate that the extender is ready for installation. Login to your Egardia account and go to the tab "Alarm system". Click under heading "Accessories"... -
Page 5: Appendix A: Indicator Lights Extender
A – Indicator lights extender B – DIP switches extender APPENDIX A: INDICATOR LIGHTS EXTENDER The extender features 3 indicator lights. Here below you will find an overview of the operation of the various indicator lights. Indicator light Activity Extender is not connected to a power...
Need help?
Do you have a question about the Extender and is the answer not in the manual?
Questions and answers