Table of Contents
Advertisement
Quick Links
Advertisement
Table of Contents

Related Manuals for Renkus-Heinz Iconyx ICX7-II


Summary of Contents for Renkus-Heinz Iconyx ICX7-II
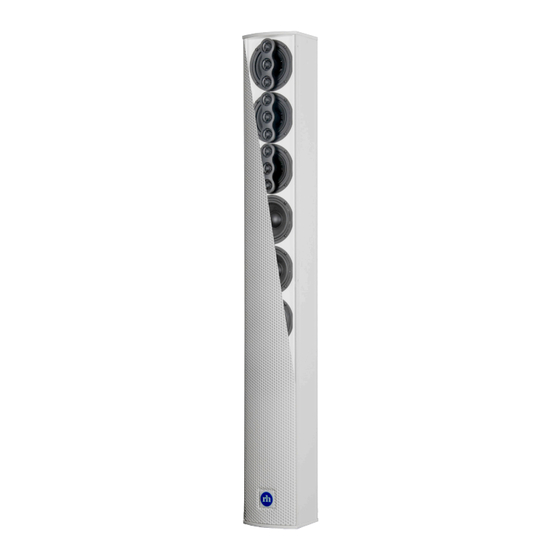
- Page 1 IC7-II & ICX7-II Mechanically Steerable Line Array OWNER’S MANUAL...
-
Page 2: Safety Instructions
Safety Instructions Explanation of Graphical Symbols Erklärung der graphischen Symbole Der Blitz mit nach untenzielendem Pfeil in The lightning flash with arrowhead symbol, einem gleichseitigen Dreieck weist den within an equilateral triangle, is intended to Benutzer auf das Vorhandensein einer alert the use to the presence of uninsulated unisolierten, "gefährlichen Spannung"... -
Page 3: Wall Mounting Instructions
Introduction Congratulations On your purchase of an Iconyx IC7-II self powered or ICX7-II externally powered loudspaker array It was designed to give you years of trouble free listening pleasure. We hope you enjoy it. YourLoudspeaker system was carefully tested and inspected before leaving our factory and should have arrived in perfect condition. Please inspect it and its shipping carton for any noticeable damage and if any damage is found, immediately notify the shipping company. - Page 4 Step 1 Remove the Loudspeaker Brackets from the Swivel Adapter and at- tach the wall mounting plate to the wall using at least three holes in the plate and the appropriate mounting hardware for the wall type. If in doubt of the correct mounting hardware, consult a hardware specialist.
- Page 5 When installed on a wall, the loudspeaker can be angled between 0 and 10 degrees to the wall. The above illustration shows points where the Loudspeaker Plate can be mounted and examples of 10 and 5 degress angles.
-
Page 6: Rear Panel
Rear Panel XLR Inputs Phoenix Inputs Power LED Signal Present LED Limiter LED Attenuation Control Note: The Power, Signal Present & Limiter LEDs and the Attenuation Control are located to the left of the Phoenix connec- tor, and can’t be seen in photo Power Switch Reset Button... -
Page 7: Attenuation Control
XLR Inputs The female 3-pin XLR type INPUT connector connects to the amplifier’s 10 K Ohms, electronically balanced input. It requires a 1 V signal for full rated output. The male 3-pin XLR type looping connector is used to loop through to additional self-powered loudspeaker amplifiers. It has straight through connections from the Input connector. Pin 2 is hot and pin 3 is neutral. -
Page 8: Dimensional Information
4 3/4” 5 11/16” 12 cm 14.4 cm 88 1/4” 224 cm 44 3/8” 112.8 cm 19201 Cook Street, Foothill Ranch, CA 92610-3501, USA Phone: +1 949-588-9997 Fax: +1- 949 588 9514 sales@renkus-heinz.com www.renkus-heinz.com WWW-RH 754 Rev B Oct 2014...
Need help?
Do you have a question about the Iconyx ICX7-II and is the answer not in the manual?
Questions and answers