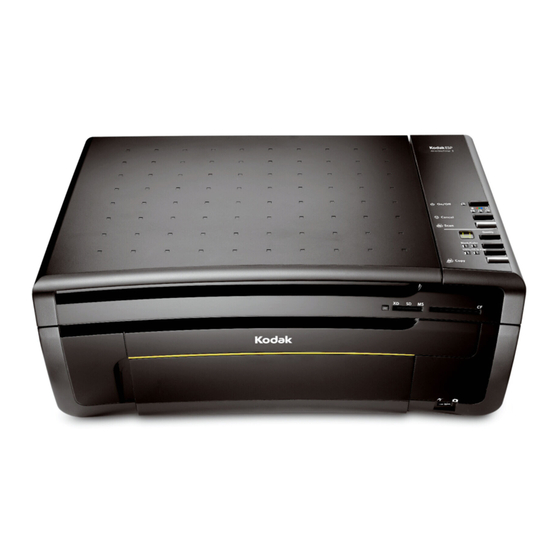
Kodak ESP 3 Start Here Manual
Kodak all-in-one printer manual
Hide thumbs
Also See for ESP 3:
- User manual (74 pages) ,
- Start here manual (24 pages) ,
- Setup manual (16 pages)
Table of Contents
Advertisement
Quick Links
Download this manual
See also:
User Manual
Advertisement
Table of Contents

Subscribe to Our Youtube Channel
Related Manuals for Kodak ESP 3


Summary of Contents for Kodak ESP 3
-
Page 1: Start Here
Start Here All-in-One Printer Print Copy Scan Note: A USB 2.0 cable is required to connect your Kodak All-in-One printer to your Windows or Macintosh OS computer. Available in the Kodak online store or see your local retailer. -
Page 2: Unpack Printer
Unpack Printer a) Lift the printer access door and remove all orange shipping tape from the printer. Printer access door Scanner lid Carriage Printhead Ink cartridges Front access door 10 10 Printhead Black and Color Sample Paper Power Supply Software CD Ink Cartridges and Adapter... - Page 3 Keep the printer access door open b) Remove the printhead from its bag. IMPORTANT: Insert the printhead immediately upon opening sealed bag. The printhead is fragile, handle carefully. c) Pull on the orange tab to remove the protective retainer. www.kodak.com/go/aiosupport...
- Page 4 IMPORTANT: Do not touch the copper-colored contacts. e) Place the printhead into the carriage. Insert at the angle shown. f) Push firmly against the target label of the printhead until you hear a loud snap. www.kodak.com/go/aiosupport...
-
Page 5: Insert Ink Cartridges
Carefully remove and discard the orange cap. Handle ink cartridges carefully to avoid ink transfer. c) Insert the black ink cartridge into the printhead. d) Press down on the ink cartridge until you hear it click into position. www.kodak.com/go/aiosupport... - Page 6 Open and uncap the color ink cartridge. Insert it into the printhead. f) Press down firmly on the ink cartridge until you hear it click into position. g) Close the printer access door. www.kodak.com/go/aiosupport...
- Page 7 Out of Paper light to turn on. c) Lower the front access door and pull the paper tray all the way out. A flashing “E” in the quantity window indicates the printhead is not installed correctly. Remove the ink cartridges and reinstall the printhead. www.kodak.com/go/aiosupport...
- Page 8 Squeeze the tab and slide the paper guide so that it rests against the stack of paper as shown. e) Press Copy/Resume. The printer will automatically begin to calibrate. f) Calibration will take about two minutes and is complete when the sheet has printed. www.kodak.com/go/aiosupport...
-
Page 9: Install Software
IMPORTANT: Do not connect the USB cable to the printer until instructed during software installation. a) Load the Kodak AiO Printer Software CD into the CD-ROM drive. Follow the on-screen prompts when the instructions appear. If instructions do not appear, click Start, then Run. Select CD-ROM drive and type setup.exe, then press ENTER. -
Page 10: Warranty And Safety Information
Warranty service will include all labor as well as any necessary adjustments and/or replacement parts. If Kodak is unable to repair or replace a Product, Kodak will, at its option, refund the purchase price paid for the Product provided the Product has been returned to Kodak together with proof of the purchase price paid. - Page 11 Registration has its rewards— including a terrific offer. Register your KODAK All-in-One Printer and get great support, expert tips, free software downloads—plus a phenomenal deal on inkjet supplies to get you started. Simply register right away when prompted during software installation or on the web at www.kodak.com/go/register.
-
Page 12: Any Questions
Any questions? Look here for answers: www.kodak.com/go/aiosupport User Guide - The User Guide is installed with your Kodak AiO Software and is located: Windows: Program Files Macintosh: Library Documentation Technical Support - For printer support, please call 1-800-421-6699 Eastman Kodak Company Rochester, NY 14650 U.S.A.
Need help?
Do you have a question about the ESP 3 and is the answer not in the manual?
Questions and answers