Advertisement
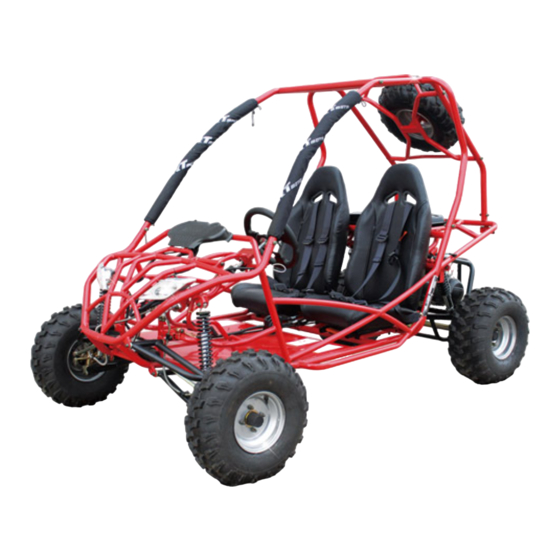
First thank you for your choose of our "DONGFANG" buggy and
now I will show you how to assemble the buggy.
1. When you get the package please remove all parts away from
the buggy for assemble.
2. The rear suspension
When you find the shock absorber, screw off the bolts upside.
Swing up the shock absorber to the end fixture and screw up.
Tighten it. The left side is the same alike.
3. The rear wheel
Hang up or raise the rear frame of the buggy. Take off the pin
and screw off the nuts. Choose a rear wheel of right side( check
Assemble Instruction
--DF150GK series from Dongfang Motor INC
Advertisement
Table of Contents

Related Manuals for Dongfang Motor DF150GK Series

Summary of Contents for Dongfang Motor DF150GK Series
- Page 1 Assemble Instruction --DF150GK series from Dongfang Motor INC First thank you for your choose of our “DONGFANG” buggy and now I will show you how to assemble the buggy. 1. When you get the package please remove all parts away from the buggy for assemble.
- Page 2 with images below and fix to the rear axis. Tighten the nuts and fix with the pin. Do the same way for the left rear wheel.
- Page 3 4. Electrical equipment cover When you screw off the two bolts at the rear of the frame please find such cover for wiring ends. Cover all electrical parts with it and screw on. 5. The fuel tank If you find it fixed please take a look at the fuel switch and the go to next step.
- Page 4 metal clip. Switch the key to “ON” for the Supply of with the Fuel.
- Page 5 6. The front suspension Hang up or raise the front of the buggy. Take the below item assembled out of chassis and take a look to all parts as marked. Screw off the long hex bolts of the Front down swing arm with the metal dust cover to the welding downside of the chassis.
- Page 6 Put down the front up swing arm and screw off the bolts at the end of the arm. Take it to the fixture in the front of the brake hub and screw on tightly. Now please check such rod for the steering. Screw on this rod to the end screw of the steering machine and make the nuts closed to the machines.
- Page 8 7. The front wheel Please check the front wheel on right side. Screw off the nuts from the wheel hub and put that wheels on. Fasten the nuts with two washers. Take the rubber dust cover(smaller) on.
- Page 9 8. Now we could have the buggy on land already. Then we come to the steering wheel. Make sure the axis with a round plate welded is in the right position that is two wheel front in horizontal standard. Screw off the bolts and fix the steering wheel in the...
- Page 10 below position. After the fasten insert a round cap on it. Let’s make the wheel horizontal and check the front wheels. If it is not in parallelism with the buggy median we could take the rod round to make the wheels forward. Remember take the nuts close to the rod.
- Page 11 9. Seat and Seat Belt Here we take the driver’s seat with a orange(or red) lock bar downside to the left of the buggy. Press the lock bar and let the bottom rack out then take the bolts out. Take the seat on the buggy and make sure the buggy slide in as my fingers pointed.
- Page 12 Firstly put the seat belt in order and pass the belt trough the seat. Screw off the bolts at the end of belt and fasten it to the welded fixture behind the seat. Take a look at the below photo for the order of the washers for a better fasten.
- Page 14 When you get in your seat you could sit down and change the height of the steering wheel and the position of seat for your ride. 10. The battery When you get the box of the battery please read the instruction and added the acid if need and take it to the buggy.
- Page 15 11. Canopy Frame For the left canopy frame first we have a knowledge of these. Take the main frame to the both sides of the buggy. Lock them with a longer bolt we offered. Please use the bow washer to lock the frame.
- Page 16 Here is the frame for the spare tire. Take it the back of the canopy frame and fasten it.
- Page 17 Then we come to the straight top frame and lock with the shorter bolts.
- Page 18 The last one is the middle frame from the back of the seat to the top frame. You could have them tightened in a same way. Finally is the Canvas graphic . Put it on the front of the main canopy frame and tighten with the string.
- Page 19 Now we got it. Our buggy is assembled. DO NOT in a hurry for racing. Please check once more all the bolts are screw up well and the fuel switch, the battery, the air press for tires. Then please check with our use’s manual for your use and maintains. Wish you enjoy our buggy, Thanks for your reading!
Need help?
Do you have a question about the DF150GK Series and is the answer not in the manual?
Questions and answers