Advertisement
Quick Links
Operating Instructions
IT
GB
Italiano, 1
English, 7
DE
NL
Deutsch, 19
Nederlands, 25 Español, 31
HP ...
HPI ...
HPF ...
HPI 95
Contents
FR
General information, 8
Français, 13
Data plate
Disposal
ES
Precautions for operation,9
Information relating to installation
Use and Maintenance ,10-12
Electric control panel
Cleaning the outside of the appliance
Cleaning the grease filter
Replacing the carbon filter
Replacing the carbon filter (HPI 95)
Lamp Replacement
Electrical Connection
The Guarantee
Assembly, 37
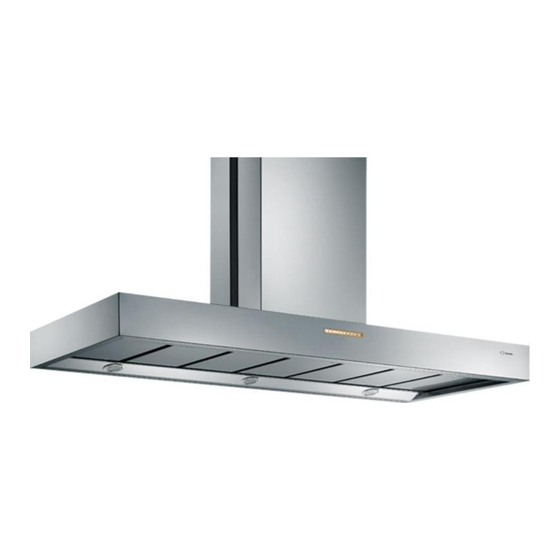
HOOD
GB
Advertisement

Related Manuals for SCHOLTES HP Series


Summary of Contents for SCHOLTES HP Series
-
Page 1: Operating Instructions
Operating Instructions HOOD Contents General information, 8 Italiano, 1 English, 7 Français, 13 Data plate Disposal Precautions for operation,9 Deutsch, 19 Nederlands, 25 Español, 31 Information relating to installation Use and Maintenance ,10-12 Electric control panel Cleaning the outside of the appliance Cleaning the grease filter Replacing the carbon filter Replacing the carbon filter (HPI 95) -
Page 2: General Information
General information Disposal of household appliances: This instruction manual contains all the technical information necessary for the installation of the appliance. • When disposing of packaging material: observe local legislation so that the packaging may be The information and technical data provided is subject reused. - Page 3 Precautions for operation The accessories required for the installation of the same time. hood can be found inside the latter. 15. If the hood is used in the outdoor venting mode, The hood is convertible and can therefore be check the condition of the exhaust duct should installed in either the OUTDOOR VENTING or the the latter have been left unused for an extended AIR RECIRCULATION mode.
- Page 4 Operation e Maintenence Operation !If any problems relating to the operation of the 1. The hood has several operating speeds. appliance arise, before contacting the technical For more efficient performance, use the lowest assistance service, unplug the product to disconnect suction level when there is only a small amount of it from the electricity supply for at least 5 seconds, smoke or steam and the higher suction level when...
- Page 5 Replacing the carbon filter on the same fit well around the special reference pegs of the outdoor venting assembly (Fig. 4) and The carbon filter is used to remove grease and turn them anti-clockwise until you hear them click odours from the air before it is released back into the (opposite action to the one for dismounting).
- Page 6 Electrical Connection This hood is intended for a fixed permanent installation. For the mains voltage and frequency information, consult the serial number plate situated inside the appliance. The power supply cable (type H05VV-F 3x0.75 mm ²) connected to the hood's terminals marked "L"...
- Page 7 HPF ... Istruzioni per il montaggio Assembly instructions Mode d’assemblage Bauanleitung Instrucciones para el Montaje...
- Page 10 - Die Positionieren und die Löcher entsprechend der Zeichnung in die Wand bohren (4 Löcher für die mitgelieferten ∅8 ∅8 ∅8 ∅8 ∅8 Dübel - Die Winkelhalterung (1) mit zwei Schrauben an der Wand -Posizionare la cappa e forare la parete (n°4 fori per befestigen ∅8 ∅8...
- Page 13 HPI ... Istruzioni per il montaggio Assembly instructions Mode d’assemblage Bauanleitung Instrucciones para el Montaje...
- Page 15 - Die Positionieren und die Löcher entsprechend der Zeichnung in die Wand bohren (4 Löcher für die mitgelieferten ∅8 ∅8 ∅8 ∅8 ∅8 Dübel - Die Winkelhalterung (1) mit zwei Schrauben an der Wand -Posizionare la cappa e forare la parete (n°4 fori per befestigen ∅8 ∅8...
- Page 18 HP ... Istruzioni per il montaggio Assembly instructions Mode d’assemblage Bauanleitung Instrucciones para el Montaje...
- Page 23 HPI 95 -Posizionare la cappa e segnare i fori degli alloggiamenti dei supporti “E” -forare la parete posizionando i supporti, eseguendo un ∅8 ∅8 ∅8 ∅8 ∅8 foro per ogni asola: eseguire n° 4 fori (tasselli dotazione) -fissare con le viti i supporti e appoggiare la cappa a tali supporti -per regolare la posizione della cappa allentare le viti dei supporti e regolarne l’altezza...
Need help?
Do you have a question about the HP Series and is the answer not in the manual?
Questions and answers