Advertisement
Quick Links
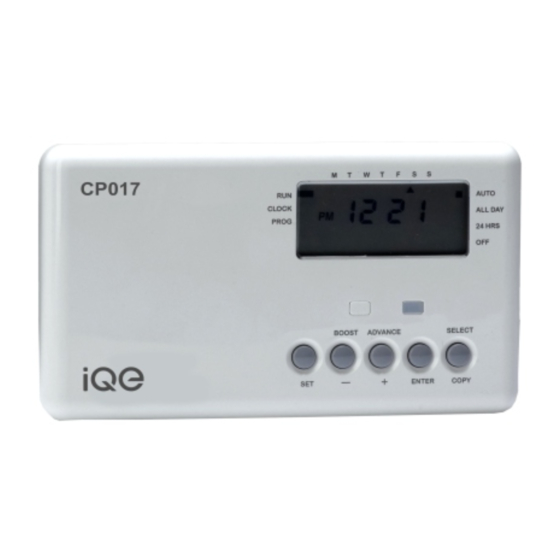
CP017
INSTALLATION INSTRUCTIONS
The CP017 single channel timeswitch offers up to three on/off
periods a day with a one hour boost and instant advance facility.
Installation and connection should only be carried out by a
suitably qualified person and in accordance with the current
edition of the IEE wiring regulations.
WARNING: Isolate mains supply before commencing installation.
1
Advertisement

Related Manuals for iQe CP017

Summary of Contents for iQe CP017
-
Page 1: Installation Instructions
CP017 INSTALLATION INSTRUCTIONS The CP017 single channel timeswitch offers up to three on/off periods a day with a one hour boost and instant advance facility. Installation and connection should only be carried out by a suitably qualified person and in accordance with the current edition of the IEE wiring regulations. - Page 2 The backplate may be fitted directly onto a single gang steel flush wiring box complying with BS4662, using two M3.5 screws. The CP017 is suitable for mounting on a flat surface only; they must not be positioned on a surface mounted wall box or on unearthed...
- Page 3 Recommended cable sizes are 1.0 or 1.5mm2 The CP017 is double insulated and does not require an earth connection but an earth connection is provided on the backplate for terminating cable earth connectors.
- Page 4 For reasons of space and clarity not every system has been included and the diagrams have been simplified - for example some Earth connections have been omitted. Other control components shown in the diagrams, i.e. Valves, Room Stats etc are general representations only. However the wiring detail can be applied to the corresponding models of most manufacturers.
- Page 5 TERMINALS-L2 SHOULD NOT BE LINKED MAINS ROOM SUPPLY STAT REMOVE LINK IF FITTED FOR PRECISE TERMINAL CALL CONNECTION INFORMATION PLEASE RFFER TO BOILER MANUAL, INSTRUCTIONS. COMBINATION BOILER TERMINALS 2. Typical combination boiler installation with Room Stat MAINS SUPPLY ROOM STAT CALL STAT ZONE...
- Page 6 MAINS SUPPLY ROOM STAT STAT CALL CALL BOILER BOILER 4. Gravity primary with pumped Heating via Room Stat and Cylinder Stat...
- Page 7 Commissioning the timeswitch Ensure all dust and debris has been cleared away from the work area before removing the time switch from its packaging. Rear view of CP017 timeswitch 1. RATINGS LABEL 2. BATTERY 3. CONNECTOR PINS 4. PRODUCTION DATE LABEL...
- Page 8 Tighten the two captive retaining screws to fix the unit securely. Then switch on the mains supply. On completion of the installation please reset the timeswitch - detailed below. End view of CP017 timeswitch...
- Page 9 Resetting the timeswitch On the CP017 press the SET and SELECT buttons together. Then release the buttons and the timeswitch will return to preset factory settings. The preset factory settings are illustrated on page 6 of the USER GUIDE. SELECT The unit can now be programmed to suit the user's requirements.
-
Page 10: Specification
Specification CP017 Contact rating 3 (1) Amps 230V AV Contact type Micro- disconnection Supply 230V AC 50Hz only Pollution Degree 2 Class a software Type 1 control Operating temprature range 0 °C to +40 °C Battery life 10 months continuous... - Page 11 Trade House BA22 8RT Leaflet Number P85491 Issue 1...
Need help?
Do you have a question about the CP017 and is the answer not in the manual?
Questions and answers