
Related Manuals for Echo MS-53BPE


Summary of Contents for Echo MS-53BPE
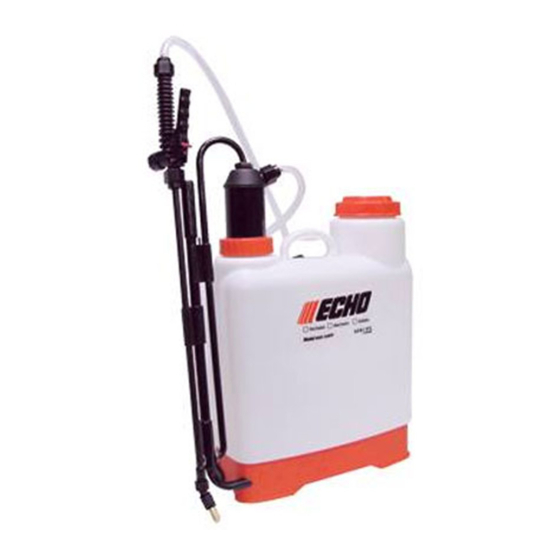
- Page 1 Backpack Backpack Sprayer Sprayer Use and Care Manual Model MS-53BPE 5G/ 20L WARNING Carefully Read These Instructions Before Use 013566 R0314...
- Page 2 WARNING WARNING: Improper use or failure to follow instructions can result in explosive failure causing serious eye or other injury. For safe use of this product you must read and follow all instructions. Do not leave a pressurized sprayer in the hot sun. Heat can cause pressure build-up resulting in possible explosion.
-
Page 3: Nozzle Assembly
APPLICATIONS & USE FOR YOUR SPRAYER Avoid using a sprayer for general cleaning purposes if plant protection or herbicide chemicals have already been used in the sprayer. If a sprayer has been used for plant protection or as an herbicide, clean the sprayer completely (see cleaning section) before using. -
Page 4: Wand Assembly
SPRAYER COMPONENTS & USE INFORMATION, Continued WAND ASSEMBLY 1. Make sure the o-ring is installed on the end of the wand. Insert the wand into shut-off valve. 2. Turn and tighten the retaining nut clock-wise onto the shut-off valve. O-ring Retaining Nut Shut-off Wand... -
Page 5: Installing The Shoulder Strap
SPRAYER COMPONENTS & USE INFORMATION, Continued INSTALLING THE SHOULDER STRAP The backpack strap is provided with multiple features including shoulder strap and waist strap (figure 1). The top of the shoulder strap is attached to the top of the tank and is removable. The strap attaches to the base of the sprayer by sliding the buttons into the slots until they snap into place (Figure 2). -
Page 6: Other Cleaning Hints
SPRAYER COMPONENTS & USE INFORMATION, Continued HELPFUL SPRAYING INFORMATION Use RAPID pump strokes to prime the pump. You will know the pressure chamber is filling with liquid when you feel firm resistance from the pump handle. The air in the pressure chamber is compressed from repeated strokes. -
Page 7: Trouble Shooting Your Sprayer
STORING / MAINTAINING YOUR SPRAYER • The sprayer should be stored out of direct sunlight in a cool dry space. • Before freezing weather make sure to drain all liquid in the tank, pump, pressure cylinder, hose, shut-off valve, wand and nozzle, to avoid liquid expansion and cracking in the sprayer components (See “Cleaning”... -
Page 8: Check Valve
PUMP DISASSEMBLY AND REBUILD Agitator 1) Insure the tank and pressure chamber contents are emptied and pressure has been released in the pressure chamber. To release pressure in the pressure chamber activate shut-off valve and release all pressure. Figure 1 2) Reach into tank fill opening and remove agitator bar from pressure Boot chamber body (Figure 1). - Page 9 Pressure Chamber Housing Gasket and Felt Washer Felt Gasket Washer Slide both the gasket and felt washer off the pressure chamber body (Figure 6). Replace felt washer first taking care not to fold over washer as it is worked up the pump chamber and into the pump locking ring (figure 7).
- Page 10 5) Remove the three bolts attaching the piston cylinder to the bottom of the tank (Figure 4). 6) Reach in through the tank fill opening and remove the piston cylinder. Figure 4 7) Remove check valve cartridge assembly from bottom of piston cylinder utilizing pump handle clip (clip has flat blade incorporated into end).
- Page 11 DISASSEMBLING AND REPAIRING THE SHUT OFF VALVE 1) Assembled shut-off valve (Figure 1). Figure 1 2) Remove the retaining pin (A) (Figure 2) place the notched end of the retaining pin on a hard surface and push down. Remove the retaining pin and slide the handle off the valve.
- Page 12 REPLACEMENT PARTS ORDER INFORMATION 569019 Link Arm Assembly 569026 Pump Handle w/clip O-ring 99944100480 Wand Assembly Wand Screw Hose Washer 99944100479 Hose Assembly Retaining Nut Hose 99944100477 99944100478 Shut-off Valve Shut-off Repair Kit Assembly...
- Page 13 REPLACEMENT PARTS ORDER INFORMATION 569021 Pump Seal Kit 569024 Piston Cylinder Kit 569028 Pressure Chamber Housing 569023 Valve cartridge kit 569020 O-ring kit 569002 Filter Basket & Cap 99944100472 Straps...
- Page 14 MS-53BPE MSP10000001 - MS-53BPE MSP99999999...
Need help?
Do you have a question about the MS-53BPE and is the answer not in the manual?
Questions and answers