
Related Manuals for Hunter Solaris 21685


Summary of Contents for Hunter Solaris 21685
- Page 1 Owner’s Manual Solaris Ceiling Fan Models 21685 21687 21688 21689 Product: Ceiling Fan Trademark: Revolutions Quantity: 1 Piece Electrical Rating: 120 V ~ 60 Hz 140 W 44276-01 r021813...
- Page 2 You have chosen the best. Your new Revolutions ceiling fan will provide you with many years of comfort and satisfaction. 44276-01 02/18/2013...
- Page 3 44276-01 02/18/2013...
- Page 4 Flat Head 44276-01 02/18/2013...
- Page 5 METHOD A Attach mounting bracket to outlet box using screws provided with the outlet box (Fig. 5a) Install rubber washers in between the ceiling and mounting bracket to reduce vibration. 44276-01 02/18/2013...
- Page 6 Slide the canopy onto the downrod (Fig. 6). Thread the power leads from the fan through the canopy and downrod. Take care not to pull excessively on power wires. Damage and loose connections could result from any abnormal pressure on these wires. Set downrod into yoke. Rotate until the holes match.
- Page 7 Fasten the canopy directly to the top of the fan motor housing with the three screws provided. (The downrod and ball are not used for this installation). (Fig. 9A) If a metal ring washer with three holes is provided, use it to install the canopy.
- Page 8 44276-01 02/18/2013...
- Page 9 Attach the blue wire plug from the fan to the black wire plug from the light kit. Attach the white wire plug from the fan to the white wire plug from the light kit. Attach the light kit to the switch housing using three small screws provided (Fig.
- Page 10 44276-01 02/18/2013...
- Page 11 1.Use of standard light rheostat or continuously variable fan speed wall control will always cause harmonic distortions, or a humming noise. Many fan motors do not work quietly with solid state variable controls. If a quiet wall control is desired, use only 3-speed NOM approved wall controls. 2.Always allow a few days"break in"time for any new fan at medium or high speed.
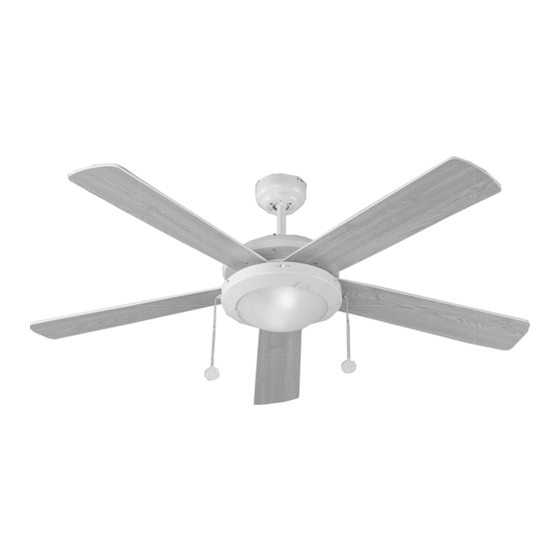
- Page 12 Revolutions 52” Solaris Indoor Ceiling Fan 44276-01 02/18/2013...
Need help?
Do you have a question about the Solaris 21685 and is the answer not in the manual?
Questions and answers