
Related Manuals for Topfield TBF-7300


Summary of Contents for Topfield TBF-7300
- Page 1 TOPFIELD TBF-7300 Quick Guide High Definition Digital Terrestrial Receiver USB PVR-Ready ABC iView...
- Page 2 Precautions • Read, keep and follow these instructions. • Clean with a dry cloth only. • Do not block any of the ventilation openings. • When placed in a cabinet, make sure there is a minimum space of 10 centimetres around it. •...
-
Page 3: Rear Panel
Rear Panel ANT IN S/PDIF HDMI ANT OUT R - AUDIO - L VIDEO ANT IN Terrestrial broadcasting signal input socket (5V, Max.100mA) ANT OUT Terrestrial broadcasting signal output socket through the ANT IN socket for another digital receiver USB port for firmware update and data transfer. (USB 2.0 Host, 5V DC, 500mA Max.) HDMI Audio and video output socket for the high definition television set... - Page 4 A. HDMI Connection Receiver...
- Page 5 B. Component Connection Receiver...
- Page 6 C. Composite Connection Receiver...
-
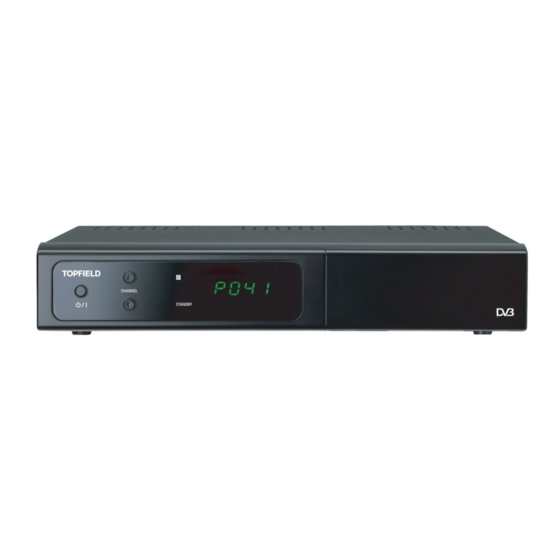
Page 7: Front Panel
Front Panel button switches the digital receiver between standby mode and active mode. CHANNEL buttons switch to the previous or next service. They are also used to navigate in menus and interactive screens. light blinks every time you press a button on the remote control. STANDBY light lights up while the digital receiver is in standby mode. - Page 8 • switches over between the current service and the previously viewed one. • Numeric buttons are used to enter a service number for service change or to specify values for menu options. £ ¢ ¡ • displays the services list. It is also used to select a menu item. £...
-
Page 9: First Time Installation
• is used to make a bookmark on playback or time-shift. • is used to jump to next bookmark position. • has different functions per menu. • has different functions per menu. Functions of the colour buttons will be guided on the screen. NOTE The actual images and the number of buttons may be different depending on the type of remote control provided by the manufacturer. - Page 10 £ ¢ ¡ 7 Now highlight Searching and press but- ton. 8 Make sure Search Mode is set to Auto then £ ¢ ¡ move down to Start Search and press but- ton. 9 Once all the channels have been searched you will be told how many channels have been £...
-
Page 11: Network Setup
Setting up your Time £ ¢ ¡ button, and then go to Set- 1 Press the MENU tings, press OK. 2 Press OK on top of Time. 3 Make sure the Mode is set to Auto. Use left or Right keys beside OK button. 4 Now head down to Time offset and adjust it to the following depending on which state you reside. - Page 12 Wireless connection 1 Connect the USB wireless dongle to the USB port on the unit. £ ¢ ¡ > Installation > Network Setting 2 Press MENU > IP Setting. 3 Select Wired/Wireless LAN then select Wire- less. 4 Select AP list and press OK. A list of available networks will be shown, then select your per- sonal network.
-
Page 13: Recording And Playback
1 Press OK button on a desired programme, then the unit starts loading the content. 2 Wait until the status message in the progress bar changes from “Loading” to “Play”. 3 Put the highlight bar on the Play and press OK button, then the programme will start to play. - Page 14 To stop recording, press the button; then a box like the left figure appears, which shows the programmes currently being recorded. Select £ recording by using navigation buttons then press ¢ ¡ button to stop the recording. Timer Recording via Guide You can also setup a record timer from the guide which is not a Intelligent Recording (IR).
- Page 15 4 Select the Play to start playback. 5 To stop playback, press the button. For Full Guide and how to setup a wireless connection using a TOPFIELD wireless dongle (purchased separately ) please visit http://www.topfield.com.au under support section or product section.
- Page 16 At any time during the life of a product Toppro Pty Ltd may change or modify the hardware or software on any product to introduce new features or improve the functionality of the product. Copyright © 2011, Toppro Pty. Ltd. All rights reserved. English version http://www.topfield.com.au 110T-S4A89-Q01-0...
Need help?
Do you have a question about the TBF-7300 and is the answer not in the manual?
Questions and answers