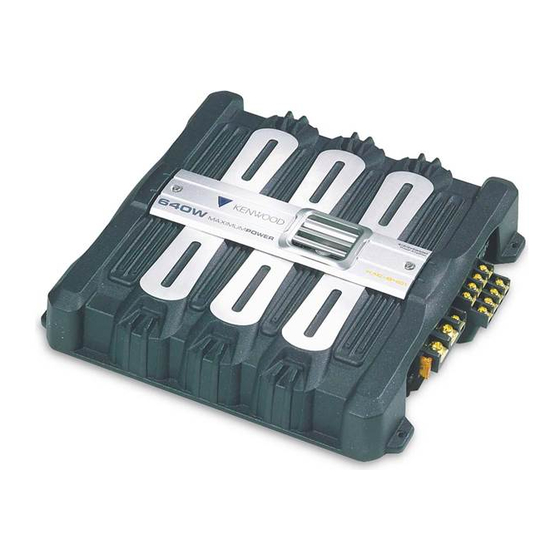
Kenwood KAC-8401 Instruction Manual
4-channel power amplifier
Hide thumbs
Also See for KAC-8401:
- Instruction manual (37 pages) ,
- Service manual (12 pages) ,
- Instruction manual (14 pages)
Advertisement
Advertisement
Table of Contents

Related Manuals for Kenwood KAC-8401


Summary of Contents for Kenwood KAC-8401
-
Page 1: Instruction Manual
KAC-8401 4-CHANNEL POWER AMPLIFIER INSTRUCTION MANUAL © B64-2575-00/00 (MV) -
Page 2: Safety Precautions
• To prevent a short circuit when replacing a fuse, first disconnect the wiring harness. NOTE • If you experience problems during installation, consult your Kenwood dealer. • If the unit does not seem to be working right, consult your Kenwood dealer. English... -
Page 3: Installation
Installation Self-tapping screw (ø4 × 16 mm) Cooling fan Installation board, etc. (thickness : 15 mm or more) 2CAUTION • Do not install in the below locations; (Unstable location, In a location that interferes with driving, In a location that gets wet, In a dusty location, In a place that gets hot, In a place that gets direct sunlight, In a location that gets hit by hot air) •... - Page 4 Controls / Indicator This is a 4 channel amplifier including 2 stereo amplifiers in a body. One amplifier is referred to as amplifier A and the other is amplifier B. This unit is compatible with a large variety of systems by combining the switches and functions described in the following.
- Page 5 6 FILTER FREQUENCY control When the FILTER switch is set to the HPF (High-Pass Filter) or LPF (Low-Pass Filter) position, the threshold frequency can be adjusted with this control. 7 Power indicator When the power is turned on, the Power indicator lights.
- Page 6 Connection ■ Terminal names 8 Fuse (40 A) NOTE If you can’t find the specified capacity fuse at your store etc., consult your Kenwood dealer. 9 Battery terminal 0 Ground terminal ! Power control terminal Controls the unit ON/OFF. NOTE Controls the unit power.
-
Page 7: Installation Procedure
■ Installation procedure Since there are large variety of settings and connections possible according to applications, read the instruction manual well to select the proper setting and connection. 1. Remove the ignition key and disconnect the negative - terminal of the battery to prevent short circuits. - Page 8 Connection ■ RCA cable or Speaker level input connection (RCA cable Connections) RCA cable ground terminal A channel Left input A channel Right input (Speaker level input Connections) Cable Color of the connector White A channel Left White/Black Gray A channel Right Gray/Black Green...
- Page 9 ■ Speaker wire connection (Stereo Connections) Lead terminal* (Bridged Connections) ■ Power wire connection Terminal cover Extension wire* Battery wire* Protective Fuse* Lead terminal* Ground wire* Battery * Commercially available parts A channel Left speaker A channel Right speaker B channel Right speaker B channel Left speaker...
-
Page 10: System Examples
System examples ■ 4-channel system CENTER UNIT CENTER UNIT ■ 3-channel system CENTER UNIT CENTER UNIT ■ 2-channel system CENTER UNIT English Front Left speaker Front Right speaker Rear Left speaker Rear Right speaker Left speaker (High pass) Right speaker (High pass) Subwoofer (L + R) (Bridged) Left speaker (Bridged) - Page 11 ■ Tri-mode CENTER UNIT ●Principle of Tri-mode Method of frequency band division using a coil and capacitor…in case of 6dB/oct. slope Crossover Frequency 0 dB -3 dB ● Example: When it is required to set a crossover frequency of 120 Hz using speakers with an impedance of 4 ohms.
-
Page 12: Troubleshooting Guide
Troubleshooting Guide What might appear to be a malfunction in your unit may just be the result of slight misoperation or miswiring. Before calling service, first check the following table for possible problems. PROBLEM No sound. (No sound from one side.) (Blown fuse.) The output level is too small (or too large).
Need help?
Do you have a question about the KAC-8401 and is the answer not in the manual?
Questions and answers