Sign In
Upload
Download
Table of Contents
Contents
Add to my manuals
Delete from my manuals
Share
URL of this page:
HTML Link:
Bookmark this page
Add
Manual will be automatically added to "My Manuals"
Print this page
×
Bookmark added
×
Added to my manuals
Manuals
Brands
Valentin Manuals
Printer
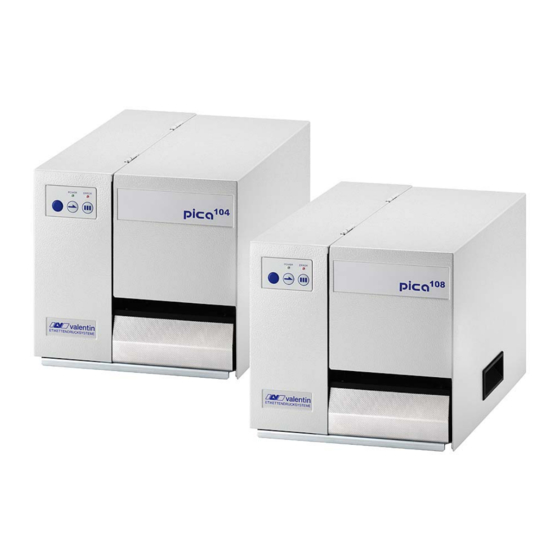
Pica 104/8
Operating manual
Valentin Pica 104/8 Operating Manual
Pica series thermal transfer printer
Hide thumbs
1
2
Table Of Contents
3
4
5
6
7
8
9
10
11
12
13
14
15
16
17
18
19
20
21
22
23
24
25
26
27
28
29
30
31
32
33
34
35
36
37
38
39
40
page
of
40
Go
/
40
Contents
Table of Contents
Bookmarks
Table of Contents
Table of Contents
Printer Driver Installation
Windows 95, Windows 98 and Windows Me
Windows NT
Windows 2000 Professional
Initial Operation
Installation
Printer Rear
Loading of Print Material
Loading of Labels in Standard Mode
Loading of Labels in Rewinding Mode
Loading of Labels in Cutter Mode
Loading of Labels in Peel-Off Mode
Loading of Fan-Fold Material
Loading of Transfer Ribbon
Technical Data
Tear-Off
Cleaning of Cutter
Operating and Display Elements
Functions
Print
Status Print
Label Feed
Saving
Rewinding Unit Pr28
Options
Dispenser Operating Modes
Cutter Operating Modes
Input and Output
Error Correction
Error Table
Operating Conditions
Conditions for the Place of Installation
Installation of Power Supply
Technical Data of Power Supply
Stray Radiation and Immunity from Disturbance
Connecting Lines to External Machines
Installation Data Lines
Air Convection
Limit Values
Guarantee
Index
Advertisement
Quick Links
1
Printer Driver Installation
2
Installation
3
Initial Operation
4
Technical Data
5
Print
6
Error Correction
7
Error Table
Download this manual
Operating manual – English
Thermal Transfer Printer
Pica Series
79.28.055 • May 2005
All rights reserved.
Carl Valentin GmbH • Neckarstraße 78 – 80 & 94 • 78056 Villingen-Schwenningen
support@valentin-carl.de • www.valentin-carl.de
Table of
Contents
Previous
Page
Next
Page
1
2
3
4
5
Advertisement
Table of Contents
Need help?
Do you have a question about the Pica 104/8 and is the answer not in the manual?
Ask a question
Questions and answers
Related Manuals for Valentin Pica 104/8
Printer Valentin Pica 108/12 Operating Manual
Pica series thermal transfer printer (40 pages)
Printer Valentin Compa II Operating Manual
(110 pages)
Printer Valentin DUOPRINT Operating Manual
(96 pages)
Printer Valentin Solo type Service Manual
Thermal transfer printer (38 pages)
Printer Valentin VARIO III Operating Manual
(134 pages)
This manual is also suitable for:
Pica 108/12
Table of Contents
Save PDF
Print
Rename the bookmark
Delete bookmark?
Delete from my manuals?
Login
Sign In
OR
Sign in with Facebook
Sign in with Google
Upload manual
Upload from disk
Upload from URL


Need help?
Do you have a question about the Pica 104/8 and is the answer not in the manual?
Questions and answers