Table of Contents
Advertisement
Advertisement
Table of Contents

Related Manuals for Nikken AirWellness Power5 Pro


Summary of Contents for Nikken AirWellness Power5 Pro
- Page 1 AirWellness ™ OWNER MANUAL...
-
Page 2: Table Of Contents
Glossary ..............3 Product introduction. -
Page 3: Glossary
Terms used in this manual: HEPA filter — High Efficiency Particulate Air filter, a type of extremely efficient filtration that removes or reduces a wide range of airborne contaminants. HEPA filters are widely used in a clinical or laboratory environment. Multistage —... -
Page 4: Product Introduction
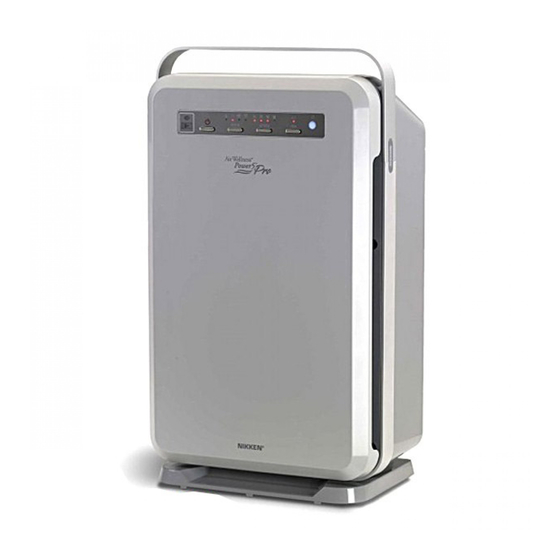
Congratulations on your purchase of a Nikken Air Wellness™ Power5 Pro™ indoor air system. The Nikken Power5 Pro combines a multistage air filter with negative-ion generation and effectively ozone-free operation. The Power5 Pro features advanced air-filtration technology that reduces contaminants in particle sizes ranging from visible to microscopic. -
Page 5: Safety Information
IMPORTANT: Make sure you read all safety information before using this product. Follow all directions for safety. READ AND SAVE THESE SAFETY INSTRUCTIONS BEFORE USING THIS PRODUCT. When using electronic appliances, basic precautions should always be followed to reduce the risk of fire, electric shock and injury to persons, including the following: 1. -
Page 6: Quick Start Guide
22. Do not allow foreign objects to enter the ventilation or exhaust opening, as this may cause electric shock or damage to the product. Do not block air outlets or intakes. Keep these openings clean as specified in the instructions. 23. -
Page 7: Components And Controls
Power5 Pro unit 1. Lift handle 2. Remote control bay 3. Air outlet 4. Particle sensor 5. Front section magnet clips 6. Air inlet 7. Control/display panel 8. Prefilter/mesh filter 9. Neutralising filter 10. Activated carbon filter 11. HEPA filter COMPONENTS AND CONTROLS... - Page 8 Control/display panel 1. REMOTE CONTROL SENSOR — receives signals from the handheld remote. 2. MODE DISPLAY — indicates the mode in which the unit is operating. 3. SPEED DISPLAY — indicates the speed at which the unit is operating. 4. NEGATIVE-ION DISPLAY — indicates when the negative-ion generator is active. 5.
-
Page 9: Preparation For Use
Installing remote control battery A battery (Type CR2025) is supplied with the remote control. This battery must be installed before the remote control can be used. 1. Open the battery access tray in the remote control by pushing the end latch inward (the direction indicated) and sliding the tray out of the remote. -
Page 10: Operation
Do not use the Power5 Pro in a room where there is high humidity (over 80%) or extreme temperature change. It is recommended that the Power5 Pro not be used in a room where the temperature is lower than 0°C or exceeds 32°C. See the safety information for other restrictions regarding use of the Power5 Pro. -
Page 11: Adjusting The Particle Sensor
Adjusting the particle sensor The particle sensor is set at a moderate level of sensitivity. The degree of sensitivity controls the point at which the Power5 Pro (in auto mode) increases or decreases its fan speed in response to room conditions. The particle sensor should be readjusted after the Power5 Pro: •... -
Page 12: Reading The Air-Quality Display
Reading the air-quality display Your Power5 Pro is equipped with an accurate indicator that reveals the level of airborne contamination in its surroundings, when the unit is in operation. The air- quality display uses colour to provide this information. When the indicator light is a solid, clear blue, the air is relatively free of particulates. A light violet colour indicates a low to moderate level of airborne contamination. -
Page 13: Maintenance
CAUTION: When performing any maintenance operation, make sure the Power5 Pro is unplugged. Never clean the unit by washing. Use a dry or damp cloth to wipe the exterior only. Do not allow water to enter the unit. Follow the recommended intervals shown below for cleaning and filter replacement. These may need to be performed more frequently, depending on operating conditions. -
Page 14: Replacing Filters
2. Clean the filter by gently vacuuming or by immersion in warm water. 3. If washed, allow the filter to air dry completely before replacing it in the unit. Replacing filters Reinsert the filter and reattach the front panel. All the filters should be replaced at the same time, at least once every 6 months or more often if required, especially if used in an area with higher than average levels of air pollution. -
Page 15: Maintenance Check
7. Replace the prefilter/mesh filter, with the front side toward the front of the unit. First insert the frame edge tabs along one side. Then flex the frame slightly so that the other side is pointed toward the unit, and insert the edge tabs on that side. -
Page 16: Specifications
* Tested and certified for air quality by the Korean Clean Air Association. Under warranty, Nikken will repair any defects in materials or workmanship. Nikken retains the option to either repair or replace this product with a new or fully warranted, reconditioned unit, or refund part or all of the purchase price of the product, on a prorated basis.
Need help?
Do you have a question about the AirWellness Power5 Pro and is the answer not in the manual?
Questions and answers
Our unit has a continuous red light that won't go off. New filters installed and did not change. The unit is about 15 years old and has performed flawlessly.
Mimaskingquestion
A continuous red light on a Nikken AirWellness Power5 Pro unit indicates a relatively high level of dust, allergens, harmful vapors, or other airborne pollutants in the environment.
This answer is automatically generated