Advertisement

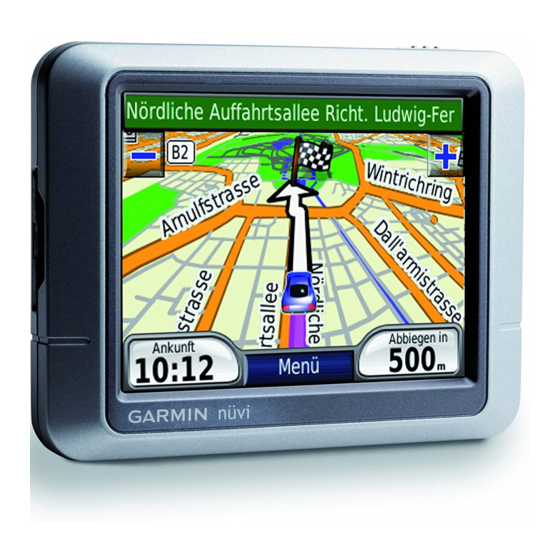
set up and go!
nüvi
200/250/270
®
affordable navigation

Advertisement

Table of Contents
loading

Summary of Contents for Garmin nuvi 200

  • Page 1 set up and go! nüvi 200/250/270 ® affordable navigation...
  • Page 2: What Is In The Box

    ettinG tarted What Is in the Box? • nüvi unit • Suction cup mount to mount the nüvi to your windshield. • Vehicle power cable to charge/power your nüvi using a vehicle power outlet. • Dashboard disk to mount the suction cup mount on your dashboard instead. Power and mini-USB connector...
  • Page 3: Step 1: Mount The Nüvi

    Check your state and local traffic laws before mounting. Currently, state laws in California and Minnesota prohibit drivers from using suction mounts on their windshields while operating motor vehicles. Other Garmin dashboard or friction mounting options should be used. See page 12 for more details. Step 1: Mount the nüvi Select a suitable location to mount the nüvi on your windshield.
  • Page 4: Help When You Need It

    Step 2: Configure the nüvi Step 4: Use the nüvi To turn on your nüvi, slide the Power key to the left. Follow the on-screen instructions. To turn off your nüvi, slide the Power key to the left. Step 3: Acquire Satellites Menu Page Before the nüvi can find your current Touch to find a destination.
  • Page 5: Finding A Restaurant

    indinG a eStination Finding a Restaurant Go Page Options to > Touch an item in the search results list 1. Touch Where Points Interest > Food. to view the Go page. 2. Select a category. Touch and Touch to create a turn-by-turn route to see more choices. to this location.
  • Page 6: Stopping The Route

    Spelling the Name Adding a Stop to the Route You can spell the name or part of the You can add one via point (stop) to the name of the location you are looking route. The nüvi routes you to the via for using the on-screen keyboard.
  • Page 7: Trip Information

    iewinG the View map Touch to open the Map page. The vehicle icon shows your current location. Touch to save your current location. Touch the map and drag to view different parts of the map. Touch any object on the map; an arrow appears pointing at the object.
  • Page 8: Adjusting The Screen Brightness

    NOTE: If you forget your PIN and your security location, you must Go to http://my.garmin.com to access send your nüvi to Garmin to get the latest services for your Garmin it unlocked. You must also send a products and to register your Garmin valid product registration or proof unit.
  • Page 9: Resetting Your Nüvi

    3. Connect the nüvi to a power source. 3. Touch Yes to clear all user data. Contact Garmin All original settings are restored. Any items that you have saved are erased. In the USA, contact Garmin Product Support by phone: (913) 397-8200 Extras and Optional or (800) 800-1020, Monday–Friday, Accessories 8 AM–5 PM Central Time;...
  • Page 10: Mounting On Your Dashboard

    Mounting on Your Changing the Fuse Dashboard CauTiON: When replacing the Use the enclosed mounting disk to fuse, do not lose any of the small mount your unit to the dashboard pieces and make sure they are put and to comply with certain state back in the proper place.
  • Page 11: Battery Warnings

    Mportant aFetY and roduCt nForMation Warnings Failure to avoid the following potentially and maps. For safety, always resolve any hazardous situations could result in an accident discrepancies or questions before continuing or collision resulting in death or serious injury. navigation and defer to posted road signs. •...
  • Page 12: Declaration Of Conformity

    Declaration of Conformity MaP DaTa iNFOrMaTiON: One of the goals Hereby, Garmin declares that this nüvi product is of Garmin is to provide customers with the most in compliance with the essential requirements and complete and accurate cartography that is available other relevant provisions of Directive 1999/5/EC.
  • Page 13: Fcc Compliance

    Limited Warranty “outdoor” requirements. This Garmin product is warranted to be free from Operation of this device is subject to the following defects in materials or workmanship for one year conditions: (1) this device may not cause harmful from the date of purchase.
  • Page 14: Cleaning The Unit

    Units purchased in the United damages, so the above limitations may not apply to States or Canada must be returned to the Garmin you. service center in the United Kingdom, the United States, Canada, or Taiwan for service.
  • Page 15: Specifications

    Computer interface: USB mass storage AGREEMENT CAREFULLY. Power input: DC vehicle power using included Garmin grants you a limited license to use the vehicle power cable software embedded in this device (the “Software”) in binary executable form in the normal operation of usage: 15 W max.
  • Page 16 Garmin and nüvi are trademarks of Garmin Ltd. or its subsidiaries, registered in the USA and other ® ® countries. Garmin Lock and myGarmin are trademarks of Garmin Ltd. or its subsidiaries and may not ™ ™ be used without the express permission of Garmin.

This manual is also suitable for:

Nuvi 250Nuvi 270

Table of Contents