Table of Contents
Advertisement
Quick Links
Advertisement
Table of Contents

Subscribe to Our Youtube Channel
Related Manuals for O2 Xda Serra


Summary of Contents for O2 Xda Serra
- Page 1 Xda Serra o2.co.uk Telefónica O2 Limited, 260 Bath Road, Slough, Berks, SL1 4DX. Registered in England No.1743099. Registered office as above. © Telefónica O2 UK Limited 2008. Correct at time of going to press (08/08). O2CN611N 5450VCCP08/08 07/09 We’re better, connected...
-
Page 2: Table Of Contents
Synchronising music files Charging the battery Listening to music To install a microSD card This Quick Start Guide will help you get your Xda Serra Switching on your Xda Serra Getting organised up and running as smoothly as possible. Settings... -
Page 3: Getting To Know Your Xda Serra
TV Out cable USB sync cable Extra stylus 02 may change the contents of the Xda Serra box in the future. The images here are purely to illustrate what’s in the box – the actual contents may look slightly different. - Page 4 Vista and Microsoft® Outlook® 2007 (Evaluation copy) Full User Manual 140x118mm Gwyn 040808 TouchFLO™ 3D guide 150x150 5450 30 07 08 sean 116x116 5450 Xda Serra CD FACE.ai 100x100mm 5450 100% 30.07.08 5450 Xda Serra Touchflo 100x100.indd 01 08 08...
-
Page 5: A Tour Of Your Xda Serra
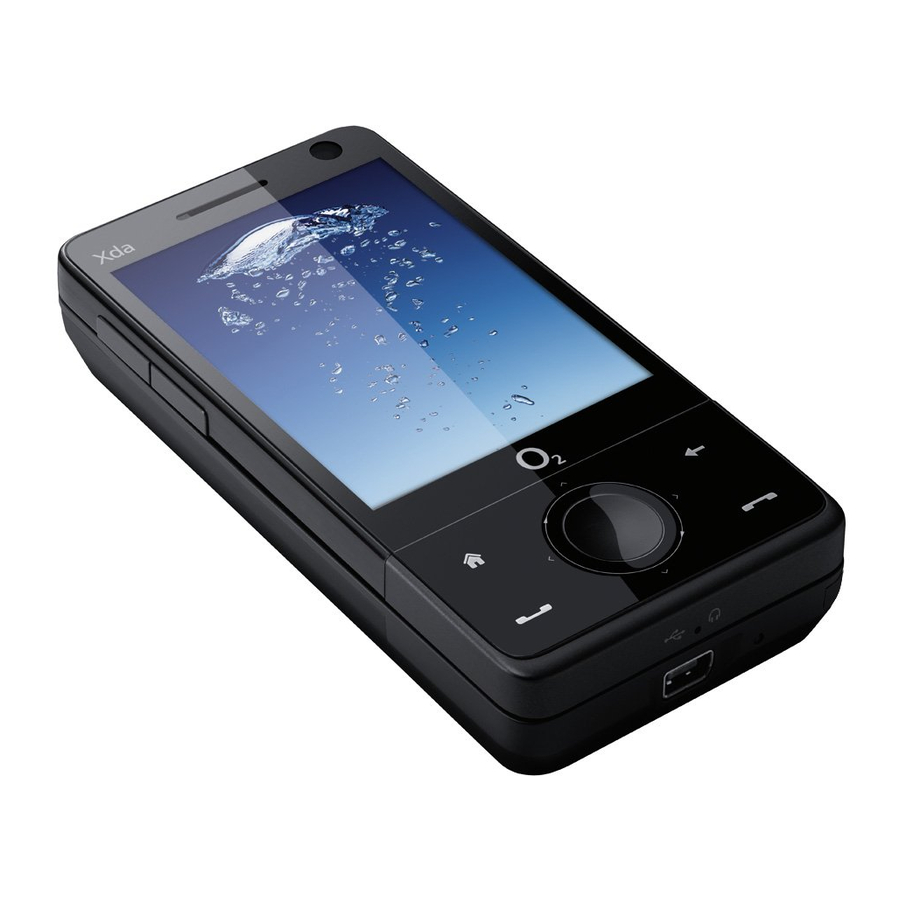
A tour of your Xda Serra Second Earpiece Camera 3.2 Megapixel Speaker Camera Flash light Hardware Touch Keyboard Screen Back Cover Home Back Key Talk/Send End Key Strap holder Navigation Control... -
Page 6: Inserting Your Sim Card
Inserting your SIM card and battery Make sure your Xda Serra is turned off and remove the back cover before installing your SIM card and battery. To do this, hold your Xda Serra with both hands with the front panel facing down. -
Page 7: Charging The Battery
Charge it by plugging in the AC adapter plug to an electrical outlet. Plug the USB end to the sync connector port at the bottom of your Xda Serra. The battery will be fully charged after about 3 hours of charging. -
Page 8: Settings
SMS message, create a new appointment or open your web browser. After your Xda Serra restarts, you’ll be asked if you want to automatically set up For more information about TouchFLO 3D, see your TouchFLO 3D Guide its data connections. -
Page 9: Making Your First Call
Your Xda Serra can also be used to make video calls – as long as you and the person you want to call are using a 3G-enabled SIM card and are inside a 3G coverage area. -
Page 10: Adding Contacts
People. Full QWERTY Compact QWERTY Phone Keypad 2. Tap New. 3. Enter the contact information, then tap OK. Copying your SIM card contacts to your Xda Serra 1. On the Home screen, tap Start > Programs > Manager. -
Page 11: Contacting Others
Contacts list. Menu > Bluetooth Devices > Devices tab. 3. Type your message and then tap Send. 2. Tap Add new device. Your Xda Serra tells you the names of other Bluetooth devices within range. Sending picture and video messages 3. -
Page 12: Setting Up Wi-Fi
Menu > Bluetooth Devices > Devices > Add new device. then tap OK. 3. Tap the name of the Bluetooth headset, then tap Next. Your Xda Serra will automatically pair itself with the Bluetooth headset. To learn how to connect to a secured network, see Chapter 8 of the Full User Manual. -
Page 13: Setting Up An Internet Email Account
Mail on the Home screen. 5. Select how often you want your Xda Serra to check for new messages You can also synchronise your Xda Serra with your company’s Microsoft on the server in Automatic Send/Receive and then tap Finish. -
Page 14: Browsing The Internet
To secure your Xda Serra 2. On the Opera Mobile screen, tap the address bar. You can enter a password to lock your Xda Serra if it hasn’t been used 3. Enter the URL address and tap. for a while. -
Page 15: Photo And Video
Xda Serra to turn off when using battery and external power. Tap OK. Note: When the backlight turns off, it only turns off the screen. Your Xda Serra is still ‘on.’ To turn the screen back on, press the power button. - Page 16 Viewing Photo and Videos 1. On the Home screen, slide to the Photos and Videos tab and then tap Use the Album feature on your Xda Serra to browse photos and play back video. the video icon . The screen automatically switches to landscape mode Note: Album can display files in the BMP, GIF, PNG, JPG, Animated GIF, 3GP, when you open the camera programme.
-
Page 17: Synchronising Music Files
1. On your computer, open Windows Media® Player and then connect your Xda Serra to your computer. To listen to music 2. On the Device Setup dialog box, enter a name for your Xda Serra and Music tab and then tap Library. -
Page 18: Getting Organized
5. Select whether or not you want to allow wireless data connections Synchronising your Xda Serra with your PC on your Xda Serra while it’s connected to your PC. Click Next. Synchronise information and files between your PC and Xda Serra. -
Page 19: Keeping Track Of Appointments
Use Calendar to help remind you of your upcoming appointments. Use Tasks to help you remember things you have to do. To enter an appointment into your Xda Serra To create a to-do list 1. On the Home screen, tap Calendar. -
Page 20: Copying Files
3. Your Xda Serra should restart and show you the Home screen. 2. Your Xda will ask you to choose a connection type – ActiveSync or Disk Drive. You can also do a hard reset. After a hard reset, the Xda Serra is restored to You should select Disk Drive. -
Page 21: Help And Troubleshooting
Xda Serra, visit our dedicated Xda web site at o2.co.uk/xda Talk to us O2 will be able to help if you have any general questions about your Xda Serra, questions about charges on your account or activation of O2 services. You’ll find their contact details printed on your monthly bill. -
Page 22: Status Indicators
Synchronisation error ActiveSync notification For Full Health and Safety Precautions, please refer to o2.co.uk/xda * The USB to PC icon appears on the Today screen when you are connected to your computer with a USB connection. For more information about USB to PC, refer to the Full User Manual.
Need help?
Do you have a question about the Xda Serra and is the answer not in the manual?
Questions and answers