Table of Contents
Advertisement
Quick Links
Download this manual
See also:
User Manual
Advertisement
Table of Contents

Related Manuals for Mermaid mermaid poseidon 150


Summary of Contents for Mermaid mermaid poseidon 150
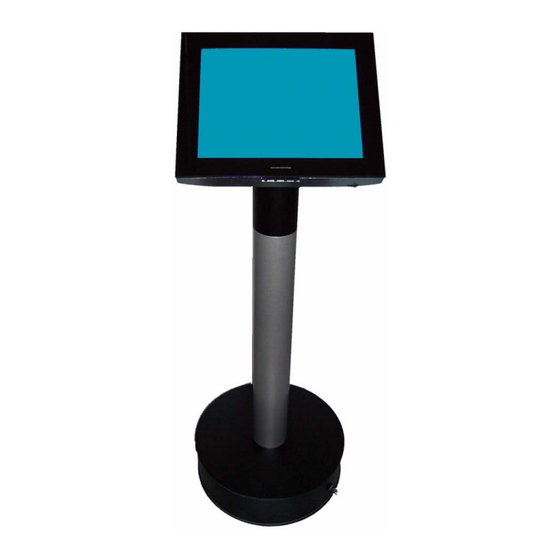
- Page 1 Setup Guide mermaid poseidon 150/170/190 TFT (Touch)
-
Page 3: Table Of Contents
150/170/190 TFT (touch) Models - Setup Guide ver 2.1 Table of Content: Table of Content: ..........................3 1. Content of the Boxes ........................5 • Monitor Unit Box:......................... 5 • Raiser Unit Box:..........................5 • Base Unit Box: ..........................5 •... - Page 4 150/170/190 TFT (touch) Models - Setup Guide ver 2.1 P/N: 20-1700-00458 Page 4 of 16...
-
Page 5: Content Of The Boxes
150/170/190 TFT (touch) Models - Setup Guide ver 2.1 1. Content of the Boxes Monitor Unit Box: • 15” or 17” or 19” unit equipped with: • Front glass or optional touch (intelli touch) • Optional keyboard mounted on the monitor assembly (country specific layout) Raiser Unit Box: •... -
Page 6: Unpacking, Assembly And Placement
150/170/190 TFT (touch) Models - Setup Guide ver 2.1 2. Unpacking, Assembly and Placement Note: To avoid condensation, please wait ½-1 hour, before operating the unit. Base/Raiser unit: • After the base unit box has been opened, remove the upper foam inlay. -
Page 7: Base/Raiser Unit - Continued
150/170/190 TFT (touch) Models - Setup Guide ver 2.1 Base/Raiser unit - continued: • Mount the enclosed PSU in a suitable place on the baseplate, by use of the adhesive tape. • Connect the PSU and PC to the mains... -
Page 8: Base/Raiser Unit - Continued
150/170/190 TFT (touch) Models - Setup Guide ver 2.1 Base/Raiser unit - continued: • Lift the cabinet/raiser assembly on top of the Cabinet hole Cable entry base plate. Align the 3 holes in the cabinet with the corresponding... -
Page 9: Monitor Unit
150/170/190 TFT (touch) Models - Setup Guide ver 2.1 Monitor unit: Adjust cables as needed • Unpack and place the monitor unit on the floor, on one of the inlay foam pieces, with the front pointing downwards. Be carefull not to scratch the unit. -
Page 10: Door
150/170/190 TFT (touch) Models - Setup Guide ver 2.1 Door: • Unlock Lock Open the door by turning the key anti clockwise. Use the key as “handle” Note: The key can only be removed when the lock is in the locked position. -
Page 11: Osd Key Functions (Overview)
150/170/190 TFT (touch) Models - Setup Guide ver 2.1 4. OSD Key Functions (Overview) For detailed description: See Users manual. 4-button OSD Panel Auto Config: (Hot key) Source select: (Hot key(s)) Volume Dec. : (Hot key) Volume Inc. :... -
Page 12: Maximum Size Of Build-In Pc
150/170/190 TFT (touch) Models - Setup Guide ver 2.1 5. Maximum size of build-in PC Foot print dimensions : Ø 480 mm Maximum size PC / Laptop: 330 x 300 x 100 mm (W x L x H) - Page 13 150/170/190 TFT (touch) Models - Setup Guide ver 2.1 P/N: 20-1700-00458 Page 13 of 16...
- Page 14 150/170/190 TFT (touch) Models - Setup Guide ver 2.1 P/N: 20-1700-00458 Page 14 of 16...
- Page 15 150/170/190 TFT (touch) Models - Setup Guide ver 2.1 P/N: 20-1700-00458 Page 15 of 16...
- Page 16 Klingseyvej 15 B 2720 Vanløse Denmark Phone: +45 44 52 92 00 www.mermaid.dk...
Need help?
Do you have a question about the mermaid poseidon 150 and is the answer not in the manual?
Questions and answers