Advertisement
Advertisement
Table of Contents

Related Manuals for Harley Benton P-Style


Summary of Contents for Harley Benton P-Style
- Page 1 ‘ wner anual uitar tyle...
-
Page 2: Table Of Contents
Introduction ......................... 3 Body finish ........................4 Neck finish ........................4 Assembling of tuners ....................5 Neck..........................6 Wiring ........................... 6 Bridge assembly ......................8 Strap buttons ....................... 8 Setting up ........................9 Notes ......................... 11 Harley Benton Bass-Guitar Kit P-Style... -
Page 3: Introduction
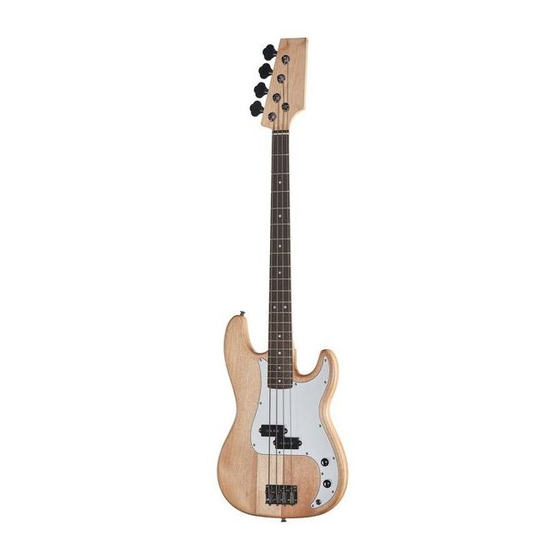
Introduction Thank you for buying the bass guitar kit. All the wood, hardware and electrical components of the bass guitar are contained in this package. Please read the following instructions for assembly and finishing. www.thomann.de... -
Page 4: Body Finish
After the headstock has become dry, turn the neck over and lay it down on its fingerboard. Repeat the above process for the rest of the exposed maple. Allow two to three days for the lacquer to fully harden and then, if desired, polish the lacquered surfaces to get a suitable shine. Harley Benton Bass-Guitar Kit P-Style... -
Page 5: Assembling Of Tuners
Assembling of tuners Before attaching the neck to the body, fit the tuning machine-heads to the headstock by setting a washer and inserting the thread through the pre-drilled holes and bush over it. Screw down the bush onto the thread until it fits tightly to the touch and then adjust the rear of the machine-head so that the tuning button sits vertically above the top edge of the headstock. -
Page 6: Neck
Insert the blue cable (string grounding cable, without connector) into the small hole until it runs through the hole under the bridge. String grounding reduces noise (hum). Harley Benton Bass-Guitar Kit P-Style... - Page 7 Wiring Connect the connector wire to the connector on the pickups. Now position the pickguard on the front of the body in a way that the pickups and all the wiring sit neatly in the routed cavities. Ensure that the edge of the pickguard sits snugly at the end of the neck and straight to the bridge assembly.
-
Page 8: Bridge Assembly
Ensure that the bare end of the blue string grounding cable is properly clamped by the bridge. Strap buttons Screw the strap buttons into the pre-drilled holes at the bottom edge of the body and at the tip of the upper horn of the body. Harley Benton Bass-Guitar Kit P-Style... -
Page 9: Setting Up
Setting up Fitting strings to the bass guitar is achieved by threading from the bridge, emerging through the relevant sad- dle on the bridge. Start with the thickest bottom string in the uppermost position on the bridge. Ensure that the string sits smoothly on its saddle and keep taut whilst winding a couple of turns on the relevant tuner. - Page 10 2 mm clear of the pickup. Any pickups that are noticeably louder than others can be made quieter by adjusting them further away from the strings. For future adjustments, keep these instructions as a reference and enjoy your custom made bass guitar. Harley Benton Bass-Guitar Kit P-Style...
-
Page 11: Notes
Notes www.thomann.de... - Page 12 12 © 2013 • Musikhaus Thomann e. K. • Treppendorf 30 • 96138 Burgebrach • Germany • www.thomann.de Harley Benton Bass-Guitar Kit P-Style...
Need help?
Do you have a question about the P-Style and is the answer not in the manual?
Questions and answers