D-Link DCS-932L Installation Manual
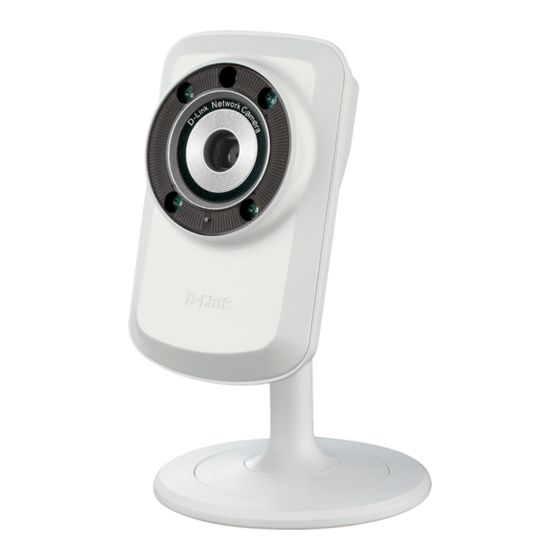
Dcs-932l camera
Hide thumbs
Also See for DCS-932L:
- User manual ,
- Quick installation manual (80 pages) ,
- Install manual (41 pages)
Advertisement
Quick Links
How to install the DCS-932L
This document will detail how to install the DCS-932L into your existing network.
Ensuring the firmware remains up to date can assist with functionality / improved
performances as well as adding additional features.
D-Link Technical
Support – How to install the DCS-932L.
Page 1 of 16
Advertisement

Related Manuals for D-Link DCS-932L


Summary of Contents for D-Link DCS-932L
- Page 1 How to install the DCS-932L This document will detail how to install the DCS-932L into your existing network. Ensuring the firmware remains up to date can assist with functionality / improved performances as well as adding additional features. D-Link Technical Support –...
- Page 2 1. Connect the included Ethernet cable to the network cable connector located on the top panel at the rear of the DCS-932L and attach the other end to your network, the network will usually be a LAN port on your Router.
- Page 3 4. The ActiveX install routine will be checked and or installed for the DCS-932L to run correctly: 5. The network connection present on the DCS-932L will also be checked to ensure on a successful setup: D-Link Technical Support – How to install the DCS-932L.
- Page 4 6. Under the WPS button screen leave the default option and click Next: 7. Using the collar (stand) position the DCS-932L for the viewing position that you require. Click the Next button: D-Link Technical Support – How to install the DCS-932L.
- Page 5 8. This step should already be completed, under Step 1. Click the Next button: NOTE: You may click on the hyperlink to provide you with a basic overview of your devices connected together. Below is that illustration: D-Link Technical Support – How to install the DCS-932L. Page 5 of 16...
- Page 6 9. The power LED at the back of the DCS-932L should be green, click the Next button (provided your power LED is green as well): 10. You must click 'Allow access' to the following prompt: D-Link Technical Support – How to install the DCS-932L.
- Page 7 11. Click the Yes button to the below illustration: 12. Please patiently wait for the Setup Utility to detect your DCS-932L: D-Link Technical Support – How to install the DCS-932L. Page 7 of 16...
- Page 8 13. Once your DCS-932L has been found, click the Next button: NOTE: If your DCS-932L is unable to be found this can be the cause of an installed Firewall/Antivirus application and or a custom configuration change to the Operating System. Your computer/router must allow UDP broadcast connection to search for the camera.
-
Page 9: Wired Connection
15. Patiently wait for the DCS-932L to update it's configuration: 16. Under the Wired or Wireless screen you have the option to select the Wired or Wireless option for the connection of your DCS-932L. Select the heading which matches your installation option (scroll further down for Wireless). -
Page 10: Wireless Connection
'Rescan' button as well. 16d. Using the dropdown arrow button for 'Select a Wireless Network', please select the Wireless Name or SSID of your Wireless Access Point: D-Link Technical Support – How to install the DCS-932L. Page 10 of 16... - Page 11 16e. Please type in your wireless password into the Key / Password field and also into the Retype your Key / Password field, then click Next: 16f. Patiently wait for the changes to be saved: D-Link Technical Support – How to install the DCS-932L. Page 11 of 16...
- Page 12 NOTE: When disconnecting the Ethernet cable, the power LED will turn Red to Reboot, once rebooted it should turn back to green. After 60 seconds has passed, now click on the Continue button. D-Link Technical Support – How to install the DCS-932L. Page 12 of 16...
- Page 13 18. Patiently wait for the DCS-932L to restart and update its device information: 19. It is likely that you don't already have a mydlink account, so let's create one (if you already have a mydlink account, refer to Step 19a): You will need to fill in the below requirements, such as your Email / the Password you want to assign to your mydlink account / First name and last name.
- Page 14 Then click Next: NOTE: Jump to Step 22 if you selected "Yes, I already have a mydlink account". 20. Your mydlink account will now be created: D-Link Technical Support – How to install the DCS-932L. Page 14 of 16...
- Page 15 OK button: 22. Patiently wait for the Registering process to complete: D-Link Technical Support – How to install the DCS-932L. Page 15 of 16...
- Page 16 23. Your DCS-932L Setup is now complete. Click on the Finish button. 24. You have the option to Visit mydlink now and login to view your DCS-932L, or at a later time: 25. Installation is now complete. You may login to your mydlink account to view your camera.
Need help?
Do you have a question about the DCS-932L and is the answer not in the manual?
Questions and answers