
Related Manuals for Screen Research SolidPix


Summary of Contents for Screen Research SolidPix
- Page 1 SolidPix™ Fixed-Frame Screen Integrated Type I Installation Manual Revision A 2007.02.22...
- Page 3 SolidPix1™ Integrated Type I Fixed-Frame Screen Installation Manual Action: W: Written R: Page revised A: Page added D: Page deleted C: Rewritten completely Date Rev. Action Rev. Reason For Revision N° Pages Pages 2007.02.22 - New document Revision A 2007.02.22 ©Screen Research 2006...
-
Page 5: Table Of Contents
SolidPix1™ Integrated Type I Fixed-Frame Screen Installation Manual Table of Contents Package Contents Frame Assembly Projection Screen Material Installation Mounting Dimensions Screen Care Revision A 2007.02.22 ©Screen Research 2006... -
Page 7: Package Contents
SolidPix1™ Integrated Type I Fixed-Frame Screen Installation Manual Package Contents The SolidPix Integrated I Fixed Frame screen is shipped as a kit for on-site assembly. The kit contains the frame, the projection screen fabric, and the tools and accessories necessary for assembly. - Page 9 All screens include the following tools for assembly: 6mm Allen wrench Gloves (1 piece) (1 pair) Mallet Short Pi-Grip clipping (1 piece) extrusions (12 pieces) Fabric cutting tool Instruction manual (1 piece) Protective plastic tarp (1 piece) Revision A 2007.02.22 ©Screen Research 2006...
-
Page 11: Frame Assembly
4 in the left bar, 4 in the right bar and 2 in 4 in the left bar, 4 in the right bar RWMB2 right bar the top bar and 4 in the top bar Revision A 2007.02.22 ©Screen Research 2006... - Page 12 ��� ������ �� ��� ����� 6. If your frame came with frame stiffeners, attach them to the long frame sections using the M6 x 10 bolts and the square nuts which were inserted in step 3 above. Revision A 2007.02.22 ©Screen Research 2006...
-
Page 13: Projection Screen Material Installation
/ corner bracket 1. The projection side of the SolidPix projection screen fabric is indicated by a sticker (in one corner of the fabric). Clip it in a groove, using a Pi-Grip. 2. Position the projection screen material using the short (2”/ 50mm) pieces of Pi-Grip. - Page 14 These will soon be replaced with pic- tures for a SolidPix1 projection screen fabric. Please note, the way of attaching a SolidPix1 projection screen fabric is the same way of attaching a ClearPix2 projection screen fabric. Revision A 2007.02.22 ©Screen Research 2006...
-
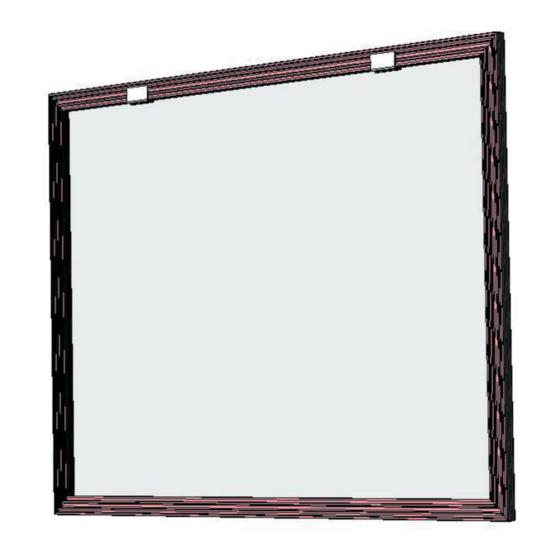
Page 15: Mounting Dimensions
The brackets can be positioned along the top or the sides of the frame. The brackets stand off 12mm (0.5”) from the surface of the wall. 3.2" 81mm Mounting Frame brackets Revision A 2007.02.22 ©Screen Research 2006... -
Page 16: Screen Care
Your cinema-quality viewing surface is delicate. Special attention to these instructions should be followed when cleaning. Cleaning your SolidPix™ Fixed Frame Screen surface NEVER attempt to use solvents, chemicals or abrasive cleaners on the screen. A soft cloth or brush may be used to lightly whisk away any loose dirt or particles. - Page 17 No. 200480025260.9 (China); No. 1126/CHENP/2007 (India); No. 2006-524398 (Japan) pending; ClearPix, ClearPix 2, ClearPix 3; ClearPix 4k, SilverPix 3D; SilverPix 3D Sonic; MultiPix 4K; MultiPix 4K Sonic; SolidPix, SolidPix Sonic, X-Mask, C-Mask, E-Mask, LeWing, TheaterCurve, Pi-Grip, E-Grip, StopLight, DécorMask, TailorMade and the Screen Research logo are all trademarks of Adeo Screen.
Need help?
Do you have a question about the SolidPix and is the answer not in the manual?
Questions and answers