Table of Contents
Advertisement
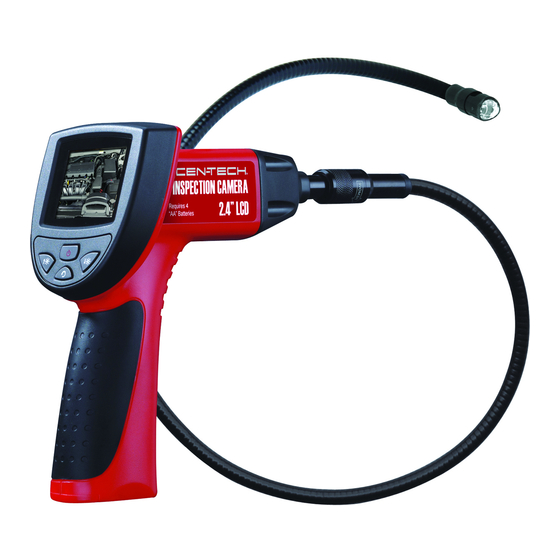
Owner's Manual & Safety Instructions
Save This Manual
operating, inspection, maintenance and cleaning procedures. Write the product's serial number in the
back of the manual near the assembly diagram (or month and year of purchase if product has no number).
Keep this manual and the receipt in a safe and dry place for future reference.
Email our technical support at: productsupport@harborfreight.com
REV 14i
When unpacking, make sure that the product is intact
and undamaged. If any parts are missing or broken,
please call 1-888-866-5797 as soon as possible.
©
Copyright
2014 by Harbor Freight Tools
No portion of this manual or any artwork contained herein may be reproduced in
any shape or form without the express written consent of Harbor Freight Tools.
Diagrams within this manual may not be drawn proportionally. Due to continuing
improvements, actual product may differ slightly from the product described herein.
Tools required for assembly and service may not be included.
Keep this manual for the safety warnings and precautions, assembly,
Visit our website at: http://www.harborfreight.com
®
. All rights reserved.
Read this material before using this product.
Failure to do so can result in serious injury.
SAVE THIS MANUAL.
Advertisement
Table of Contents

Subscribe to Our Youtube Channel
Related Manuals for CEN-TECH 67979


Summary of Contents for CEN-TECH 67979
- Page 1 Owner’s Manual & Safety Instructions Save This Manual Keep this manual for the safety warnings and precautions, assembly, operating, inspection, maintenance and cleaning procedures. Write the product’s serial number in the back of the manual near the assembly diagram (or month and year of purchase if product has no number). Keep this manual and the receipt in a safe and dry place for future reference.
-
Page 2: Safety Instructions
Do not expose the tool to rain or wet interrupter (GFCI) to protect supply. conditions. Water entering the tool will increase the risk of electric shock. For technical questions, please call 1-888-866-5797. Page 2 Item 67979... -
Page 3: Personal Safety
-4°F to 158°F (-20°C to 70°C) Operating humidity 5% to 95% non-condensing (display unit) Video output Accessories Included User’s Manual Video-out cable Imager head and cable (16mm) Blow molded case Magnet, hook and mirror For technical questions, please call 1-888-866-5797. Item 67979 Page 3... -
Page 4: Tool Components
Power Indicator Light – Illuminates green once turning the tool on. Video-Out Port – Connects the tool to a TV with the supplied video-out cable to view real-time images. Battery Compartment Cap – Covers Battery Compartment. For technical questions, please call 1-888-866-5797. Page 4 Item 67979... -
Page 5: Buttons And Controls
Reverse Button – Controls the direction of the real-time image. DOWN Arrow LED Lighting Adjusting Button – Adjusts dim LED lighting. UP Arrow LED Lighting Adjusting Button – Adjusts bright LED lighting. For technical questions, please call 1-888-866-5797. Item 67979 Page 5... -
Page 6: Battery Removal And Installation
To connect the cable to the handheld display unit, align the key and slot properly. (See Figure F.) Once they are aligned, finger- tighten the knurled knob to hold Figure F the connection firmly in place. For technical questions, please call 1-888-866-5797. Page 6 Item 67979... -
Page 7: Accessory Installation
Insert the supplied video-out cable into the video-out port of the tool, and the other end of the cable into the video-in port of a TV, the LCD screen will output a high quality real-time image. For technical questions, please call 1-888-866-5797. Item 67979 Page 7... -
Page 8: Basic Operation
Do not use the tool if condensation and be sure to keep the imager head forms inside the imager head. Let the away from high temperature objects. water evaporate before using again. For technical questions, please call 1-888-866-5797. Page 8 Item 67979... -
Page 9: Battery Precautions
Properly dispose of batteries. When necessary, replace all four Exposure to high temperatures (4) batteries with new ones. can cause batteries to explode. Do not dispose in fire. For technical questions, please call 1-888-866-5797. Item 67979 Page 9... -
Page 10: Maintenance Instructions
Batteries are low. Replace batteries. brightness, display changes between black/white and color, or display turns itself OFF after a short period. The tool will not turn on. Dead batteries. Replace batteries. For technical questions, please call 1-888-866-5797. Page 10 Item 67979... - Page 11 Note: If product has no serial number, record month and year of purchase instead. Note: Some parts are listed and shown for illustration purposes only, and are not available individually as replacement parts. For technical questions, please call 1-888-866-5797. Item 67979 Page 11...
- Page 12 PLEASE READ THE FOLLOWING CAREFULLY THE MANUFACTURER AND/OR DISTRIBUTOR HAS PROVIDED THE PARTS LIST AND ASSEMBLY DIAGRAM IN THIS DOCUMENT AS A REFERENCE TOOL ONLY. NEITHER THE MANUFACTURER OR DISTRIBUTOR MAKES ANY REPRESENTATION OR WARRANTY OF ANY KIND TO THE BUYER THAT HE OR SHE IS QUALIFIED TO MAKE ANY REPAIRS TO THE PRODUCT, OR THAT HE OR SHE IS QUALIFIED TO REPLACE ANY PARTS OF THE PRODUCT.
Need help?
Do you have a question about the 67979 and is the answer not in the manual?
Questions and answers