Sign In
Upload
Download
Table of Contents
Contents
Add to my manuals
Delete from my manuals
Share
URL of this page:
HTML Link:
Bookmark this page
Add
Manual will be automatically added to "My Manuals"
Print this page
×
Bookmark added
×
Added to my manuals
Manuals
Brands
KENT Manuals
Bicycle
BMX
Assembly
KENT BMX Assembly
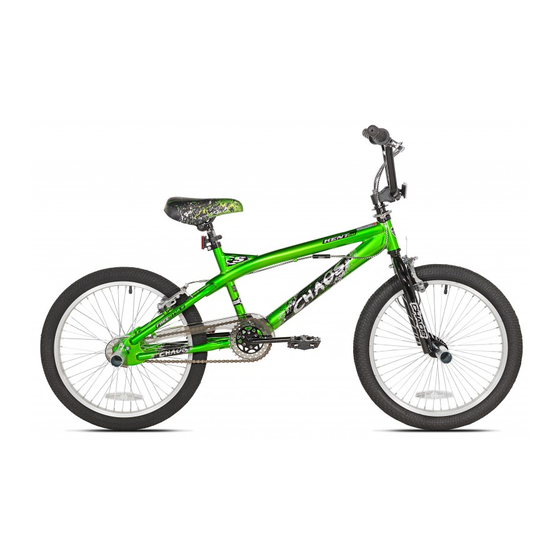
Bike
Hide thumbs
1
2
3
4
5
6
7
8
9
10
11
12
13
14
15
16
17
18
19
20
21
22
23
24
25
26
27
28
29
30
31
32
33
34
35
36
37
38
39
40
41
42
Table Of Contents
43
page
of
43
Go
/
43
Contents
Table of Contents
Bookmarks
Table of Contents
Rules of the Road
Before Riding
Riding Position
Assembling Your Bike
Front Wheel
Pedal Installation
Handlebar Stem
Hand Brakes
Axle Peg Assembly
Tires and Tubes
Travel Tools
Wheels and Tires
Tire Inspection
Hub Bearing Adjustment
Advertisement
Quick Links
1
Assembling Your Bike
2
Front Wheel
3
Handlebar Stem
4
Hand Brakes
5
Wheels and Tires
6
Hub Bearing Adjustment
Download this manual
BMX & FREESTYLE BIKE ASSEMBLY
Table of
Contents
Previous
Page
Next
Page
1
2
3
4
5
Advertisement
Table of Contents
Need help?
Do you have a question about the BMX and is the answer not in the manual?
Ask a question
Questions and answers
Related Manuals for KENT BMX
Bicycle KENT 92804 Owner's Manual
(61 pages)
Bicycle KENT Glendale 32656 Assembly Manual
26" (58 pages)
Bicycle KENT Li'l Farmer 81692 Assembly Manual
Red/green trike with wagon (4 pages)
This manual is also suitable for:
Freestyle bike
Table of Contents
Save PDF
Print
Rename the bookmark
Delete bookmark?
Delete from my manuals?
Login
Sign In
OR
Sign in with Facebook
Sign in with Google
Upload manual
Upload from disk
Upload from URL


Need help?
Do you have a question about the BMX and is the answer not in the manual?
Questions and answers