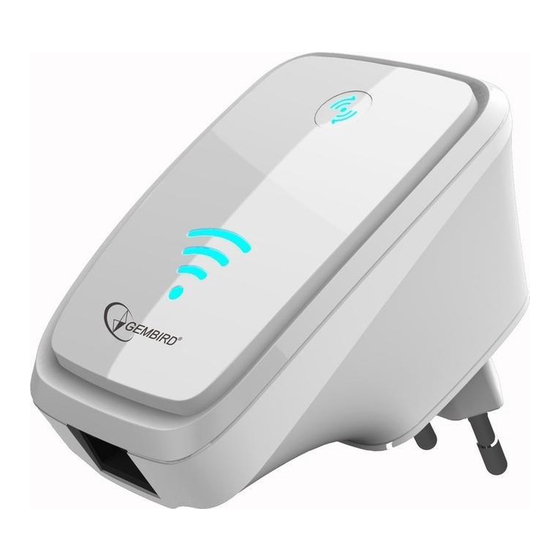
Gembird WNP-RP-002 Installation Manual
Wifi-repeater, 300 mbps
Hide thumbs
Also See for WNP-RP-002:
- Quick installation manual (22 pages) ,
- User manual (14 pages) ,
- Installation manual (11 pages)
Advertisement
Advertisement

Summary of Contents for Gembird WNP-RP-002
- Page 1 Installation manual WNP-RP-002 WiFi-repeater, 300 mbps English...
-
Page 2: Connecting The Repeater Via Wps
Setup WiFi-Repeater in Repeater mode This manual describes the steps you have to follow to setup your Gembird WNP-RP-002 WiFi- repeater. There are two ways to connect the repeater to your home router: A: Via WPS (Wifi Protected Setup) B: Manual setup A: Connecting the repeater via WPS 1. -
Page 3: Manual Setup Of The Repeater
B: Manual setup of the repeater This manual describes the steps you have to follow to setup your Gembird WNP-RP-002 WiFi- repeater. Follow below steps to setup your repeater: Plug in the repeater in an available power outlet socket. Wait for about 1 minute until the repeater is booted up. - Page 4 You will be asked for a password. The password is: 12348765 Windows will now establish a connection with the WiFi-Repeater. It might ask you to specify the network type. In most cases you can select “Home Network”. You are now connected to the network of the repeater and you are ready to open the setup page via your web browser (Internet Explorer, Firefox, Safari, etc) Open your web browser (Internet Explorer, Firefox, Safari, etc) and type http://192.168.10.1...
- Page 5 A window will now appear where you are prompted to enter a login and password. Standard login is “admin” and the password is also “admin” by default.
-
Page 6: Main Menu Of The Wifi-Repeater
You are now in the main menu of the Gembird WNP-RP-002 WiFi-Repeater (optional) 10. On the top of the page, choose “Repeater” (1) 11. Click on the “Site Survey” button (2) 12. You will now see a list of all available wireless networks that are found by the repeater. Your own personal WiFi-network should also be in this list. - Page 7 Name current network/router Your router password 13. The name (SSID) of your current network/router will now be visible in the “Network name” field. Below you are asked to enter the password of your network. NOTE, this is case sensitive! You do not have to change anything from the pre-entered settings. In above example you only have to check if all settings are correct and enter the pre-shared key (the password).
- Page 8 16. The repeater will now reboot with all new settings. Do not remove the repeater from the power socket until it has completely finished rebooting. 17. Your repeater is now ready for use. 18. Again click on the network icon ( ) in the Windows taskbar to view the available wireless networks.
- Page 9 19. Select the repeater network (click on it) and make sure the “Connect automatically” option is enabled. 20. Windows will ask to enter a password when you connect to the repeater network. Use the password from your router (or the password you created). 21.
-
Page 10: Frequently Asked Question (Faq)
Or you can press the reset button in the side. In case you wish to perform a factory reset, please press and hold the reset button for 30 seconds. Afterwards the repeater will be sending out its original network name “WNP-RP-002” and you will be able to follow the installation procedure again. - Page 11 Get your iPad/tablet and go to ‘settings’ c. Have your iPad/tablet searching for wireless networks in range. It should find a network named: WNP-RP-002. d. Connect your iPad/tablet to this network. The password is 12348765. e. When your iPad/tablet is connected to the repeater network, you can close the settings screen of your iPad/Tablet.


Need help?
Do you have a question about the WNP-RP-002 and is the answer not in the manual?
Questions and answers