Table of Contents
Advertisement
Quick Links
PROGRAMMING THE TRANSMITTER
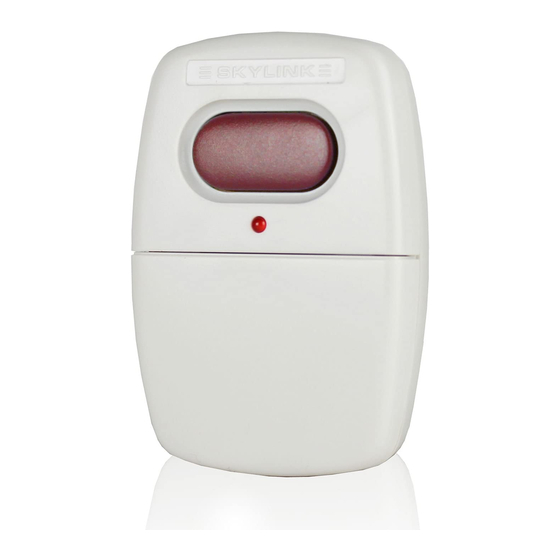
Thank you for your purchase of the Skylink garage door remote
control, Model 39. There are 3 different steps you need to setup in
order to use this universal garage door remote control to operate
your existing garage door opener. These 3 steps are:
1) Frequency switch – select the correct frequency according to
the brand of your existing garage door opener. Refer to Step 1.
2) Brand jumpers – place the brand jumpers at the correct posi-
tion according to the brand of your existing garage door opener.
Refer to Step 2.
3) Code setting – Set the jumper connectors on the Model 39 so
that they match the code setting of your existing garage door
opener. Refer to Step 3 or Step 4 depending on the brand of
your garage door opener.
Please follow the detailed instructions below in order to setup the
Skylink Model 39 to work with your existing opener.
2
STEP
- SET BRAND JUMPERS
Group Brand
Brand jumpers setting Proceed to
A
1
Chamberlain
®
, Sears
®
, Lift-Master
®
-
(without DIP switches but with red, orange or green
learn button)
®
®
®
®
2
Chamberlain
, Lift-Master
, Sears
, Wayne Dalton
,
0
®
Master Mechanic
(without DIP switches but with
yellow, white, or gray learn button)
®
TM
3*
Genie
Intellicode
* (without DIP switches)
+
®
®
4
Genie
(with DIP switches), Overhead
0
®
®
®
®
5
Chamberlain
, Lift-Master
, Sears
, Wayne Dalton
,
+
®
Master Mechanic
(with DIP switches)
®
®
®
6
Stanley
, Multi-Code
, Martec
-
®
®
7
Linear
, Moore-O-Matic
+
®
®
®
®
TM
8
Pulsar
, Allstar
, Allister
, Linear
MegaCode
-
Chart 2
*
Note:
For Genie
®
Intellicode
TM
, if the brand jumper for group 3 cannot operate your garage door
opener properly, please use setting A "+", B "-".
1
STEP
- SET FREQUENCY SWITCH
1a. Locate frequency
1b. Determine the brand of your garage
switch on the top of
door opener and set the frequency
the transmitter:
switch to the corresponding position.
(See diagram A)
(See chart 1)
Set switch
Brand of your opener
to position Frequency
®
Chamberlain
®
Lift-Master
®
Sears
®
Wayne Dalton
D/A
®
Master Mechanic
A B C D
®
Genie
®
Overhead
®
Pulsar/Allister/Allstar
®
TM
Linear
MegaCode
®
Linear
Diagram A
®
M-O-M
®
Stanley
®
Multi-Code
D/C
A
B
C
D
®
Martec/Teckey
USA
390
318
310
300
®
Skylink
UR-100
CANADA
390
318
315
310
Chart 1
3
STEP
- LEARN CODE
Note:
B
Proceed to this step only if the brand of your garage door opener belongs
+
to either group 1, 2 or 3 on chart 2. Otherwise, proceed to Step 4 - Set
code connector.
Proceed
-
to Step 3.
3a. If your existing garage door opener belongs to any brand from group 1,
2 or 3, then you should find a "learn" button from the garage door opener
(the unit with the motor located on the ceiling of your garage, see dia-
+
gram D). Press this learn button for approximately 2 seconds. The
+
LED light beside the learn button will go on and then press the button
Proceed
-
on the Model 39 to activate it. The LED light on the garage door opener
to Step 4,
will flash then go off.
skip Step 3.
-
The Model 39 is now programmed
0
to your existing garage door opener
0
and will operate your garage door.
Programming is now completed
and please refer to the "Battery"
section of this manual for battery
maintenance.
2a. To set the brand
jumpers, open the
case with a coin
(see diagram B).
USA
CANADA
Set switch
to position Frequency
A
390
C/A
315/390
A
390
C/A
315/390
A
390
C/A
315/390
300/390
C/A
315/390
A
390
C/A
315/390
A
390
C/A
315/390
A
390
A
390
B
318
B
318
B
318
B
318
C
310
D
310
Diagram B
C
310
D
310
C
310
D
310
300/310
D
310
D
300
-
-
A
390
A
390
Note:
Proceed to this step only if the brand of your garage door opener belongs to
either group 4, 5, 6, 7 or 8 on chart 2. Otherwise, proceed to Step 3 - Learn code.
4a. If the brand of your garage door opener belongs to groups 4 to 8, that means
you need to program the correct code setting in order for the Model 39 to
work with your existing garage door opener. There are 12 code connectors on
12 columns from 1 to 12 (see diagram E). Each column has one connector.
(see diagram F)
4b. Set the connectors numbered 1 through 12 to match the code setting of your
existing transmitter or receiver. There are 2 places you can find out the code
setting from a column of small switches of your existing garage door opener.
1) your existing transmitter (the unit you currently use to open your garage).
Garage Door
Opener (GDO)
2) the receiver of your garage door
opener (the unit with the motor
mounted on the ceiling of your
garage).
'Learn' Button
Diagram D
2
STEP
- SET BRAND JUMPERS
2b. The Model 39 contains 2 brand jumpers and 12 code
Code connector Location
connectors (see diagram C). The brand jumpers are
located just above the battery with markings "A" and
"B". There are 2 connectors, one is placed on the "A"
column, the other one is placed on the "B" column.
For each column, there is a connector. If the connector
is placed on the top and middle post of that column,
B AT T E R Y
that column is set on "+". If the connector is placed
on the middle and bottom posts, that column is set on
Brand
"-". If the connector is removed completely, that column
Jumper
is set on "0" (see diagram C). In order for the Model
39 to work with your existing garage door opener
(motor), you need to set the brand jumpers based on
A = "+" B = "-"
the brand of your existing garage door opener. Please
REMOVE JUMPER = "0"
set these 2 brand jumpers "A" and "B" based on the
brand jumpers setting on chart 2. Please identify the
Diagram C
group number on chart 2 in order to determine which
is the next step to proceed.
4
STEP
- SET CODE CONNECTORS
4c. If the connector is placed on the top and middle posts, that
column is set on " + " or "ON" or "CLOSE". If the connector
is placed on the middle and bottom posts, that column is
set on " - " or "OFF" or "OPEN". If the connector is removed
completely, (not placed on any posts), it is set to " 0 " or the
neutral position. (see
diagram G for examples
of how to set a column
to the three different
positions). When re-
moving a connector to
set a column to the
neutral position, save
the connector in case
you change the code
at a later date.
Diagram F
Diagram E
For garage door openers
belonging to groups 1
to 3, please follow step 3
of the procedures, this will
complete the setup. No
need to proceed to step 4.
For garage door openers
belonging to groups 4
to 8, you can proceed
directly to "Step 4 – Set
Code Connector" after
you have successfully set
the brand jumpers. Please
skip step 3 below.
'-' or 'OFF' or 'OPEN'
'+' or 'ON' or CLOSE
'0' = BLANK
Diagram G
Advertisement
Table of Contents

Related Manuals for SkyLink 39


Summary of Contents for SkyLink 39
- Page 1 , Wayne Dalton to Step 3. 3a. If your existing garage door opener belongs to any brand from group 1, you need to program the correct code setting in order for the Model 39 to neutral position. (see ® 2 or 3, then you should find a “learn” button from the garage door opener...
- Page 2 ® , Genie ® connectors. Leave the remaining posts blank (remove (“ + , 0, - ”). Set the connectors on the model 39 to match their corresponding posi- Linear Position 1 to 8 + OR - and lift. (see diagram H) Multi-Code ®...
Need help?
Do you have a question about the 39 and is the answer not in the manual?
Questions and answers