Table of Contents

Summary of Contents for Perimeter View 01-CM-709M1
-
Page 1: Instruction Manual
01-CM-709M1 Thank you for purchasing this product. For proper usages and application, Please read this instruction manual thoroughly. INSTRUCTION MANUAL ver. 1.0 PRINTED IN KOREA ※ Design and specifi cations could be changed without notices. -
Page 2: Table Of Contents
CONTENTS Safety Instructions .................. 4 1. Box Contents ..................6 2. Features ....................7 3. Before Use ....................8 4. Names of the Monitor Buttons ............8 5. Remote Control ..................9 6. Functions ....................10 7. Connection ................... 15 8. -
Page 3: Safety Instructions
Safety Instructions Please read the “Safety Rules” carefully before using this product. Following the Do not place where vibration and shock. --- It may cause throw down and then malfunction and accident. safety rules prevents users from damages related with the misuse of the product. It is very important to follow these safety rules. -
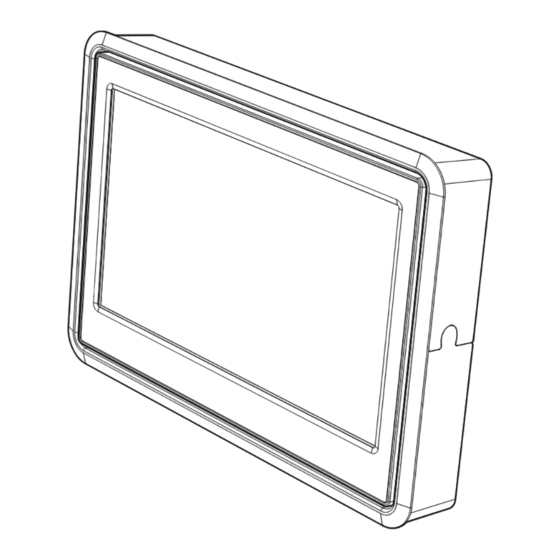
Page 4: Box Contents
Box Contents Features ■ Application of 7.0” WIDE TFT LCD with high resolution and low refl ection ■ All functions are displayed on screen (OSD function) ■ 7 Language Display Selection ■ (ENGLISH-DEUTSCH-ITALIANO-FRANÇAIS-ESPAñON-한국어- Instruction ■ Picture quality control (PWM control) Monitor Bracket &... -
Page 5: Before Use
Before Use Remote Control (option) ※Not back up vehicle while relying only on the monitor Image and use slow ※ speeds when backing up. ※The rear-view monitor image has the same right-left inversion as your ※vehicle’s rearview mirrors. Depending on the vehicle, the fi eld and angle of ※view may diff er. -
Page 6: Functions
Functions ■ It is a function to select MAIN MENU (SETUP/PICTURE) MONITOR MONITOR MODE DOWN/UP MENU POWER REMOTE CONTROL MODE DOWN/UP MENU POWER REMOTE CONTROL (1) Press [POWER] button to the power. (STAND BY state is OFF) (2) Press [POWER] button again to off (1) Press [MENU] button to select MAIN MENU, changed color in red when it is the power. - Page 7 ■ It is a function to change AV MODE. ■ DIMMER MONITOR ■ LANGUAGE ENGLISH DEUTSCH ITALIANO FRANCAIS ESPAnON MODE DOWN/UP MENU POWER 한국어 ■ DIRECTION (Inverted upside down) REAR LEFT DIMMER LANGUAGE ENGLISH RIGHT DIRECTION 0˚ DISPLAY WIDE ▶ RESET ■...
- Page 8 REMOTE CONTROL (1) Press [AUTO PIC] button to select the screen size. WIDE NORMAL CINEMA FULL REMOTE CONTROL (1) Press [MUTE] button to mute the (2) Press [MUTE] button again to sound. cancel. REMOTE CONTROL (1) Displaying the current mode and volume level.
-
Page 9: Installation
Monitor installation with stand & sun visor >> (OPTION) Installation TAPPING SCREW T1 M4.0 X 12 (3ea) INSERT BOLT (2ea) Inserting Type >> FLAT WASHER M3 (4ea) ⑤ Appoint attaching place and put together the monitor and bracket as follows installation drawing. -
Page 10: Specifi Cations
Installation with u-bracket & sun visor >> (OPTION) Specifi cations (1) Place U-bracket and fi x it with enclosed screw. (2) Put fi xed bracket to monitor and screw down with bolt both side. NTSC Screen size 7 inch 480(W) x 3(RGB) x 234(H) Number of pixel LCD Panel Brightness...