Table of Contents
Advertisement
Quick Links
Advertisement
Table of Contents

Related Manuals for Antex electronics XM-100

Summary of Contents for Antex electronics XM-100
- Page 1 XM-100 Commercial XM Satellite Radio Owner’s Manual...
-
Page 2: Table Of Contents
Welcome!...5 Installing XM-100...5 Parts List...6 Connections ...6 Positioning the Antenna...7 Optimizing Signal Strength...9 Activating the XM-100...10 Operating the XM-100 ...10 Display and Indicators ...11 Tuning Modes...12 Changing Channels...12 Changing Categories ...13 Setting and Recalling Presets...13 Setting Options Via Menus...14 Navigating Setup Menus...14 Signal Quality...16... -
Page 3: Important Safety Instructions
www.antex.com Copyright © 2005 Antex Electronics Corporation. All Rights Reserved. No portion of this manual may be reproduced without prior written consent from Antex Electronics. Part number 9000-2480-7006 Rev A. FCC Compliance Statement for United States Users This equipment has been tested and found to comply with the limits for a Class B device, pursuant to Part 15 of the FCC Rules. - Page 4 Overloading – Do not overload wall outlets, extension cords, or integral convenience receptacles as this can result in a risk of fire or electrical shock. Object and Liquid Entry – Never push objects of any kind into this product through openings as they may short- out parts that could cause a fire. Never spill liquid of any kind on the product.
-
Page 5: Welcome
1 -800-XM-RADIO (or 1-800-967-2346). Installing XM-100 Antex Electronics recommends that the XM-100 unit and its antenna be installed by a professional installer. Brief instructions are presented here for reference purposes. The installation process consists of three steps:... -
Page 6: Parts List
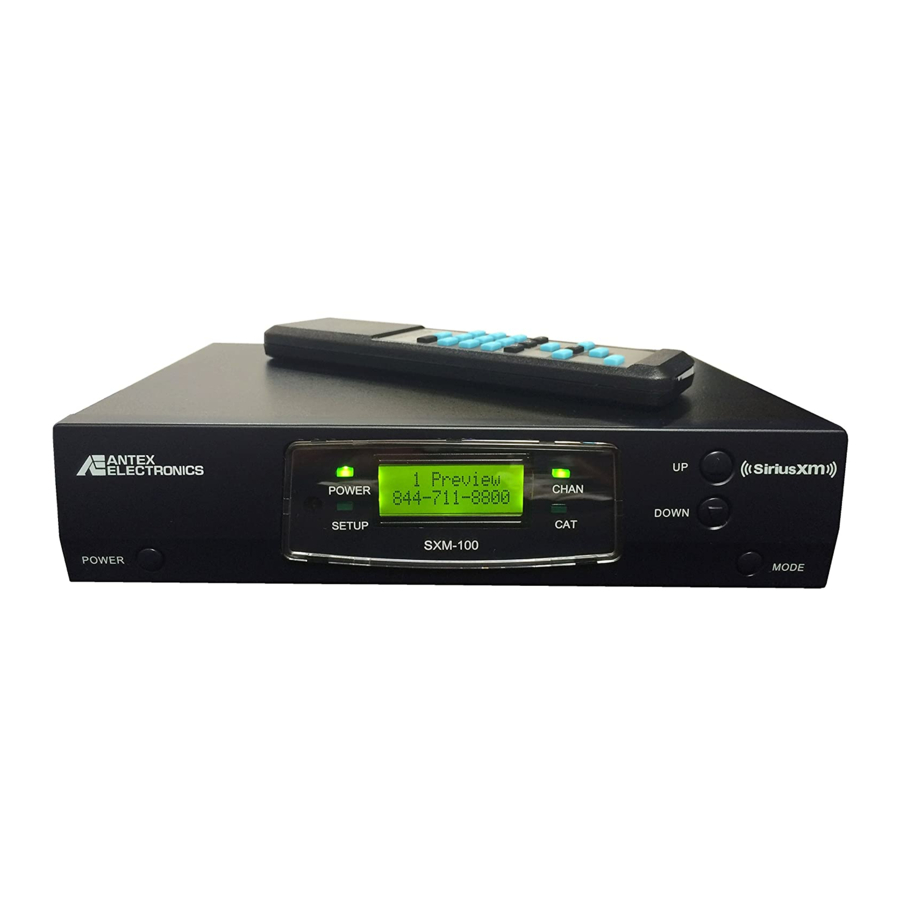
XM-100 unit Antenna Remote control Connections House the XM-100 unit in a component rack or other suitable location that provides adequate ventilation. The maximum ambient temperature should never exceed 120 degrees Fahrenheit. The unit’s front user interface and various connectors on the back of the unit are shown here:... -
Page 7: Positioning The Antenna
The provided XM antenna requires exposure to the south/southeastern sky for proper signal reception. To position your antenna, first connect the XM-100 to your audio system as described above, then follow these instructions. 1. Power on the receiver, verify the power indicator is illuminated and the display backlight is on. - Page 8 facing to the south if you are in the eastern half of the U.S. and to the south/southeast if you are in the western half of the U.S. Bring up the signal strength menu by holding down the power button for 4 seconds and optimize signal strength using the instructions in the next section.
-
Page 9: Optimizing Signal Strength
5. Activate the unit following the “Activating XM-100” instructions. Optimizing Signal Strength For robust operation, signal strength received from the antenna must be optimized. Optimum alignment of the antenna may be achieved using the signal strength menu. Press and hold the power button for 4 seconds, a display similar to below will appear. -
Page 10: Activating The Xm-100
0 on the radio. Operating the XM-100 XM-100 provides intuitive control of its various functions via its front panel buttons as shown on the next page, the remote control, and the RS232 port (for local and remote operation). -
Page 11: Display And Indicators
The display backlight is illuminated and text appears after the power button has been pressed, indicating the unit is on. The XM-100 has four indicators and four buttons as follows (Modes are described below): Power Indicator – illuminated whenever power present Setup Indicator –... -
Page 12: Tuning Modes
Channel (default), Category and Category/Channel. Examples of categories are Rock, Classical, etc. Channel Mode allows you to scroll through and select any channel in the entire XM lineup regardless of what category the channel belongs to. Channel Mode is the default Mode at power up. -
Page 13: Changing Categories
Category Mode. Setting and Recalling Presets The XM-100 can store up to 10 channel presets (numbered 0 to 9). To assign a preset, first tune to a desired channel, in this example 44. Then press and hold the PRESET button on the remote for 4 seconds. -
Page 14: Setting Options Via Menus
as forced tuning, blocking, skipping, etc. To enter the SETUP Mode, press and hold the MODE button on the front of the unit for 4 seconds or depress the SETUP button on the remote. The Setup indicator illuminates, and the menu shown below appears. - Page 15 SETUP MENUS MODE TO EXIT SETUP SIGNAL QUAL SETUP LINE LEVEL SETUP FRONT LOCK SETUP TIME ZONE SETUP DLT SAVING SETUP CH BLOCKING SETUP CH SKIPPING SETUP FORCE TUNING SETUP SW VERSION...
-
Page 16: Signal Quality
button brings up the following menu: CN1 CN2 TBER #.# #.# This menu may also be displayed by holding the power button for 4 seconds when at the main display. Pressing the Mode button returns up one menu level. Pressing the power button exits the setup menus to normal operation. -
Page 17: Front Lock
Front Lock? Locked The buttons on the front of the XM-100 unit may be locked or unlocked using this feature. Locking the unit may be useful if a store manager or parent wishes to ensure the desired channel is not altered. -
Page 18: Daylight Savings Observation
button brings up the following menu: SETUP DST Y MAR 2 NOV 1 This submenu shows you a summary of all the daylight savings time parameters. The “Y” next to the “DST” indicates yes, daylight savings time is observed in your region. On the second line, there are 4 items, the spring forward month (March in this example), the spring forward Sunday (note that the 2 in this example means the second Sunday of March, NOT... -
Page 19: Channel Blocking
FALL BK NOV Press the up/down keys to change the fall back month, when daylight savings time ends and standard time resumes. Press the Mode key to save the change and go to the next submenu. SETUP DST FALL BK W:1 Press the up/down keys to change the Sunday of the month when standard time resumes. -
Page 20: Channel Skipping
Skip ###? PWR Toggles In the course of using the XM-100 you may find that there are specific channels you prefer not to listen to and would rather skip over. Using XM-100’s SKIP feature, you can program the unit to skip over these channels when scrolling using the up/down buttons or remote control. - Page 21 Up to 100 events may be programmed in the XM-100. Use of the provided remote control is required to review or program Forced Tune events. This functionality cannot be accessed from the front panel.
- Page 22 The second display choice, Forced Tuning by Time, displays Forced Tune events sorted by time of day without consideration of what days of the week the event is effective. The third display choice, Forced Tuning by Channel, displays Forced Tune events sorted by channel number without regard to any other parameter.
- Page 23 “Any” allows for a volume change applied to the current audio channel at the programmed time – a feature useful for decreasing the audio volume during slow hours of a restaurant or bar. Locking and unlocking the front buttons for specific hours of the day (LCK, UNL) and turning off the unit at a specified time (Off) may also be programmed.
-
Page 24: Using The Remote Control
the buttons on the front panel. CHANNEL CHANNEL (UP/DOWN) (UP/DOWN) Tune to Tune to specific specific channels. channels. MODE Press number to select operating Mode. NUMERIC NUMERIC Tune directly to Tune directly to specific channels specific channels (punch in the (punch in the channel number, channel number,... -
Page 25: Month Limited Warranty
Audio Control Systems The XM-100 has been designed for easy integration into distributed audio systems by professional installers using the RS232 control port. Antex strongly recommends that the RS232 connection be used only by experienced professional installers. Do not connect this RS232 port to a computer – this connection is NOT compatible with personal computers. - Page 26 This Warranty does not extend to the elimination of externally generated static or noise, to correction of antenna problems, to costs incurred for installation, removal or reinstallation of the product, or damage to other components. This Warranty does not apply to any product or part thereof which, in the opinion of the Company, has suffered or been damaged through alteration, improper installation, mishandling, misuse, neglect, accident, or by removal of any...
Need help?
Do you have a question about the XM-100 and is the answer not in the manual?
Questions and answers