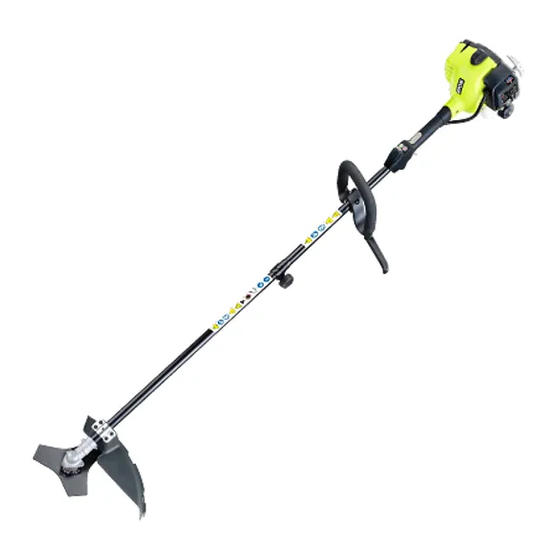
Summary of Contents for Ryobi RBCGM25BB
- Page 1 RBCGM25BB TRIMMER / BRUSHCUTTER OPERATOR’S MANUAL (Original Instructions) Important! It is essential you read the instructions in this manual before starting and operating this machine. Subject to technical modifications.
- Page 2 RBCGM25BB Fig. 4 Fig. 5 Fig. 1 Fig. 6 Fig. 7 Fig. 2 Fig. 3 Fig. 8 Fig. 9...
- Page 3 RBCGM25BB Fig. 12 Fig. 13 3.0m 3.0m 3.0m 3.0m 3.0m 3.0m 3.0m 3.0m 3.0m 3.0m 3.0m 3.0m 3.0m 3.0m 3.0m 3.0m 200mm 200mm 200mm 200mm 200mm 200mm 200mm 200mm 200mm 200mm 200mm 200mm 200mm 200mm 200mm 200mm Fig. 14 3.0m 3.0m...
-
Page 4: General Safety Warnings
English (Original Instructions) GEnERal SafETy WaRnInGS use the product in damp or wet locations. „ Controlling Product. During carburetor adjustments the cutting attachment may spin. WaRnInG Therefore, you should wear protective equipment Read and understand all instructions. Failure to and observe all safety instructions when adjusting follow all instructions may result in serious personal the carburetor. - Page 5 English (Original Instructions) SyMBOlS The following symbols are located on labels on the attachment shaft. Please study them and learn their meaning. Proper interpretation of these symbols will allow you to operate the tool better and safer. SyMBOl naME dESIGnaTIOn/EXPlanaTIOn Safety Alert Precautions that involve your safety.
-
Page 6: Specifications
English (Original Instructions) SPECIfICaTIOnS Sound pressure level at operator's ear (in accordance with EN ISO 22868) Weight without fuel 5.95 kg and trimmer head Grass trimmer 98 L (dBpA) Weight without fuel Brush cutter 108.1 L (dBpA) 6.02 kg with trimmer head Measured sound power level 112.2 L (dBpA) - Page 7 English (Original Instructions) 49. Locking tabs Removing the attachment from the Upper Shaft. Follow these steps to remove the attachment from the fIGURE 4 upper shaft. 1. Starter grip 1. Loosen the knob by turning it counterclockwise. 9. Throttle trigger 2.
- Page 8 English (Original Instructions) 5. Place the cutting head housing on the drive shaft. 2. Remove the bump head cover (item 38), bump knob Make sure the housing is fully seated. (item 39), line spool (item 40) and spring (item 26) and 6.
-
Page 9: Mixing The Fuel
English (Original Instructions) OPERaTIOn WaRnInG fUElInG and REfUElInG Always shut off engine before fueling. Never add fuel to a machine with a running or hot engine. Move at least Handling the fuel safely 9m from refueling site before starting engine. Do not Always handle fuel with care, it is highly flammable. -
Page 10: Maintenance
English (Original Instructions) 9. When the engine starts, squeeze the throttle trigger to allow the line to wear too short. Keep the cutting line release the lock. You may need to feather the throttle at full length. until the engine will idle on its own. Allow engine to OPERaTInG aS a BRUSHCUTTER (fIG. -
Page 11: General Maintenance
English (Original Instructions) CHECKInG THE fUEl CaP WaRnInG Before inspecting, cleaning, or servicing the machine, WaRnInG shut off engine, wait for all moving parts to stop, and A leaking fuel cap is a fire hazard and must be replaced disconnect spark plug lead and move it away from immediately. - Page 12 English (Original Instructions) such as garden chemicals. Important: Abide by all local and government regulations for the safe storage and handling of petrol.
-
Page 13: Troubleshooting
English (Original Instructions) TROUBlESHOOTInG PROBlEM POSSIBlE CaUSE SOlUTIOn 1. Switch set to the O (OFF) position. 1. Set switch to the I (ON) position. 2. No spark 2. Remove the spark plug. Re-attach the spark plug cap and lay the spark plug on the metal cylinder. Pull the starter cord and watch for a spark at the spark plug tip. - Page 14 Subject to the guarantee condition below, this Ryobi guarantee does not cover damage, malfunction or tool (hereinafter called “the product”) is guaranteed by failure resulting from misuse, neglect, abuse, or used TECHTRONIC INDUSTRIES AUSTRALIA for a purpose for which it was not designed or is not LIMITED (hereinafter called “the Company”) to be free...


Need help?
Do you have a question about the RBCGM25BB and is the answer not in the manual?
Questions and answers