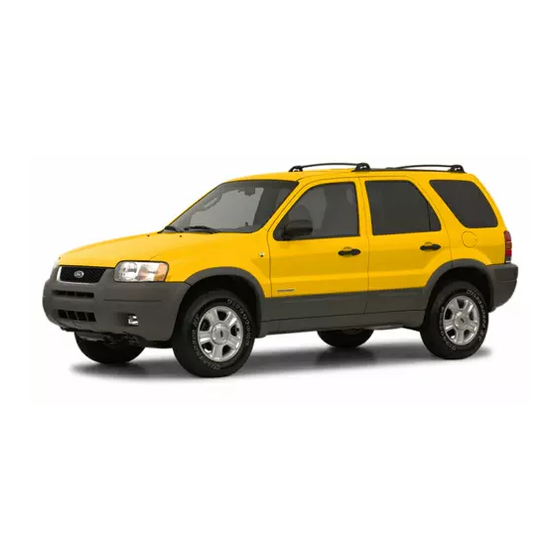
Ford Escape 2002 Workshop Manual
Hide thumbs
Also See for Escape 2002:
- Owner's manual (288 pages) ,
- Workshop manual (11 pages) ,
- Workshop manual (13 pages)
Advertisement
Quick Links
Download this manual
See also:
Owner's Manual
2002 Escape Workshop Manual
SECTION 303-01A: Engine — 2.0L Zetec
IN-VEHICLE REPAIR
Timing Belt
Special Tool(s)
Crankshaft TDC Timing Peg
303-574 (T97P-6000-A)
Camshaft Alignment Timing Tool
303-465 (T94P-6256-CH)
3 Bar Engine Support Kit
303-F072
Removal
1. With the vehicle in NEUTRAL, position it on a hoist. For additional information, refer to
2. Disconnect the battery ground cable. For additional information, refer to
3. Remove the air cleaner outlet pipe. For additional information, refer to
4. Remove the spark plugs. For additional information, refer to
5. Disconnect the throttle cables.
If equipped, disconnect the speed control actuator cable.
Disconnect the accelerator cable.
6. Disconnect the catalyst monitor and heated oxygen sensor electrical connectors. Detach the electrical connectors from the bracket.
7. Remove the wiring harness anchors from the valve cover studs and position the wiring harness aside.
8. Remove the valve cover.
1. Remove the studbolts.
2. Remove the bolts.
http://www.fordtechservice.dealerconnection.com/pubs/content/~WS2K/~MUS~LEN/20/S...
Section
100-02.
Section
414-01.
Section
303-12.
Section
303-07A.
13
2002 Escape Workshop Manual
Procedure revision date: 10/25/2004
3/24/2010
Advertisement

Summary of Contents for Ford Escape 2002
- Page 1 2002 Escape Workshop Manual SECTION 303-01A: Engine — 2.0L Zetec 2002 Escape Workshop Manual IN-VEHICLE REPAIR Procedure revision date: 10/25/2004 Timing Belt Special Tool(s) Crankshaft TDC Timing Peg 303-574 (T97P-6000-A) Camshaft Alignment Timing Tool 303-465 (T94P-6256-CH) 3 Bar Engine Support Kit 303-F072 Removal 1.
- Page 2 2002 Escape Workshop Manual CAUTION: The valve cover sealing surfaces are soft materials. Do not use abrasive grinding discs to remove gasket material. Use only a plastic scraping tool. Do not scratch or gouge sealing surfaces or oil leaks can occur. Clean and inspect the sealing surfaces of the valve cover and cylinder head.
- Page 3 2002 Escape Workshop Manual 17. NOTE: Make sure the correct (second) notch in the pulley is indexed to the lower cylinder block. Rotate the crankshaft clockwise against the peg to bring it to TDC (No. 1 cylinder). 18. Loosen the coolant pump pulley bolts. 19.
- Page 4 2002 Escape Workshop Manual 22. Remove the bolts and the lower timing belt cover. 23. Install the special tool. 24. Detach the ground strap. 25. Remove the nuts, the bolt and the engine mount upper bracket. 26. Remove the studs. http://www.fordtechservice.dealerconnection.com/pubs/content/~WS2K/~MUS~LEN/20/S...
- Page 5 2002 Escape Workshop Manual 27. Detach the knock sensor electrical connector from the upper timing cover. 28. Remove the bolts and the upper timing cover. 29. Remove the coolant pump pulley. 30. Remove the accessory drive belt idler pulley. 31. Remove the bolts and the engine mount lower bracket. http://www.fordtechservice.dealerconnection.com/pubs/content/~WS2K/~MUS~LEN/20/S...
- Page 6 2002 Escape Workshop Manual 32. Relieve the tension on the timing belt tensioner pulley. Loosen the tensioner pulley bolt. Release the tension on the timing belt by disconnecting the tensioner tab from the timing cover back plate. 33. Remove and discard the timing belt. Slide the timing belt off the camshaft sprockets and the crankshaft sprocket.
- Page 7 2002 Escape Workshop Manual 3. NOTE: Cylinder No. 1 is at top dead center (TDC) when the keyway is in the 12 o'clock position. Confirm the crankshaft position is at TDC (No. 1 cylinder) by rotating it clockwise against the alignment peg. CAUTION: Do not rotate the crankshaft;...
- Page 8 2002 Escape Workshop Manual CAUTION: The camshaft must be held stationary at the hexagons with locking pliers. Do not use the alignment tool to hold the camshaft in position or damage to the camshaft may occur. Tighten the bolt on the intake camshaft sprocket. CAUTION: The camshaft must be held stationary at the hexagons with locking pliers.
- Page 9 2002 Escape Workshop Manual 13. Install the accessory drive belt idler pulley. 14. Install the coolant pump pulley. Hand-tighten the bolts. 15. Position the upper timing belt cover and install the bolts. 16. Install the studs. 17. Connect the knock sensor electrical connector to the upper timing belt cover. http://www.fordtechservice.dealerconnection.com/pubs/content/~WS2K/~MUS~LEN/20/S...
- Page 10 2002 Escape Workshop Manual 18. Install the engine mount upper bracket, the nuts and the bolt. 19. Attach the ground strap and install the nut. 20. Position the lower timing belt cover and install the bolts. 21. Position the crankshaft pulley and install the bolt. Hand-tighten the bolt.
- Page 11 2002 Escape Workshop Manual 23. Tighten the crankshaft pulley bolt. 24. Tighten the coolant pump pulley bolts. 25. Position the RH lower splash shield and install the bolts. 26. Install the wheel and tire assembly. For additional information, refer to Section 204-04.
- Page 12 2002 Escape Workshop Manual 29. Install the catalytic converter. For additional information, refer to Section 309-00. 30. Inspect the valve cover gasket. Install a new gasket, if necessary. 31. Position the valve cover. 1. Install the studbolts. 2. Install the bolts. 32.
- Page 13 2002 Escape Workshop Manual http://www.fordtechservice.dealerconnection.com/pubs/content/~WS2K/~MUS~LEN/20/S... 3/24/2010...


