Table of Contents
Advertisement
Installation and Servicing
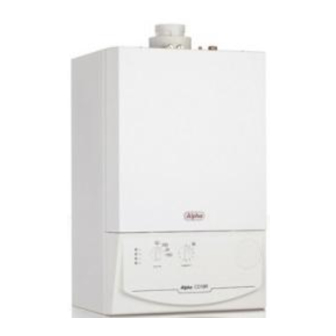
Alpha CD12S/20S/28S
Range of Wall Mounted, Fan Assisted, Room Sealed,
Gas Fired, High Efficiency Condensing System Boilers
0051
Instructions
For Technical help or for Service call ...
ALPHA HELPLINE Tel: 0844 8718764
website: www.alpha-innovation.co.uk
Nepicar House, London Road,
Wrotham Heath, Sevenoaks,
Kent TN15 7RS
British Gas
Alpha CD12S
Alpha CD20S
Alpha CD28S
For use with Natural Gas only
Leave these instructions with the User
Service Listed
G.C. No. 41 532 16
G.C. No. 41 532 18
G.C. No. 41 532 20
Advertisement
Table of Contents


Need help?
Do you have a question about the CD12S and is the answer not in the manual?
Questions and answers