Sign In
Upload
Download
Table of Contents
Contents
Add to my manuals
Delete from my manuals
Share
URL of this page:
HTML Link:
Bookmark this page
Add
Manual will be automatically added to "My Manuals"
Print this page
×
Bookmark added
×
Added to my manuals
Manuals
Brands
Nuvico Manuals
DVR
AL-400
Instruction manual
Nuvico AL-400 Instruction Manual
Apex lite digital video recorder
Hide thumbs
1
2
3
4
5
6
7
8
Table Of Contents
9
10
11
12
13
14
15
16
17
18
19
20
21
22
23
24
25
26
27
28
29
30
31
32
33
34
35
36
37
38
39
40
41
42
43
44
45
46
47
48
49
50
51
52
53
54
55
56
57
58
59
60
61
62
63
64
65
66
67
68
69
70
page
of
70
Go
/
70
Contents
Table of Contents
Bookmarks
Table of Contents
Content Verification
Disclaimer
Fcc Notice
Read this First
Safety Precautions
Warning
Caution
Preventing Malfunction
Table of Contents
Digital Video Recorder Layout
Front Panel (Al-400, Al-800, Al-1600)
Front Panel (Al-3200)
Rear Panel (Al-400, 800, 1600)
Rear Panel (Al-3200)
Ir Remote Controller
Installation and Connection
Alarm Connection
Default Admin Login Password
Quick Setup
Date/Time
Global Record
Record Wizard
Frame Rate Priority
Picture Quality Priority
Panic Record
Basic Operation
Main Screen
Live View Switch Sequence
Automatic Sequence
Zoom
Playback
Play Back Control
Audio Playback
Advanced Operation
Lock
Built-In CD/DVD
Usb Flash Memory Drive - "Usb
Usb Flash Memory Drive - "Usb(Avi)
Mini Player
Pan / Tilt / Zoom Control
Playback
Goto Search
Log Search
Calendar Search
Advanced Setup
Advanced Record
Schedule off
Schedule on
IV. Advanced Setup
Event
Motion Setup
Alarm Source
Alarm Action
Device
Camera
Monitor
Audio
Com Port
Text Inputs
Network
Ddns
Ntp Setting
Notification
Configuring the Dvr with a Router into a Lan
Configuring the Dvr with a Crossover Cable
System
Local User
Remote User
Holiday Schedule
Disk Utility
System Info
System Alarm
Status Overview
Disk Overview
Maximum Recording Rate & Resolution Limit Per Channel with Advanced Features
Nuvico Easynet - Webviewer
INSTALLING the NUVICO Easynet - WEBVIEWER
USING the NUVICO Easynet - Webviewer
Main Display
Configuration Tools
Playback
Ptz Control
VI. Technical Support
Technical Support
Advertisement
Quick Links
1
Front Panel (Al-400, Al-800, Al-1600)
2
Default Admin Login Password
Download this manual
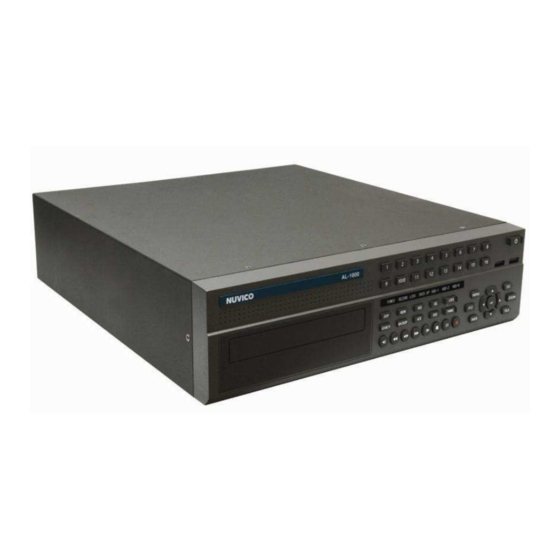
APEX LITE DIGITAL VIDEO RECORDER
Revision 6.0
NUVICO
AL-400
AL-800
AL-1600
AL-3200
0
APEX LITE SERIES DVR
Table of
Contents
Previous
Page
Next
Page
1
2
3
4
5
Advertisement
Table of Contents
Need help?
Do you have a question about the AL-400 and is the answer not in the manual?
Ask a question
Questions and answers
Related Manuals for Nuvico AL-400
DVR Nuvico AP-D1600 Manual
Apex digital video recorder (65 pages)
DVR Nuvico AP-C1600 User Manual
Apex digital video recorder (70 pages)
DVR Nuvico AL-800 Instruction Manual
Apex lite digital video recorder (70 pages)
DVR Nuvico AL-1600 Instruction Manual
Apex lite digital video recorder (70 pages)
DVR Nuvico EV-400 Instruction Manual
H.264 digital video recorder. ev series (84 pages)
DVR Nuvico EasyNet-HD 4ch Compact Series Instruction Manual
(76 pages)
DVR Nuvico EasyNet ED-P400 Installation Manual
Easynet series dvr (136 pages)
DVR Nuvico EV-8000 Instruction Manual
Ev series digital video recorder (107 pages)
DVR Nuvico NVDV3-4000 Instruction Manual
Dv3 series mpeg-4 digital video recorder (124 pages)
DVR Nuvico EV-4000 Instruction Manual
Ev series digital video recorder (101 pages)
DVR Nuvico EVLite EVL-400 Instruction Manual
Evlite series (84 pages)
DVR Nuvico EVL-400N Instruction Manual
Digital video recorder (84 pages)
DVR Nuvico np p402 User Manual
(70 pages)
DVR Nuvico NVJV-4000 Instruction Manual
Jv series (115 pages)
DVR Nuvico DV turbo NVDV4-16000 Instruction Manual
Dv turbo series 16-ch dvr (120 pages)
DVR Nuvico HDoCS DT-P1600 Setup Manual
(35 pages)
This manual is also suitable for:
Al-800
Al-3200
Al-1600
Table of Contents
Print
Rename the bookmark
Delete bookmark?
Delete from my manuals?
Login
Sign In
OR
Sign in with Facebook
Sign in with Google
Upload manual
Upload from disk
Upload from URL


Need help?
Do you have a question about the AL-400 and is the answer not in the manual?
Questions and answers