Sign In
Upload
Download
Table of Contents
Contents
Add to my manuals
Delete from my manuals
Share
URL of this page:
HTML Link:
Bookmark this page
Add
Manual will be automatically added to "My Manuals"
Print this page
×
Bookmark added
×
Added to my manuals
Manuals
Brands
Thule Manuals
Bicycle Accessories
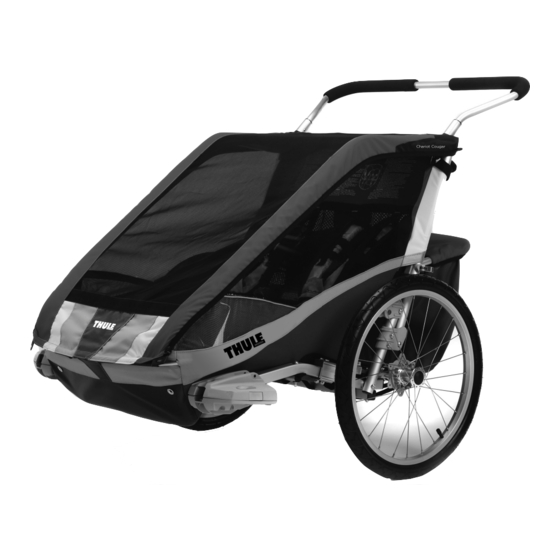
Chariot Cougar 1
Instructions manual
Thule Chariot Cougar 1 Instructions Manual
Bicycle trailer kit
Hide thumbs
Also See for Chariot Cougar 1
:
Manual
(1 page)
1
Table Of Contents
2
3
4
5
6
7
8
9
10
11
12
13
14
15
16
17
18
19
page
of
19
Go
/
19
Contents
Table of Contents
Bookmarks
Table of Contents
Table of Contents
Introduction
Thank You
Manual Intended Use
Carrier Intended Use
Specifications
Parts Description
Safety
Symbols and Instructions
General Safety Instructions
Getting Started
Unpacking Your Carrier
Included Components
Unfolding the Carrier
Installing the Wheels
Removing the Wheels
Installing the Handlebar
Installing a Thule Conversion Kit
Use & Features
Setting the Parking Brake
Using the Two-In One Cover
Child Placement and Seatbelt
Using the Safety Wrist Strap
Using the Sunshade
Using the Side Vents
Cargo Bag & Storage
Additional Information
Accessories
Service and Care
Storage
Wear and Tear
Advertisement
Quick Links
1
Parts Description
2
Unfolding the Carrier
3
Installing the Wheels
4
Installing a Thule Conversion Kit
5
Setting the Parking Brake
6
Child Placement and Seatbelt
7
Accessories
Download this manual
See also:
Manual
Thule Chariot Cougar 1 & 2
Instructions
D
51100468
Table of
Contents
Previous
Page
Next
Page
1
2
3
4
5
Advertisement
Table of Contents
Need help?
Do you have a question about the Chariot Cougar 1 and is the answer not in the manual?
Ask a question
Questions and answers
Related Manuals for Thule Chariot Cougar 1
Automobile Accessories Thule 1 Manual
System kit audi 80; audi 90; audi v8; vw passat; audi 100; audi 200; audi 5000; peugeot 205 5-dr; rover 200; rover 400; honda concerto 4-dr (1 page)
Bicycle Accessories Thule 100061 Instructions
Pack ’n pedal shield pannier (5 pages)
Bicycle Accessories Thule 100050 Instructions Manual
Pack ’n pedal basket (8 pages)
Bicycle Accessories Thule Yepp Maxi Easyfit 12020211 Instructions Manual
(12 pages)
Bicycle Accessories Thule Yepp Maxi Easyfit Instructions Manual
(8 pages)
Bicycle Accessories Thule Yepp EasyFit Adapter 12020409 Instructions
(4 pages)
Bicycle Accessories Thule Pack 'n Pedal Instructions Manual
Handlebar mount (24 pages)
Bicycle Accessories Thule Yepp 2 Mini Instructions Manual
Front child bike seat (12 pages)
Bicycle Accessories Thule Chariot Lite 1 Instructions Manual
(57 pages)
Bicycle Accessories Thule Chariot Lite 2 Instructions Manual
(92 pages)
Bicycle Accessories Thule Yepp Nexxt 2 Maxi Instructions Manual
(16 pages)
Bicycle Accessories Thule 100103 Instructions Manual
Child bike seat (16 pages)
Bicycle Accessories Thule 12080111 Instructions Manual
(8 pages)
Bicycle Accessories Thule Yepp Nexxt Maxi Instructions Manual
Child bike seat (8 pages)
Bicycle Accessories Thule RideAlong 100106 Instructions Manual
Tiltable child bike seat (16 pages)
Bicycle Accessories Thule Yepp front adapter Instructions Manual
(28 pages)
This manual is also suitable for:
Chariot cougar 2
Chariot cheetah 2
Table of Contents
Save PDF
Print
Rename the bookmark
Delete bookmark?
Delete from my manuals?
Login
Sign In
OR
Sign in with Facebook
Sign in with Google
Upload manual
Upload from disk
Upload from URL


Need help?
Do you have a question about the Chariot Cougar 1 and is the answer not in the manual?
Questions and answers