Table of Contents
Advertisement
Quick Links
Advertisement
Table of Contents

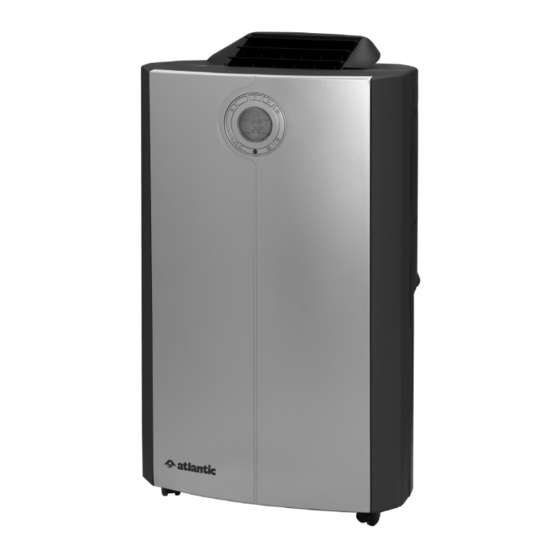
Summary of Contents for Atlantic 9KEHPW-410
- Page 1 ENGLISH INSTRUCTION MANUAL PLMB 9KEHPW-410 /12KEHPW-410 /15KEHPW-410...
-
Page 2: Safety Instructions
SAFETY inSTrucTionS iMPorTAnT! • The unit is designed for indoor operation. • Rating: This unit must be connected to a 220-240 V~ / 50 Hz earthed outlet. • The installation must be in accordance with regulations of the country where the unit is used. - Page 3 WArninG • Never operate this appliance if it has a damaged cord or plug. Do not lead the cord over sharp edges. • A damaged supply cord should be replaced by the manufacturer, its service agent or a qualified person in order to avoid a hazard. •...
- Page 4 PArTS 1. Air outlet 5. Grill housing 2. Control panel 6. Upper air inlet 3. Carrying handle 7. Exhaust air outlet 4. Caster wheels 8. Lower air inlet 9. Cable storage 10. Drainage point with water stopper Controls Display ON/OFF COOLING HEAT DOWN...
-
Page 5: Control Panel
Active carbon filter Remote control Water container Exhaust hose with LCD 3M™ High Air Flow Spiral Water Pipe Slide bar connector Telescopic slide bar with Connector filter (Optional) conTroL PAnEL Controls Display ON/OFF COOLING HEAT DOWN HOURS:MINUTES MODE TEMPERATURE TIMER SLEEP AN SPEED SWING... -
Page 6: Autodrain Nanomist Technology
AutoDrain NanoMist Technology Assembly ™ Put spiral water Attach Window pipe into hot air Slide Bar flexible hose. Connector to Exhaust Hose by twisting as shown. Turn the Connect the female half of the connector 90 degrees quick connector at the end of the clockwise until it is locked in place. -
Page 7: Installation
inSTALLATion WArninG! Before using the air conditioner it should be left in an upright position for at least 2 hours. This unit can easily be moved from one room to another. in doing so keep this in mind: – Ensure that the unit is positioned upright, on a level surface and 50 cm away from any obstacles. -
Page 8: Operation
oPErATion on/oFF Press to switch the unit on, or to switch off. A buzzer will beep, and the LCD will display 12:00 o’clock as default. Setting the clock Press the -button for 3 seconds to set the clock. The 2 left digits of the 4 digits on the LCD-display will flash. - Page 9 LCD display are flashing. • Press to adjust the hour. • Press the -button briefly again, the 2 right digits of the 4 digits are flashing. • Press to adjust the minutes of the clock in intervals of 5 minutes. The timer is set.
- Page 10 LcD blue back light In order to switch off the blue back light, press the - and -buttons at the same time. The blue back light will blink twice and goes off after three seconds. By pushing any of the buttons the blue back light will come on again. Air flow On the moment the air conditioner is connected to the mains, the louvres open and close and stay closed.
-
Page 11: Remote Control
rEMoTE conTroL The unit responds to all signals that are sent by the remote control. There will be a beep sound from the unit after receiving the signal. The operation of the unit by remote control, is almost identical to the operation by the control panel. The only exception is the clock function. -
Page 12: Air Filter(S)
Selected models have the 3M™ High Air Flow fillter as standard. However, if you require to add this to your model, or wish to purchase a replacement, call Atlantic for details. 2. A screen filter in the lower air inlet, to remove dust particles. -
Page 13: Emptying The Internal Water Container
The old filters can be disposed in the ‘Non-biological garbage container’. • Replacement filter packages are available directly from Atlantic. • To run the unit without active carbon filter and/or 3M™ High Air Flow filter does not do any harm to the air conditioner. -
Page 14: Troubleshooting
cLEAninG WArninG! First of all switch off the unit and remove the plug from the wall socket. Clean the housing with a soft, damp cloth. Never use aggressive chemicals, petrol, detergents or other cleansing solutions. Clean the screen filter regularly with a vacuum cleaner. See also “AIR FILTERS” section. -
Page 15: Technical Data
31.2 35.8 PLMB 9KEHPW-410 series can be connected only to a supply with system impedance no more than 0.210 Ohm. PLMB 12KEHPW-410 series can be connected only to a supply with system impedance no more than 0.130 Ohm. PLMB 15KEHPW-410 series can be connected only to a supply with system impedance no more than 0.110 Ohm. - Page 16 All replacement parts or units will be new or reconditioned Parts or units, which are replaced, become the property of Atlantic Australasia Atlantic Australasia disclaims any liability for incidental or consequential damages The warranty applies for the use of the product in Australia and New Zealand.


Need help?
Do you have a question about the 9KEHPW-410 and is the answer not in the manual?
Questions and answers